Learning how to plant grass seed is crucial if you want a lush and healthy lawn. We’ll explain how to choose the best grass seed, prepare the area, fertilize, plant, and water your new lawn.
Whether you’re seeding a new lawn or overseeding an existing lawn, we’ll explain everything you need to know:
| Project Difficulty: Beginner Estimated Time to Complete: Whether seeding a new or existing lawn, it can take two days. Day 1 will be for preparing the lawn and adding compost/starter fertilizer. The next morning, you can start planting the seeds and spend the rest of the day mulching and watering the seeds. Waiting for the soil test results can add two weeks to your project duration. Project Cost: A bag of grass seed costs $35 to $64, and a 15-pound bag of starter fertilizer (covering 5,000 square feet) is about $35. Total DIY costs vary widely depending on the equipment you need to buy and the size of your lawn. If you hire a pro, the cost to seed a lawn is $0.09 to $0.19 per square foot. |
How to Seed a New Lawn
Seeding can help you grow a new lawn from scratch or fill in bare patches in an existing lawn. If you already have an existing lawn and just need to fill in bare or thinning areas, you can skip to the next section to learn how to overseed. Otherwise, here’s an easy-to-follow roadmap for seeding a new lawn.
Tip: When to plant is just as important as how. Check out our guide to ensure your timing is just right: When is the Best Time to Plant Grass Seed?
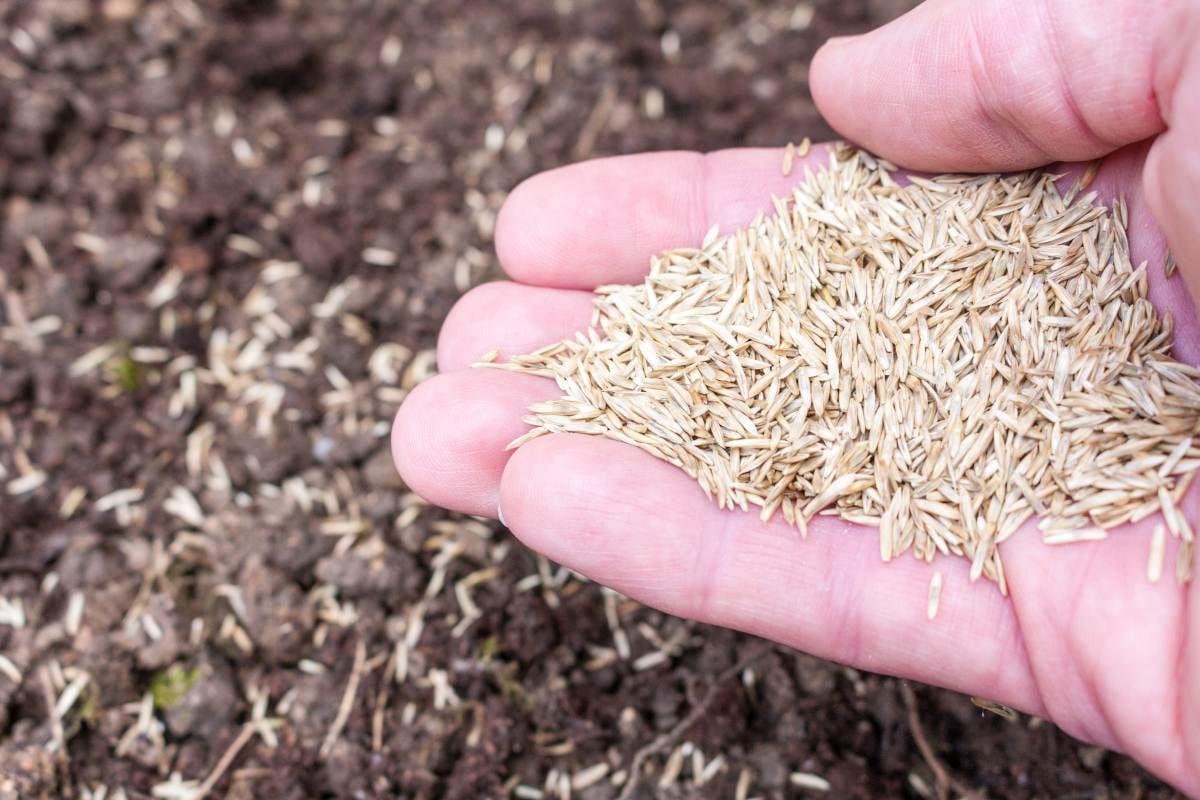
1. Choose the Best Grass Seed

Homeowners in the northern U.S. should choose cool-season grasses like fescues, ryegrass, and Kentucky bluegrass. For homeowners in the southern U.S., it’s best to choose warm-season grasses like bahiagrass, Bermudagrass, centipedegrass, Zoysiagrass (see note), and St. Augustinegrass (see note).
You can plant most grasses in the transition zone, but consider the yearly temperature in your specific location. Find the most cold-tolerant warm-season grass for areas with hot summers or the most heat-tolerant cool-season grass for those with cold winters.
Note: Zoysia is a popular warm-season grass, but because of its slow growth, it is recommended to use sod, not seed, to establish a Zoysia lawn. St. Augustine is available only as sod or plugs.
See Related:
- How to Choose the Right Grass for Your Lawn (8 Factors to Consider)
- How to Lay Sod
- How to Care for New Sod
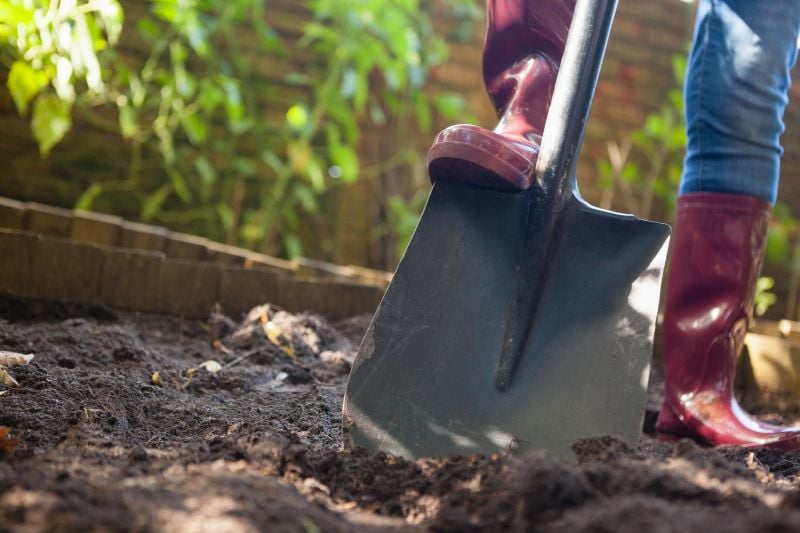
2. Prepare the Area
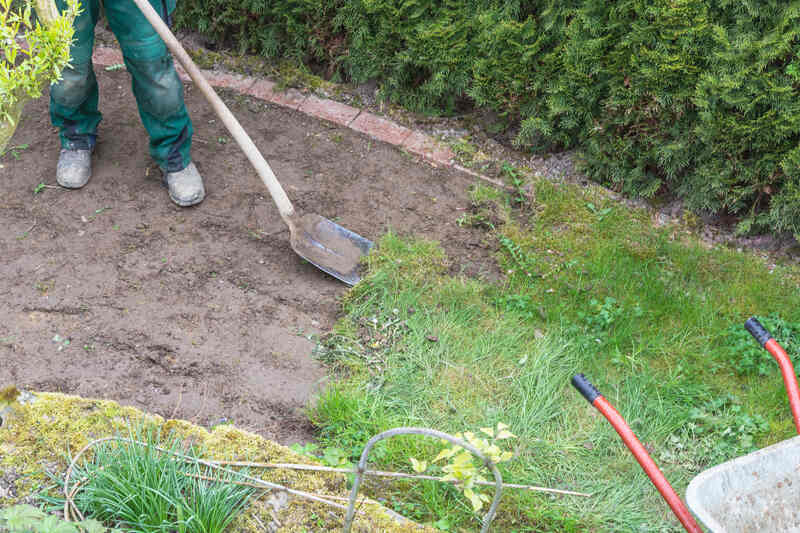
Since you’re establishing a new lawn, you may need to remove existing grass. Next, loosen the soil bed using a tiller, hand tool (for very small areas), or core aerator. This way, the grass roots can easily grow.
Pro Tip: You can grade your yard to keep rain or water flowing away from your home. A slope that’s around 1 to 2 degrees is ideal. Anything deeper can lead to runoff and nutrient leaching, and cause the soil to dry out faster.
3. Test and Amend the Soil
Test your soil as soon as possible, as you may have to wait up to two weeks for the soil test results. If you wait too long, you might miss the ideal window for planting grass.
Based on the results of your soil test, you can determine whether you’ll need to amend your soil. Most grasses thrive in soil with a pH of 6.0 to 7.5. So, if your soil is too acidic, you’ll need to add lime. If it’s too alkaline, you can add compost or sulfur.
County Extension offices offer soil testing for a reasonable fee. (Some even offer the service for free during certain times of the year.)
See Related:
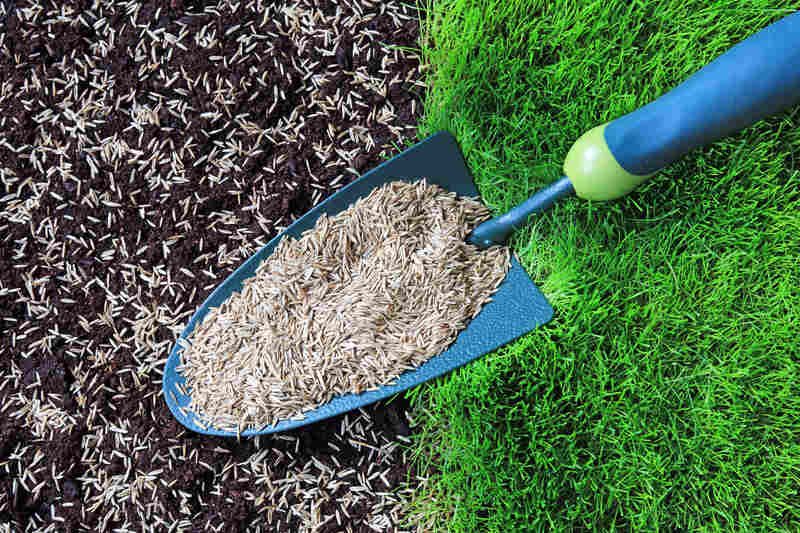
4. Add Compost/Starter Fertilizer
Your soil’s texture must be loose and loamy for the seeds to germinate successfully. It can also help the roots to develop easily.
To improve the texture of your soil, you can add organic matter, such as:
- Aged manure
- Compost
- Leaf mold
- Peat moss
Compost contains the macronutrients nitrogen, phosphorus, and potassium in small amounts. So, it helps improve soil structure while increasing the amount of nutrients in the soil.
Starter fertilizers are also usually recommended when planting grass seed. These fertilizers feed the seedling with key nutrients (nitrogen and phosphorus) near the seeds until they develop root systems that can take nutrients from the soil. To be safe, always follow the recommendations on your soil test to avoid overfertilization.
See Related:
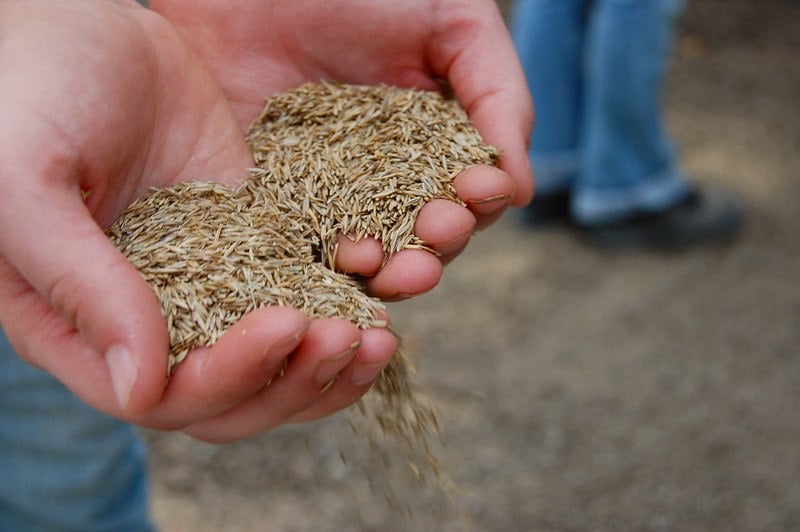
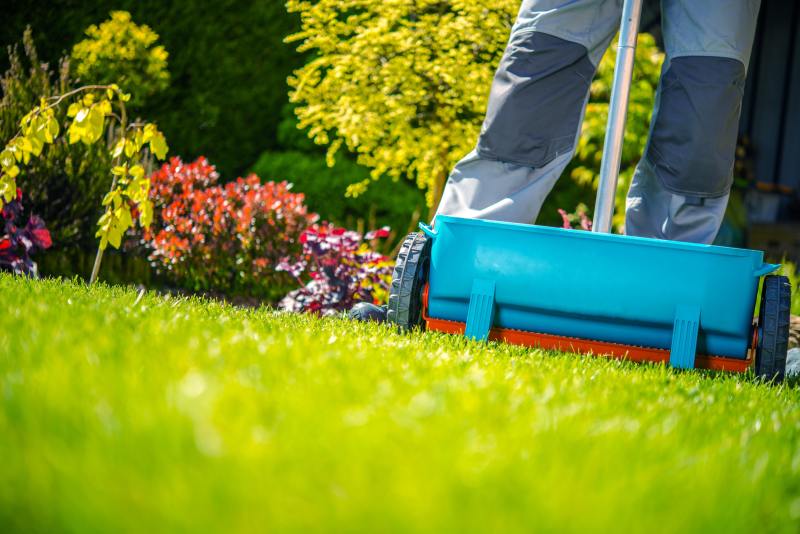
5. Plant Grass Seeds
For small areas, hand-seeding your lawn is fine. But for precise coverage on large lawns, it’s best to use a drop or broadcast spreader. (Tip: Your favorite fertilizer spreader also spreads grass seed.)
Regardless of the method, though, spread the seeds when it’s not windy. Otherwise, the seeds will scatter unevenly. If you’re unsure about the seeding rate, read and follow the instructions on the packaging.
Pro Tip: To get more even coverage, sow half the amount of seeds in one direction. Then, spread the remaining amount perpendicular to the initial direction.
See Related: Best Fertilizer Spreaders
6. Protect Seeds with Straw
After sowing the grass seeds, protect them from drying out and being washed away. You can use a thin layer of soil or mulch the lawn with a thin layer of straw. Straw (not hay) is the least expensive and most widely used mulch for seeded lawns. Simply remove the straw once the lawn is established.
Pro Tip: If you’re planting grass seed on a slope, consider using an erosion control blanket to help the grass seed establish without washing away.
7. Water the Seeds
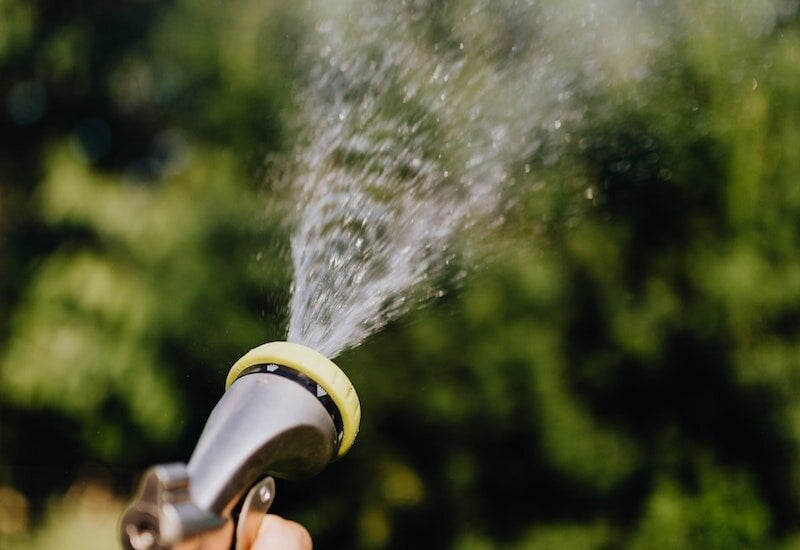
Watering a newly seeded lawn can be tricky, so follow these pointers to help your seeds sprout smoothly:
- Water lightly one to three times per day. The key is to keep the soil consistently moist but not soggy.
- Change your watering frequency to once per day once the grass is 1-inch tall.
- Reduce watering to about twice per week when the height of your grass reaches 3 inches. Soak the soil 6 to 8 inches deep to encourage the roots to grow more deeply and promote a stronger root system.
Note: Apart from watering, you should also minimize foot traffic in the newly-seeded part of the lawn. If it helps, you can put up a “Please Keep Off the New Grass” sign.
See Related: How to Care for New Grass
8. Mow and Control Weeds
The best time to mow your newly seeded lawn is when it grows to its normal cutting height, which depends on the type of grass. Here’s a cheat sheet to help you out:
| Type of Grass | Recommended Height Before First Mow |
| Bahiagrass | 4 – 5 inches |
| Bermudagrass | 1.5 – 2.5 inches |
| Buffalograss | 1.5 – 3 inches |
| Centipedegrass | 1.5 – 2.5 inches |
| Fine fescue | 3 – 5 inches |
| Hard fescue | 2 – 3 inches |
| Kentucky bluegrass | 2.5 – 4 inches |
| Perennial ryegrass | 2 – 3 inches |
| Tall fescue | 2 – 4 inches |
| Zoysiagrass | 1 – 1.5 inches |
See Related: Lawn Mowing Tips: How to Mow a Lawn the Right Way
How to Seed an Existing Lawn (Overseed)

Unless you plan to change the grass type, overseeding is a quick and inexpensive method to revitalize your thinning lawn. Overseeding simply means that you’re planting new grass seed into an existing lawn instead of starting on bare dirt. Here’s a quick overview.
- Select your grass seed. Cool-season grasses are sometimes planted as a mix to take advantage of the strengths of each type, but warm-season grasses are usually planted as a monostand — one grass type per yard.
- Mow the lawn and bag the clippings.
- Dethatch if the thatch layer is over 1/2-inch thick. Then aerate the lawn.
- Add compost and starter fertilizer.
- Plant the grass seeds over the existing lawn using a spreader. For small areas, hand-sowing is fine.
- Gently press the seeds into the soil using the back of a rake. Put down a light layer of straw mulch to protect the seeds as they germinate.
- Water the seeds lightly one to three times per day, keeping the ground moist, but not soggy.
- Mow the grass once the new seedlings are the same height as your established lawn.
For detailed guidance, check out our comprehensive article: How to Overseed a Lawn in 8 Simple Steps.
See Related: When to Overseed in Spring
FAQ About Planting Grass Seeds
No, grass seeds won’t grow into a healthy lawn without proper preparation, planting, and after-care. Even if the seeds germinate on the ground, the roots may not be strong enough to penetrate the soil, and without proper nutrients and water, they will wilt, dry out, and die.
Yes, with the right preparation, planting grass seed on hard dirt is possible. You’ll need to test the soil, remove rocks and other debris, aerate and loosen the soil, and add amendments and organic matter. These steps improve the soil condition before planting the seeds.
Yes, using a long screwdriver, push it down 6 to 8 inches into the ground. If there’s little resistance, you have the right water saturation.
Plant Grass Seeds the Right Way
While planting grass from seed is fulfilling, it can be overwhelming for some homeowners. To ensure your grass will grow healthy and lush, let a landscaping pro near you handle everything — from planting to maintenance.
Main Photo Credit: timages / Adobe Stock Free / License