
Unless they’re lawn care experts, don’t take the turfgrass advice from your cousins up North –– their cool-season lawn has different growing and maintenance requirements than your southern warm-season lawn.
For example, they may suggest you plant your grass seed in the fall, but really, you need to plant your warm-season grass seed in late spring or early summer. Whether you’re growing a new lawn or maintaining an established one, our guide to growing warm-season grasses will help you achieve beautiful, healthy turf.
What is Warm-Season Grass?
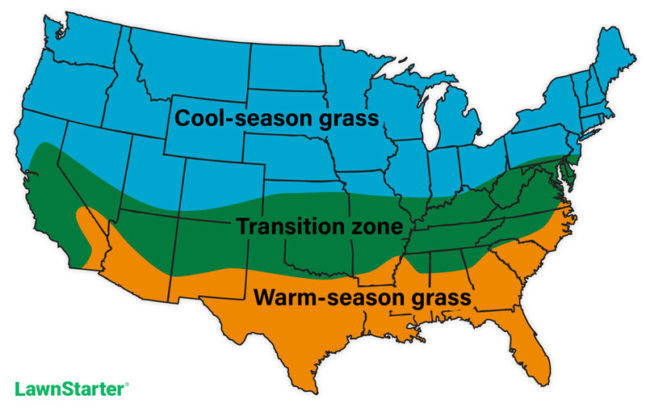
Warm-season grasses prefer the warm temperatures in the southern United States. They thrive where summers are long and winters are mild. Warm-season grasses turn green when temperatures warm up in spring and enter dormancy when temperatures drop in autumn.
Cool-season grasses prefer the cool temperatures in the northern United States. They perform best in areas with mild summers and long winters. Cool-season grasses green up in early spring when temperatures are still cool, enter dormancy in summer, and green up again in autumn. They enter winter dormancy when temperatures are too cold to tolerate.
States sandwiched between the North and South are in the transition zone. The transition zone has scorching summers and frigid winters, which means both cool-season and warm-season grasses can grow here.
Types of Warm-Season Grass
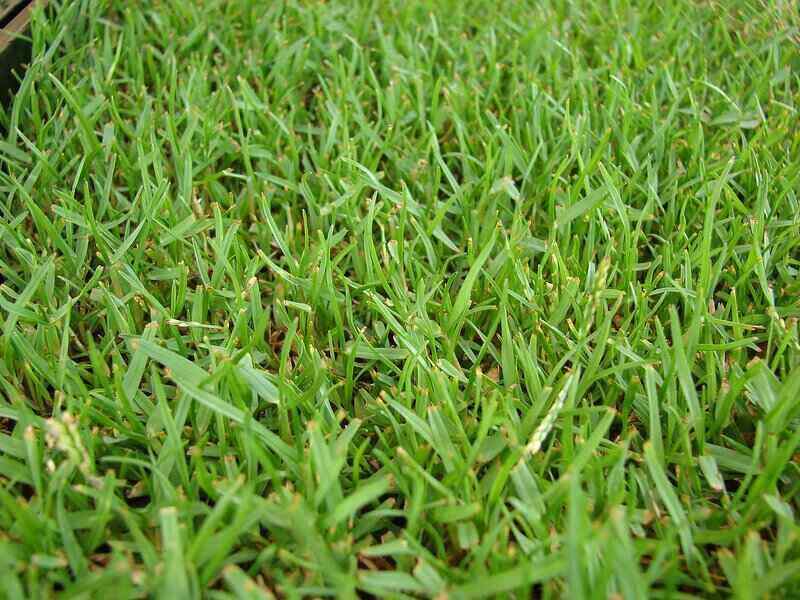
- Zoysiagrass establishes a dense, carpeted lawn. It has high drought tolerance, foot traffic tolerance, and cold tolerance.
- Bermudagrass is an excellent choice for high-traffic areas (and is commonly used in sports fields). Its stolons and rhizomes create a lawn that’s dense, fast-healing, and fast-growing.
- St. Augustinegrass is coarse-textured turf with thick, broad leaves. You can grow a St. Augustine lawn from plugs or sod, but not from grass seed. The grass doesn’t produce enough viable seeds for commercialization.
- Centipedegrass is low-maintenance but has a low foot-traffic tolerance. It produces a yellow-green lawn and can tolerate infertile soils.
- Buffalograss has a high drought tolerance. Newer varieties offer a dark green, dense, short-growing turf.
- Bahiagrass is light in color and has a coarse texture. It often grows in pastures and offers good erosion control.
- Carpetgrass is a greenish-yellow, coarse-textured turfgrass. It tolerates partial shade and moist, sandy soils.
Get to Know Your Soil First
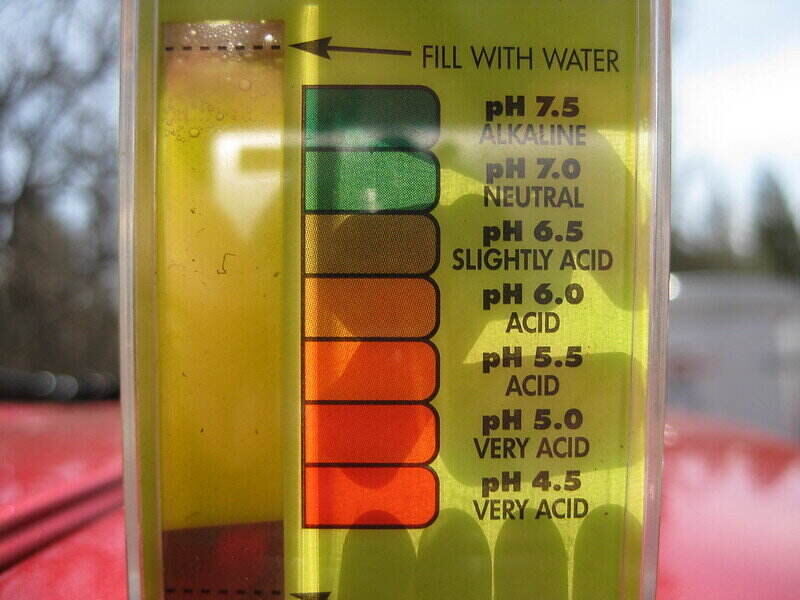
Before you start growing your warm-season grass, the first order of business is to learn about your soil. Why? Because your soil’s health significantly impacts the health of your turf.
By performing a soil test, you can learn more about your soil’s:
- Fertility levels
- pH
- Organic matter percentage
- Texture (relative proportions of sand, silt, and clay)
At-home soil tests are available, but they won’t provide as detailed results as a laboratory soil test.
An at-home soil test reveals your soil’s fertility levels; however, it usually won’t tell you what steps you can take to improve your soil. Lab soil tests often provide soil fertility levels alongside helpful amendment information and fertilization recommendations.
Your local university cooperative extension may offer soil testing. Visit their website or contact their office to learn more about preparing and mailing a soil sample.
How to Grow Warm-Season Grass
When growing warm-season grass from scratch, the three most common ways to establish a lawn are with grass seed, sod, or hydroseed. Each method has its advantages and disadvantages.
Before you spread your grass seed or lay your sod, and while your soil is still bare, make the necessary amendments to your soil according to your soil test results. For instance, you may need to add lime to increase soil pH or compost to increase organic matter.
Planting Grass Seed
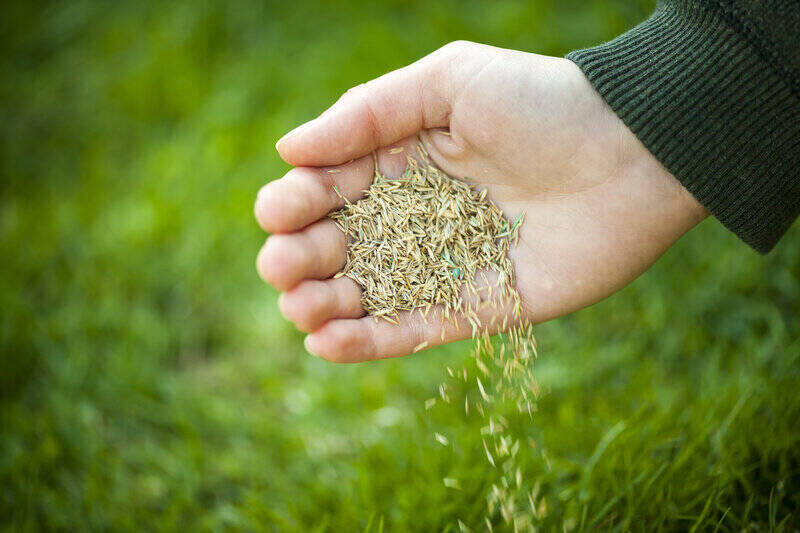
The best time to plant warm-season grass seed is between late spring and early summer. Plant grass seed when daytime temperatures are 80 degrees and soil temperatures are at least 70 degrees.
Growing your grass from seed is an affordable way to establish your lawn, but it requires plenty of patience. You won’t get an instant lawn like you will with sod, but you’ll certainly have more cash to spend elsewhere.
Grass seed takes seven to 30 days to germinate. It’s usually ready for its first mow about two months after seeding. Yet you’ll have to wait much longer for your lawn to fully mature –– about one to two years.
Grass seed lawns are prone to developing patches where wind and rain have disturbed the seeds. To keep your grass seed in place, particularly on slopes, cover the seeds with mesh burlap or cheesecloth.
Sod
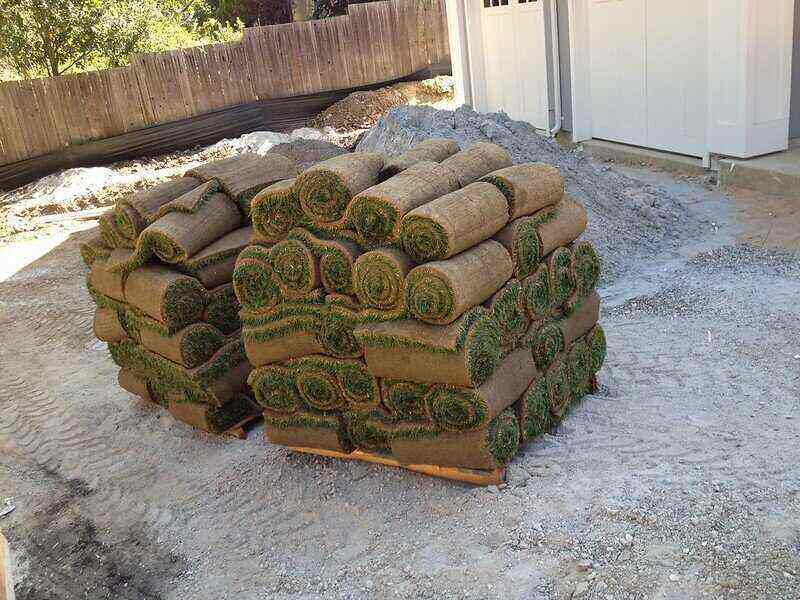
Sod is a 1 to 2-inch layer of grass and soil that’s been sliced from the earth to transplant elsewhere. It’s often delivered in long rolls or small square sheets that you or a pro lay on the bare ground. Sod provides you with an instant lawn (visually) and is ready for use in about two weeks.
Unlike grass seed, sod doesn’t limit you to a small planting window. Sod can be installed at any time of year, as long as the ground isn’t frozen, covered in snow, or soaking.
However, if you want to increase your sod’s chances for success, the best time to lay warm-season sod is mid to late spring.
Sod provides an instant, beautiful lawn –– but at a high price. On average, professionally installed sod costs between $0.87 to $1.76 per square foot for labor and materials. If you need to sod a 2,500-square foot yard, your bill may fall anywhere between $2,175 and $4,400.
Hydroseed
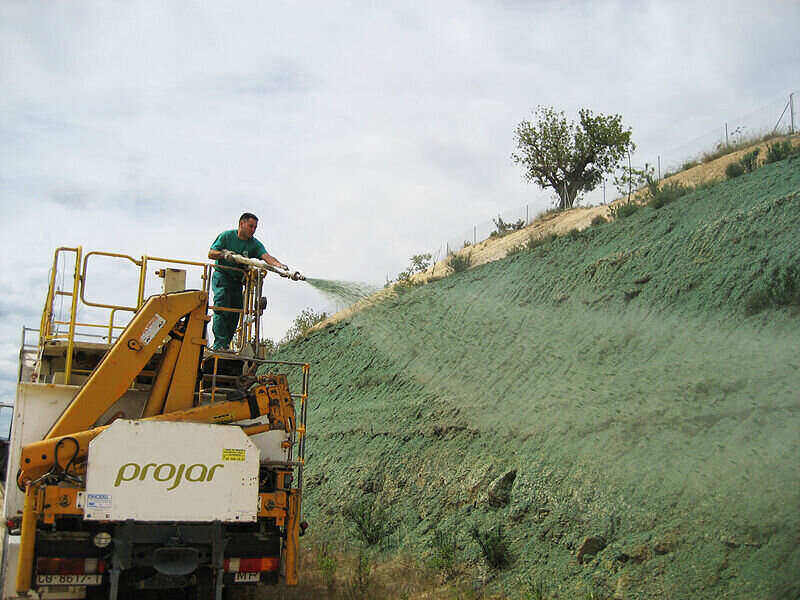
Hydroseeding is a grass seed application process in which the seed is in a mixture called slurry. The slurry contains mulch, grass seeds, fertilizer, binding agents, water, and soil amendments and is often tinted with green dye.
The slurry’s mulch and binding agents protect the seeds from wind and rain and help prevent erosion. You won’t have to worry about applying mesh burlap or cheesecloth like you would with traditional seeding.
Hydroseeding is a cost-effective solution for homeowners who need to seed a large area in a short amount of time. Professionals will seed the area using a hydroseeder, a hose-like machine that sprays the slurry. The cost of hydroseeding is significantly lower than the cost of laying sod, and the grass is quicker to grow when it has been hydroseeded as opposed to traditional seeding.
Thanks to the slurry’s fertilizer, hydroseeded lawns take five to seven days to germinate and are ready for their first mow after 30 days. But similar to a traditionally seeded lawn, a hydroseeded lawn can take about one year to establish fully.
The best time to hydroseed warm-season grass is in spring.
Mowing
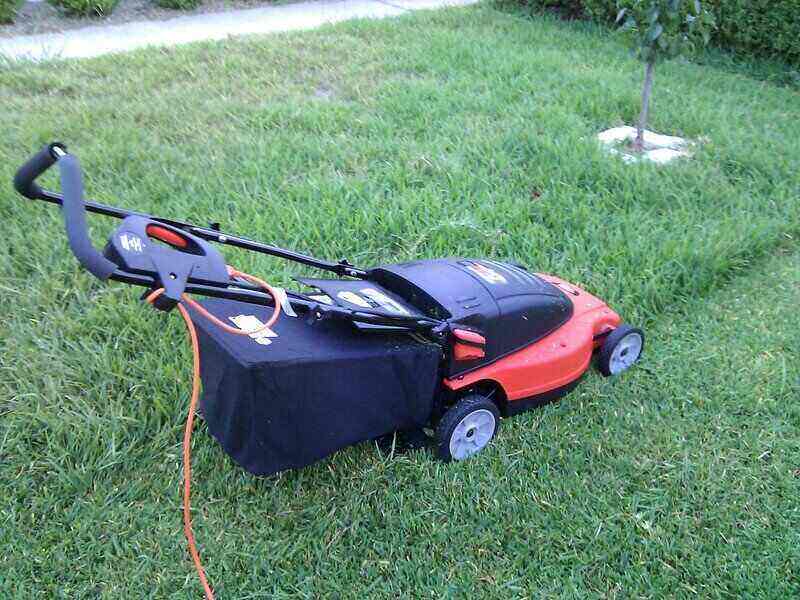
You might dread your weekly mowings, but it’s a lawn care chore that must be done. If you let your grass grow too tall, it will become a breeding ground for pests and diseases.
Frequent mowings make for a healthy lawn. Here are some helpful tips to keep in mind as you mow your warm-season lawn.
Sharpen the Blades
You do your lawn a great disservice when you cut it with dull mower blades. Sharp mower blades will cleanly cut the grass, creating a crisp, manicured look.
Dull blades will rip your grass, which is stressful for your turf (and creates an untidy look, too). The more stress you put on your lawn, the more likely it will succumb to pests and diseases.
Follow the Rule of One-Third
Never cut off more than one-third of the grass blade’s length during a single mow; otherwise, you’ll harm your turf. For example, if your grass is 3 inches tall, don’t cut off more than 1 inch.
Time the Last Mow
As your warm-season lawn begins to slow its growth in autumn, remember to give it one last mow before winter arrives.
Other lawn care guides may suggest you mow lower than unusual on the last mow to avoid snow molds, but this isn’t always necessary. Sometimes mowing too low can stress your turf.
As long as you perform the last mow and don’t let the yard enter winter with tall grass, your turf should be safe against snow molds. In other words, it’s OK to mow your lawn down to its usual height on the last mow.
Don’t Mow Too Low
Every type of grass has a recommended mowing height. Mowing below the recommended mowing height may scalp your lawn, which is harmful to your turf. Scalping the lawn removes a significant portion of the grass blade, making it difficult for the grass to photosynthesize.
Keep your mower blade on the higher end of the grass’s recommended mowing height to encourage a healthy lawn.
| Warm-season grasses | Recommended mowing height (inches) |
| Common Bermudagrass | 1.5-2.5 |
| Hybrid Bermudagrass | 0.5-1.5 |
| Zoysiagrass | 1-2 |
| Bahiagrass | 3-4 |
| Centipedegrass | 1-2 |
| Buffalograss | 2-3 |
| St. Augustinegrass | 2.5-3 |
| Carpetgrass | 0.75 to 2 |
Irrigation
If you’re going to grow a healthy lawn, you need to water it the right way. Here are some irrigation tips to keep in mind as you quench your lawn’s thirst:
- Established lawns need 1 to 1.5 inches of water per week. You can measure how much water your grass has received by positioning a few tuna cans within the water’s range. Once you’ve finished watering, measure the water’s depth inside the cans. The average depth between all the cans is how much water your lawn has likely received.
- Water your lawn less often and for long periods to promote a deep, healthy root system. Watering frequently and for short periods encourages a shallow, weak root system. It’s better to water your lawn deeply once a week than water it briefly three times a week.
- Water your lawn before 10 a.m., ideally before 8 a.m. Watering in the morning gives your lawn plenty of time to absorb the moisture before it evaporates in the afternoon sun.
- Avoid watering in the evenings. The evening might seem like an opportune time to water the lawn since the sun will be down for hours. But your lawn still needs the sun to help it dry. Water that remains on the grass for too long will create a moist environment that attracts pests and diseases.
- Pay attention to signs of thirst. If your lawn turns grayish-blue or your footprints are visible in the grass, your turf needs a drink.
- Only water the lawn when temperatures are above 40 degrees. Winter winds can make tiny droplets of water freeze to the grass. A layer of ice that persists for more than a month can suffocate the turf. Yikes!
Pro Tip: If watering your lawn becomes a gruesome task, consider installing an automatic sprinkler.
Fertilizing
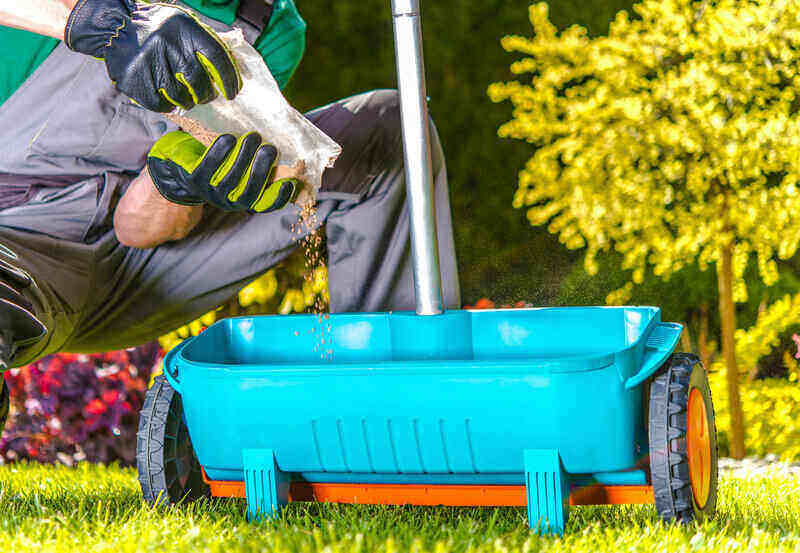
The best time to fertilize warm-season grass is mid-spring through summer –– after the dormant lawn has greened up. If you fertilize your grass before it’s greened up, the turf will sacrifice healthy root growth for speedy leaf growth.
Grabbing the brightest-colored fertilizer in the store might also be tempting, but again, you’ll want to avoid the pretty colors. Applying the wrong fertilizer to your grass could do more harm than good. Refer to your laboratory soil test results, which should reveal the optimal nitrogen, phosphorus, and potassium ratio for your lawn.
Familiar with your grass type? Check out our guides below to determine the best fertilization schedule for your warm-season grass:
- When to Fertilize Centipedegrass
- When to Fertilize Buffalograss
- When to Fertilize Zoysiagrass
- When to Fertilize Bermudagrass
Aeration
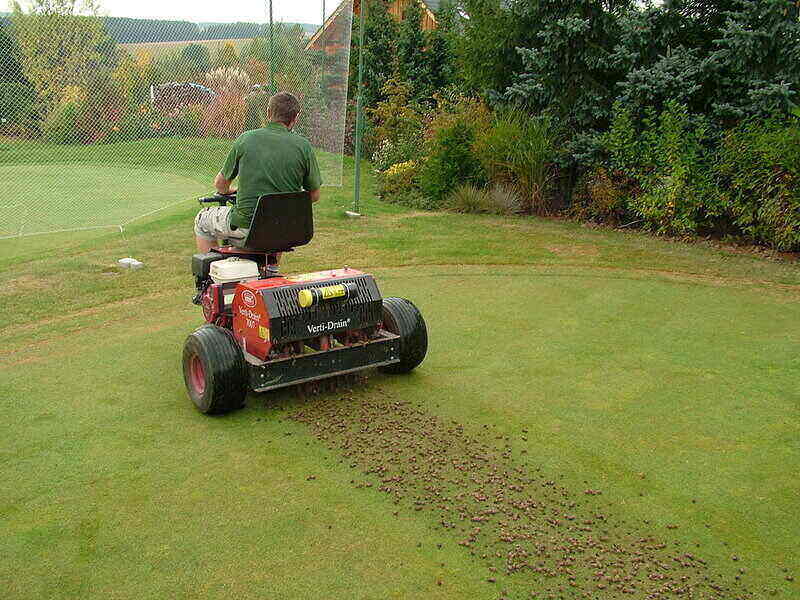
Healthy soil has ample pore space to allow the grass roots and beneficial microbes access to water, nutrients, and oxygen. When the soil becomes compact, and the pore space is compressed, your grass struggles to eat, drink, and breathe.
Aeration is the process of relieving soil compaction by making small holes in the ground. You can create the holes with a spade fork, spiked aerator shoes, or a mechanical aerator that pulls plugs of soil from the ground.
The best time to aerate warm-season grass is summer, its active growing season.
Your lawn may require aeration once every year, especially if it has a clay soil type. If your lawn has sandy soil or it appears to perform well without annual aeration, aerating once every three years is usually enough. For more information, check out When and How Often Should You Aerate Your Lawn?
Dethatching
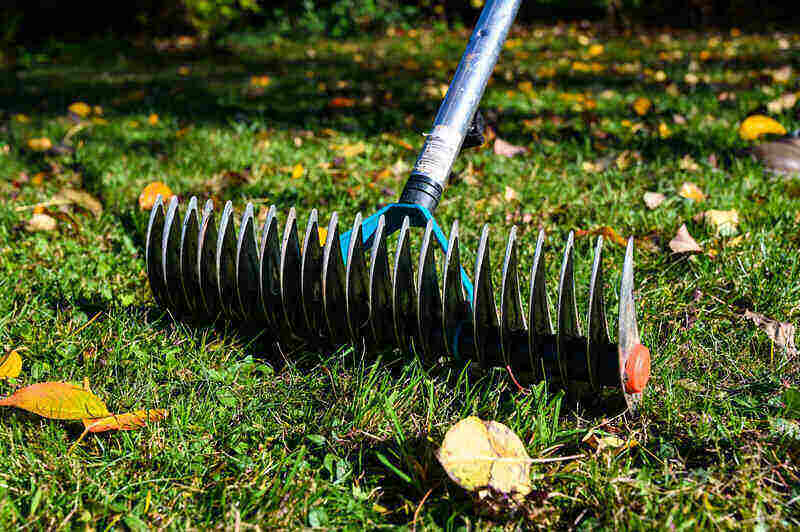
Just like you need to exfoliate the dead skin off your body, you need to exfoliate the thatch off your lawn. Thatch is the layer of dead and living organic matter accumulating between the grass blades and the soil’s surface.
A thin layer of thatch is healthy for your turf, but a thatch layer that’s 1-inch thick or more must be removed. A thick thatch layer is an open invitation to pests and disease, and it can prevent water and fertilizer from reaching the grass roots.
The best way to remove excessive thatch is with a mechanical dethatcher. Your local home improvement store may offer hourly, daily, or weekly rentals. Dethatch your warm-season grass in late spring or early summer.
Overseeding
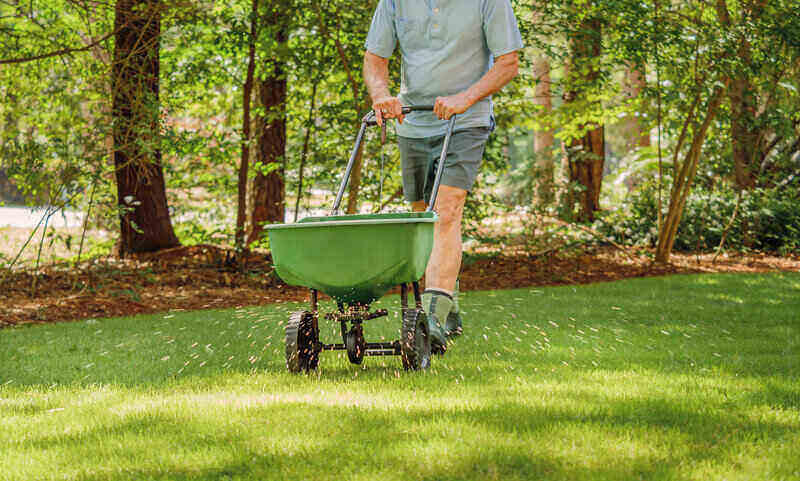
Don’t let a patchy lawn turn your landscape into an eyesore. The secret to maintaining a vigorous and patch-free lawn is annual overseeding. Overseeding is the process of spreading grass seed over an existing lawn.
By overseeding once a year, you can target patches before they occur. Overseed your warm-season lawn in spring or early summer to encourage new growth.
Overseed for Winter Green
When the temperatures drop in autumn, your warm-season lawn will turn tannish-brown and enter dormancy (don’t worry, it doesn’t mean your grass is dying!). But if you want to extend its green period, consider overseeding the lawn with perennial ryegrass.
Perennial ryegrass is a fast-growing cool-season grass that thrives in cool temperatures. It will green up your dormant lawn in autumn and parts of winter (until temperatures become too cold to tolerate). Once spring arrives, perennial ryegrass will fade as your warm-season turf takes over.
Overseed your warm-season lawn with perennial ryegrass from mid-October through mid-November.
Keep in mind that centipedegrass does not tolerate being overseeded for winter color.
Pests and Diseases
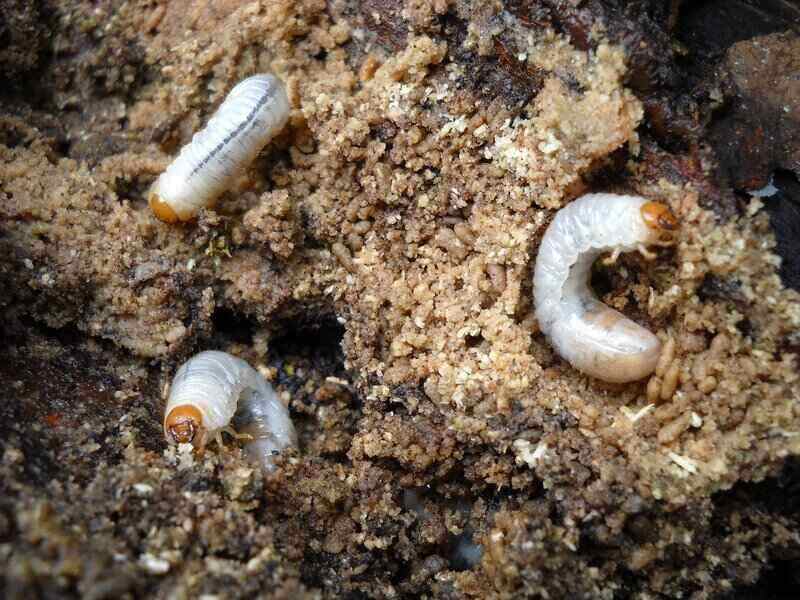
From gluttonous grubs to funky fungi, your lawn has its natural enemies. When you suspect a pest or disease has invaded your yard, it’s essential to identify the problem correctly and treat it right away. Misidentification will delay proper treatments, which could lead to dead grass.
Curious whether your lawn is battling an uninvited guest? Here are some symptoms of pests and diseases to look out for:
- Discoloration of individual turf blades
- Patches of turf discoloration
- Dead or dying patches of grass
- Visible fungus, molds, or mushrooms growing on the lawn
- Holes or mounds of soil in the yard (caused by moles, gophers, or voles)
Pro Tip: If you ever needed a good reason to take care of your lawn, now you have one –– pests and fungi are more likely to attack a weak, poorly maintained lawn than a healthy, well-maintained one.
Weed Control

Weeds are a nuisance in the yard –– they spread quickly (which makes them hard to control) and compete with your grass for sunlight, space, water, and nutrients. They also rob your lawn of its curb appeal.
When weeds are a recurring issue in your lawn, combine improved maintenance practices with pre-emergent herbicide and post-emergent herbicide. Pre-emergent herbicide creates a barrier that blocks weeds from sprouting. Post-emergent herbicide targets existing weeds.
To prevent summer weeds, apply a pre-emergent herbicide in spring when soil temperatures are around 55 degrees for at least 48 hours. To prevent winter weeds, apply pre-emergent herbicides in autumn when soil temperatures reach 70 degrees and continue to drop.
Pro tip: The healthier your lawn, the less likely it will succumb to weeds.
Keep it Simple –– Hire a Pro
Growing a flourishing warm-season lawn isn’t easy. Prepare to spend hours in the sun mowing, fertilizing, aerating, and dethatching.
Or, you can keep it simple and hire a local lawn care professional to tend the lawn for you. With their expert knowledge and experience, a lawn care crew can give your turf the treatment it deserves (and give you the extra time for relaxation you deserve).
Main Photo Credit: Laura Pratt / Unsplash