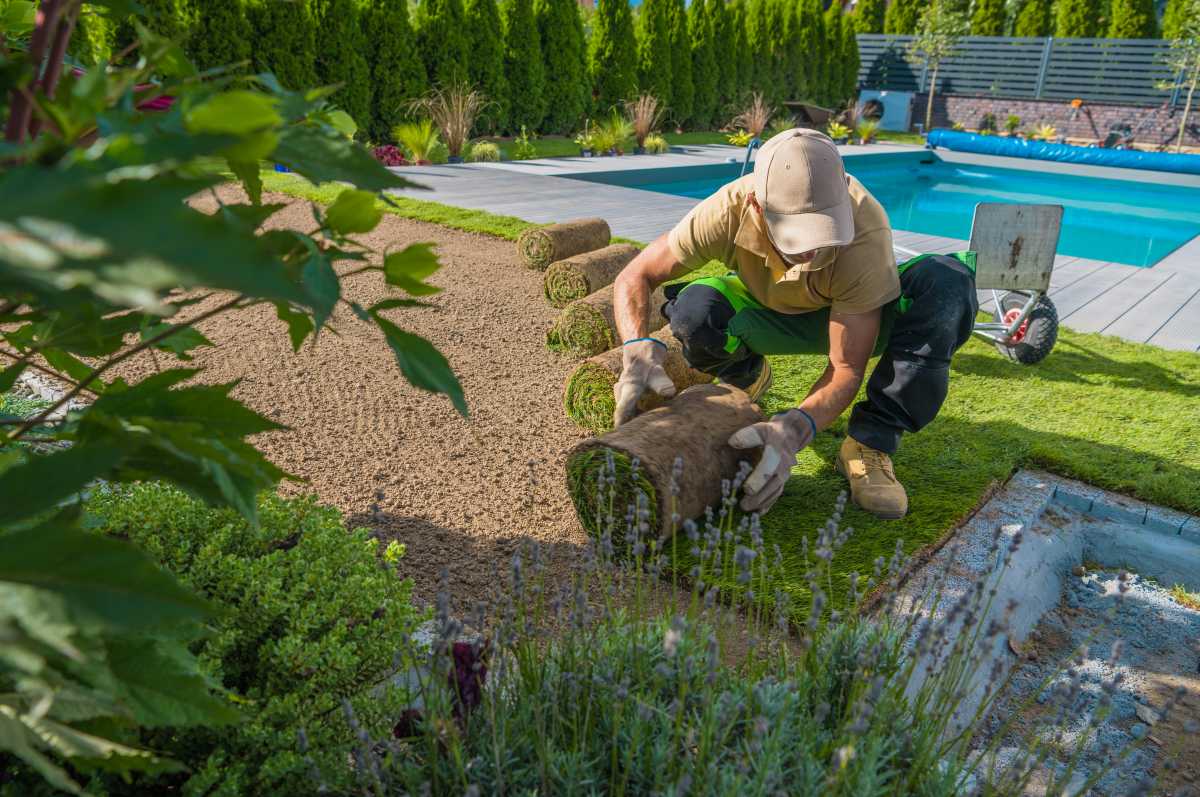
You just laid new sod — a big investment — so you want to get the aftercare just right. The first month is crucial, so we’ll explain what to do, day by day, to achieve a deeply rooted, thriving lawn.
Here’s how to care for your new sod: Give it a good 40-60 minutes of water right after installation. From there, you’ll gradually shift from frequent, shallow watering to deep, infrequent soaks. For the first 2 weeks, water twice daily, stay off the grass, and hold off on mowing until the grass reaches 3-4 inches.
Need professional help? Get a free quote from LawnStarter for professional sod installation, mowing, and fertilization services.
| Project Difficulty: Intermediate Estimated Time to Complete: 6 to 8 weeks Project Cost: Lawn fertilization costs $0.02 to $0.08 per square foot, while lawn mowing costs around $49 to $147 per visit. |
Day 1: After Laying Sod
Water Your New Sod
On the day you install the sod, water it for 40-60 minutes (1 inch of water), until the soil is moist about 4-6 inches deep.
This prevents the grass from drying out, providing adequate moisture to help the grass roots grow into the soil and promote healthy root development.
Pro Tip: To check that you’ve watered your sod lawn correctly, peel back a corner and touch the ground to see if it’s moist. Or, check a few spots in your lawn with a long screwdriver (moist soil should cling to it).
See Related: How to Lay Sod (Step-by-Step Guide)
Avoid Foot Traffic
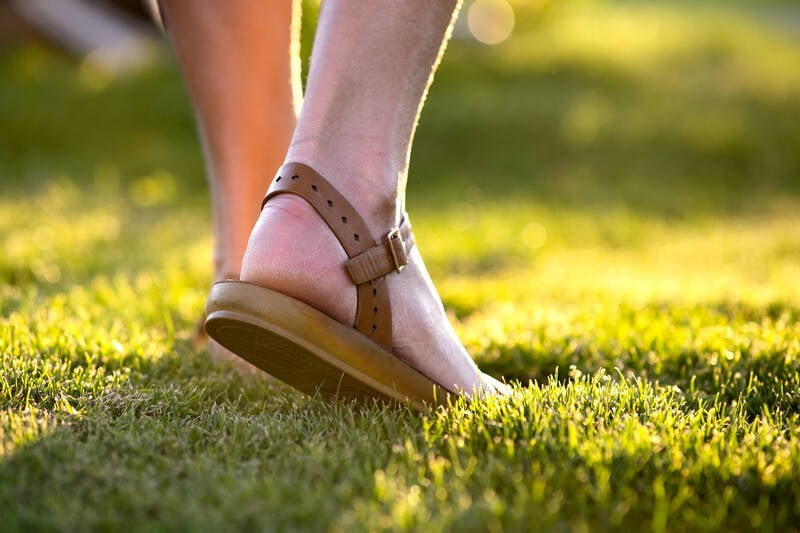
Many homeowners ask how long before they can walk on new sod. The minimum waiting period is 14 days, but waiting a full month produces better results.
Minimizing foot traffic reduces stress on your turf and prevents soil compaction, which can otherwise hinder root development. Plus, you won’t be disturbing your grass as it starts to grow roots.
For dogs specifically, keep them off the lawn for at least 30 days. Their urine contains concentrated nitrogen that can burn developing grass, and their paws can disrupt fragile roots that haven’t fully anchored yet.
Pro Tip: If you have no choice but to walk on your new sod lawn, avoid doing so when it’s wet. Remember that wet soil is more prone to compaction than dry soil.
See Related:
Days 2-14: Root Development
Watering Schedule
Establishing a consistent new sod watering schedule is critical during this phase — inconsistent watering is the number 1 reason new sod fails to establish properly.
“Provide light but frequent watering for the first 2 to 3 weeks so the soil stays moist but not overly wet. Once the sod is firmly rooted, you can taper off on watering,” says Michael Masucci, public educator at the University of Florida IFAS Extension.
Water your lawn twice daily for 10-15 minutes per watering (about 0.1 inch of water), to ensure the soil stays moist to a depth of 1 inch under the sod. Remember to adjust your watering schedule for rainfall. The goal is to keep your soil moist, not soggy or squishy.
Water your new sod in the morning and late afternoon. High temperatures during mid-day and early afternoon can cause water to evaporate quickly.
Don’t water in the early evening or during the night. Soaking your lawn in the evenings creates an ideal environment for fungal growth and disease.
Pro Tip: If you can’t water daily, soak the soil to a depth of 6 inches to prevent the sod from drying out.
See Related: Best Time to Water Your Grass
Check Root Development
Start checking for root development 7-10 days from sod installation. To do this, Masucci advises gently tugging on the grass blades.
“If there’s resistance, roots are establishing,” he says. “You can also carefully lift a corner of the sod. Look for white, healthy roots growing into the soil beneath. This ensures the sod is adapting to its new environment.”
Between days 10 and 14, you should meet a lot more resistance when lifting the sod. This is proof that it has bonded successfully with the soil. At this point, the grass should also feel fresh and moist to the touch.
Poor watering can make your sod dry and turn it bluish-gray. Check soil moisture and adjust irrigation if needed.
Weeks 3-4: Establishment
Adjust Watering
At the beginning of week 3 (after 14 days), start gradually reducing your watering frequency.
Water in the morning every 2-3 days. The amount of water should remain the same (1-1.5 inches per week). But instead of watering your lawn in short, frequent bursts, you’re watering it in one go.
Let’s say you’ve been watering your new sod twice daily for 15 minutes per cycle (for the past 2 weeks). Now, you can reduce the frequency to every other day and increase the duration to 1 hour. This deep and less frequent watering helps the root system penetrate deeper into the soil.
See Related:
First Mow
Depending on your grass type, it’s likely to reach its ideal height (typically 3-4 inches) for first mowing by week 3.
Here’s a quick guide on the recommended height before the first mow by grass type for cool-season grasses and warm-season grasses:
| Type of Grass | Recommended Height Before First Mow | Recommended Mowing Height |
| Bahiagrass | 4 – 5 inches | 3 – 4 inches |
| Bermudagrass | 1.5 – 2.5 inches | 1 – 2 inches |
| Buffalograss | 1.5 – 3 inches | 1 – 2 inches |
| Centipedegrass | 1.5 – 2.5 inches | 1 – 2 inches |
| Fine fescue | 3 – 5 inches | 2.5 – 4 inches |
| Hard fescue | 2 – 3 inches | 1.5 – 2.5 inches |
| Kentucky bluegrass | 2.5 – 4 inches | 2 – 3 inches |
| Perennial ryegrass | 2 – 3 inches | 1.5 – 2.5 inches |
| St. Augustinegrass | 3 – 4 inches | 2.5 – 3 inches |
| Tall fescue | 2 – 4 inches | 1.5 – 3 inches |
| Zoysiagrass | 1 – 1.5 inches | 0.5 – 1 inch |
Before mowing new sod for the first time, do the following prep work:
- Let new grass grow one-third taller than its recommended height. At a 3-inch mowing height, that means waiting until it reaches 4 inches.
- Sharpen your mower blades to ensure a clean cut and avoid injuring your grass or pulling it out on the first mow.
- Cut your grass between 8 a.m.-10 a.m. or 4 p.m.-6 p.m., the best time of day to mow your lawn. Don’t mow your lawn between 6 a.m.-8 a.m. (Grass is still wet with dew.)
- Don’t mow wet grass. Grass clippings clump together, attracting pests and diseases. Also, if the soil is wet, your lawn mower leaves ruts.
- Don’t cut more than 1/3 of the grass blade in one mow (the 1/3 rule of mowing)
Mowing below the recommended height exposes the soil to more heat and causes the grass to lose moisture, making your lawn more attractive to pests and more susceptible to diseases.
See Related:
Fertilization
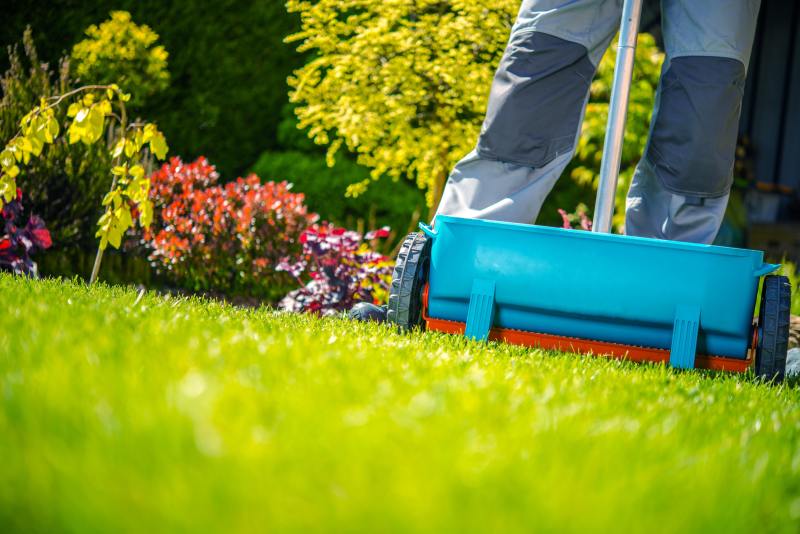
When to fertilize new sod is one of the most common questions homeowners ask, and timing is everything. Applying fertilizer too early is a waste of money because the root system has not fully developed yet.
Worse, fertilizer applied less than 30 days after installation can burn the delicate, growing roots and promote excessive top growth before the root system can support it.
Masucci recommends waiting 30 to 60 days before fertilizing new sod. After a month or two, the roots will have grown into the ground and start craving nutrients. This waiting period allows roots to establish deeply so they can actually absorb and utilize the nutrients you apply.
Pro Tip: Remember to apply the right starter fertilizer, as recommended in your soil test report. It will provide roots and soil with the perfect mix of beneficial nutrients.
See Related:
- FAQs About Applying Starter Fertilizer to Your Lawn
- How to Fertilize Your Lawn
- How Much Does Lawn Fertilization Cost?
Things to Consider in Sod Aftercare
Season and Temperature with Watering
When caring for new sod, consider the current season and temperature. For instance, you may need to water multiple times per day on hot summer days to prevent the soil from drying out. Conversely, you might have to water less when it’s raining.
Gaps and Seam Separation
Common causes of gaps in your sod include uneven ground, poor soil preparation, insufficient watering, and not installing sod pieces tightly together. Seam separation isn’t just unsightly; it invites real problems. According to Masucci, gaps between sod pieces can cause drying out, weed intrusion, and stormwater runoff.
Pro Tip: Repair small gaps by adding a thin layer of topsoil to fill them. For large gaps, cut pieces of unused sod to fill in the bare spaces.
Brown Spots
Brown spots in new sod lawns are one of the most frustrating problems homeowners encounter, but they’re usually fixable if you act quickly.
Poor irrigation is a common cause of brown spots, but it can also be due to low soil quality or excessive heat. Check soil moisture and increase watering frequency if dry. Also, check your sprinkler’s coverage to ensure water is evenly distributed across the lawn.
Long-Term Maintenance
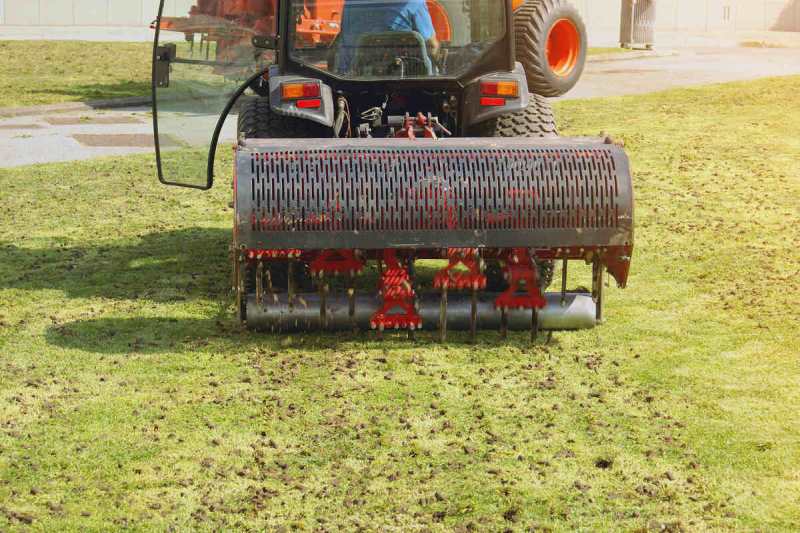
Long-term lawn care usually involves watering, mowing, and fertilizing. Depending on your lawn’s condition, you might also need to aerate and dethatch. Plus, you might need to get rid of weeds like crabgrass and pests like grubs.
Most homeowners find lawn care maintenance quite overwhelming. So, if you have a busy schedule, you’ll find that hiring a lawn care pro can save you a lot of trouble.
See Related:
- Lawn Care Schedule: Month-by-Month Guide
- Best Time to Aerate and Overseed Your Lawn
- When to Dethatch Your Lawn
FAQ
Poor soil preparation, mowing too soon, overwatering, or underwatering can prevent your sod from taking root.
The average cost to install sod ranges from $0.60 to $1.65 per square foot, depending on yard size and grass type.
Hire a Pro to Care for Your New Sod
Caring for new sod requires consistent attention during the critical first 4-8 weeks. Between twice-daily watering, avoiding all foot traffic, timing the first mow perfectly, and monitoring for problems like brown spots or gaps, many homeowners find the process overwhelming.
Professional lawn care services can handle your new sod maintenance from day 1, including irrigation setup and monitoring, proper mowing at the right time, fertilization on the correct schedule, and troubleshooting issues before they become expensive problems.
Ready to protect your investment? Get a free quote from LawnStarter’s local lawn care pros who specialize in mowing new sod and maintaining your lawn all season long.
Sources:
- Michael Masucci, public educator at the University of Florida IFAS Extension. Personal interview.
- “Establishing Lawns from Sod.” By Zac Reicher, professor, and Keenan Amundsen, assistant professor. University of Nebraska-Lincoln.
- “Home Lawn Watering Guide.” by Brad Fresenburg, state turfgrass specialist. University of Missouri.
- “Landscape Irrigation Management Part 6: Soil Type & Irrigation Frequency.” By W. Bryan Smith, area Extension agent and agricultural engineer. Clemson University.
Main Image: Gardener Rolling Out Turf Grass. Image Credit: Tomasz Zajda / Adobe Stock