Weed and feed products promise twice the benefits with half the work by combining an herbicide and fertilizer in the same bag — two time-sensitive ingredients you must spread in a single, fine-tuned application.
To get it right, apply weed and feed to actively growing turf when weeds pop up. Use a spreader, avoid ornamentals, and don’t water or mow for 1 to 2 days. These are the golden rules on how to weed and feed your lawn, but there are many more details and expert opinions you should know.
Note: The application process may differ depending on the type of product. Always read the weed and feed label carefully and follow all application instructions.
| Project difficulty: Beginner to Intermediate Estimated time to complete: 0.5 hours for a 1/2-acre lawn Project cost: About $260 (including weed and feed, broadcast spreader, mask, goggles, gloves, and leaf blower) |
Do You Need Weed and Feed?
A combined product saves effort but makes it harder to apply both ingredients at the right time and in the correct amounts. This is why many turf experts are reluctant to endorse it.
“The amount of fertilizer or herbicide in the product may not align with what your turf needs,” says Pawel Petelewicz, assistant professor in the Agronomy Department at the University of Florida.
According to Petelewicz, weed-and-feed is NOT for lawns with isolated patches of weeds. It would add too much herbicide and pollute the environment. “If weeds are only present in certain areas, applying postemergence herbicides across the entire lawn is unnecessary,” says Petelewicz. It’s easier to spot-treat the weeds with a weed killer spray.
Applying herbicides and fertilizers separately gives you better control. However, if weed-and-feed is your treatment of choice, we’re here to support you with all the information you need for a successful application.
Note: If you’re unsure about the product or application process, hire a lawn treatment professional to treat the lawn.
Step 1: Assess Your Lawn
Types of weeds: Weed and feed products eliminate 200+ weed species, but no formula can control ALL weed types. Identify your specific weeds and choose a product that lists them on its label.
My Tip: I use the Plantum app to identify unknown plants around the yard. You take a picture, and the app tells you what plant it is.
Type of grass: The wrong weed and feed can damage your turf. For example, products containing atrazine as a weed killer can damage Bermuda, while formulas with Trimec (2,4-D, mecoprop – MCPP, Dicamba) can harm St. Augustine.
Lawn size: Divide the lawn into rectangles, measure and multiply the length by the width (in feet) for each, and then add the totals. Calculate the product needed based on the label recommendations per 1,000 square feet.
Example: If your lawn is 2,500 square feet and the product label recommends 3.6 pounds per 1,000 square feet, you need 9 pounds total ([2,500/1,000] x 3.6 = 9).
See Related:
Step 2: Choose the Right Product
Remember, you’re buying a 2-in-1 product, so you’re making 2 decisions in 1 purchase: a good weed killer and a suitable fertilizer.
For Weeding
The typical weed and feed product contains selective post-emergent weed killers that eliminate already-grown weeds without damaging the turf. They kill:
- Most broadleaf weeds like dandelions, clover, dollarweed, chickweed, and henbit.
- Some grassy weeds.
Combination products combine post-emergent and pre-emergent herbicides, also keeping new weeds from sprouting.
The pre-emergent problem: Weed and feed applications are done too late for pre-emergent herbicides to work properly. If you have a heavy crabgrass infestation, apply a crabgrass preventer in early spring and a proper fertilizer later.
See Related: 7 Best Weed and Feed Products of 2025 [Reviews]
For Feeding
To choose a good fertilizer, take a soil test to check for nutrient deficiencies and consider the grass type and season.
- The typical weed and feed has 15% to 30% nitrogen and around 4% to 16% potassium.
- If the soil test shows a deficiency, use a complete fertilizer (one that includes all three macronutrients: nitrogen, phosphorus, and potassium).
Slow-release vs. quick-release:
- Slow-release weed and feed release nutrients gradually and are better for just-after-green-up applications.
- Fast-release weed and feed release nutrients quickly and are better suited for the peak growing season.
See Related:
- When to Fertilize Your Lawn
- Guide to Growing Warm-Season Grasses
- Guide to Growing Cool-Season Grasses
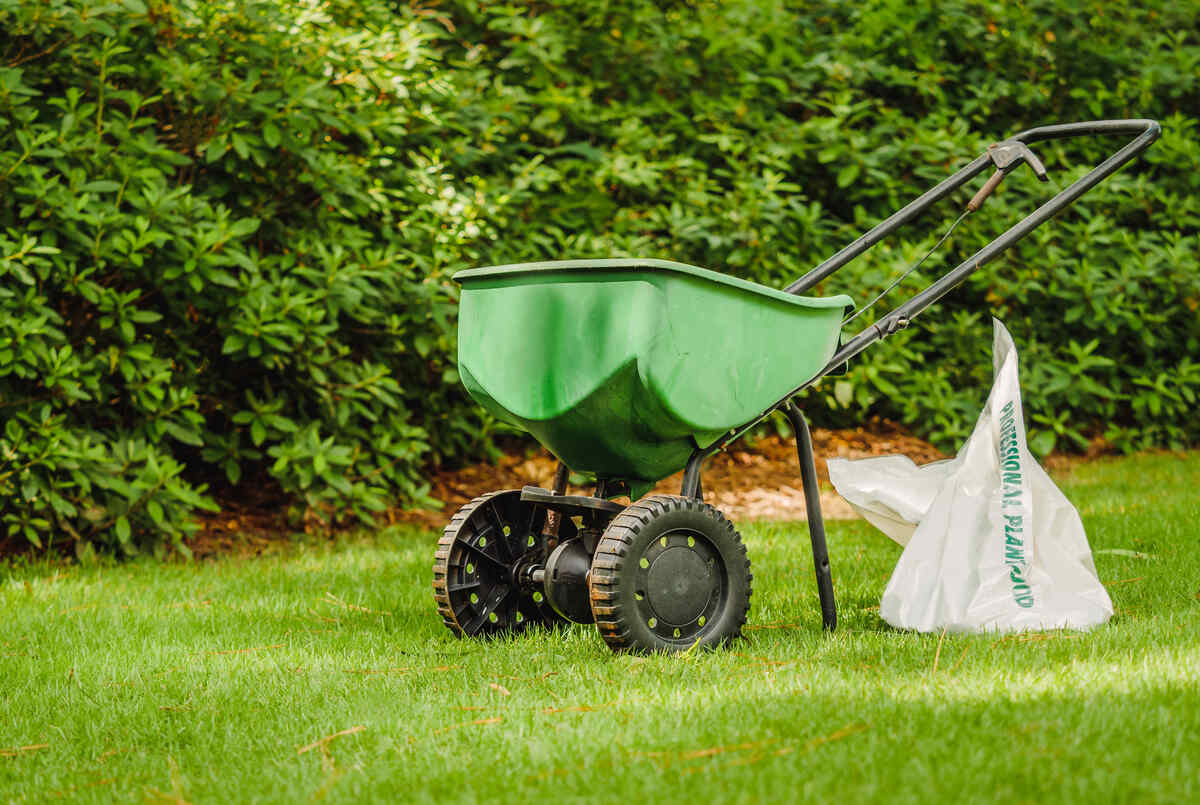
Step 3: Gather Equipment
What you’ll need:
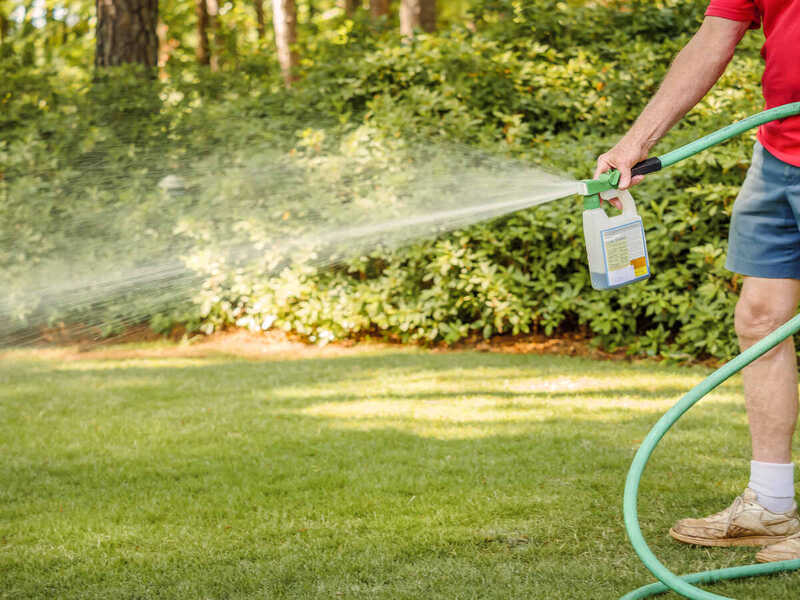
- A fertilizer spreader (for granular products) or a sprayer (for liquid products)
- Protective goggles
- Chemical-resistant gloves
- Mask
- Long-sleeved clothing
- Closed-toe shoes
A broadcast spreader is the regular choice for granular products, but if you grow trees and shrubs on your lawn, use a drop spreader. It drops the granules directly under its deck and prevents spraying ornamentals with broadleaf herbicides that can harm them.
If you apply a liquid weed and feed, use a hose-end sprayer for larger areas and a pump sprayer for targeted treatments.
See Related: How to Choose The Right Lawn Spreader
Step 4: Prepare Your Lawn
One to two days before the application:
- Rake fallen leaves and remove twigs, toys, and other debris on the lawn.
- Mow the lawn at the regular mowing height.
- Dethatch with a rake or a dethatcher if the thatch is over 1/2 inch thick
- If the soil is dry and you don’t expect rain, irrigate the lawn with at least 1/2 inch of water.
The day of the application:
- Give your lawn another light rake if necessary.
- If the label says to apply on wet grass, lightly water the lawn (up to 1/4 inch) or apply on a dewy lawn or after a rain shower.
- Keep children and pets away from the lawn during the application.
Note: Don’t apply weed and feed on dry soil; these products are rich in salts and can burn the grass.
Step 5: Apply Weed and Feed
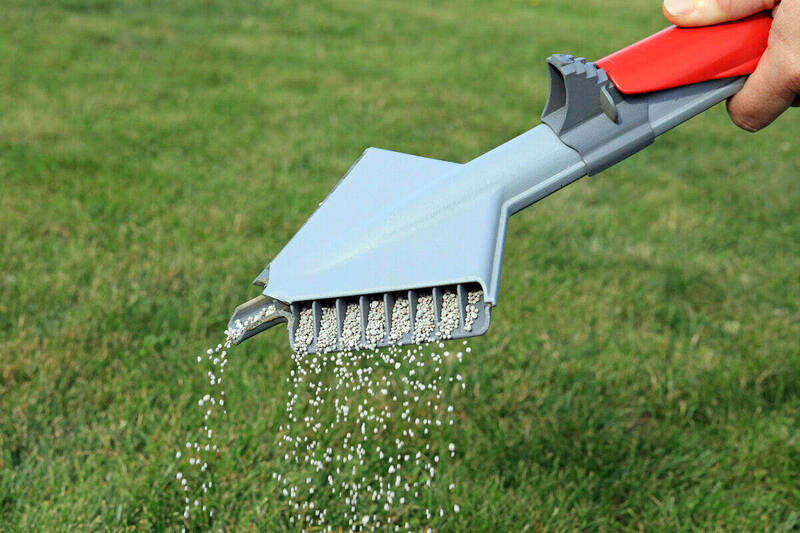
These guidelines apply to most products, but not all. Always follow the manufacturer’s instructions.
Choose the Right Timing
It’s important to spread the weed and feed only when the grass is actively growing, so wait until after the second mow of the season.
- Apply during a mild, windless day (60 F to 90 F) with no rain in the next 24 to 48 hours.
- Spread the product in the early morning or early evening to avoid the midday heat.
Note: Don’t apply when the grass is stressed by heat, drought, injury, or disease.
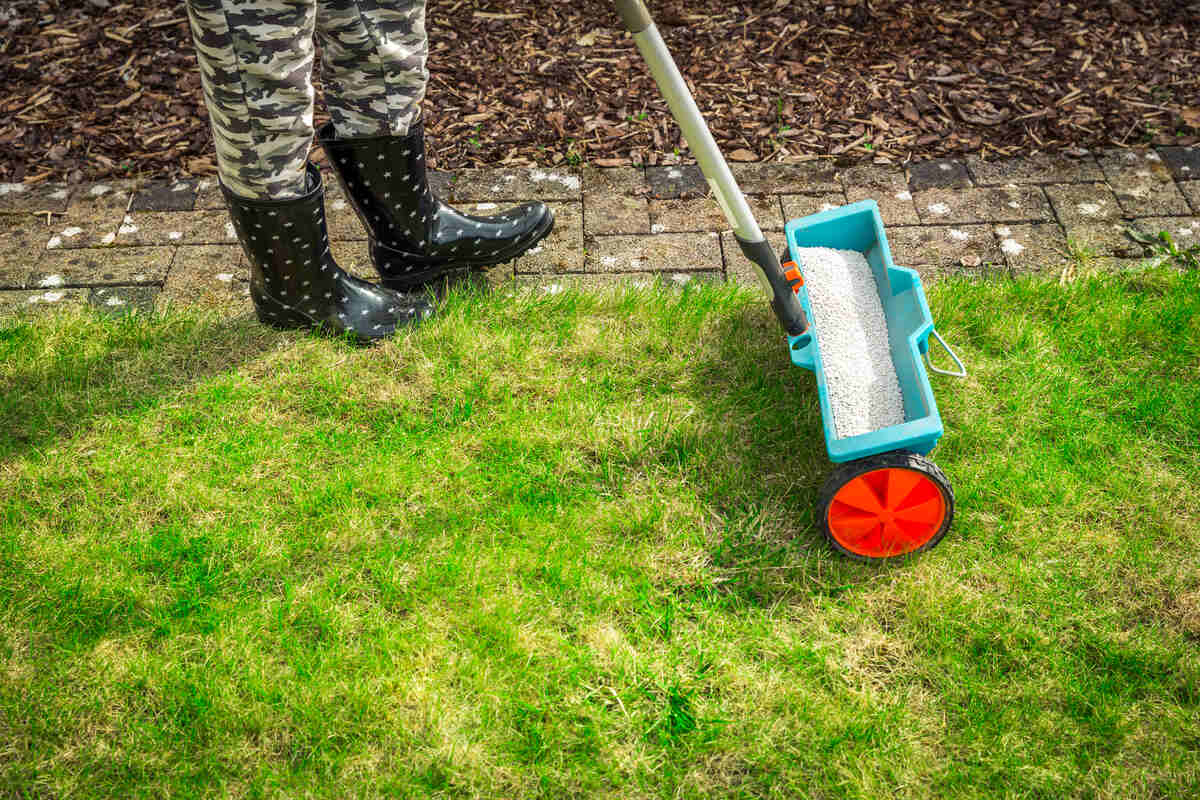
Prepare the Spreader
- Check the application rate and spreader settings on the product label.
- Fill the spreader hopper.
- Adjust the spreader dial to half the rate on the label.
Why half? You’ll make 2 passes instead of 1 to ensure a perfectly even application without the nasty zebra pattern that occasionally appears.
Don’t exceed the application rate on the label or use more than twice a year. Doing so risks damaging the turf and overloading your soil with chemicals that can easily leach into our waterways.
Pro Tip: If your spreader has pneumatic tires, check the air pressure to ensure both tires match and the spreader is balanced right to left.
Apply in a Systematic Pattern
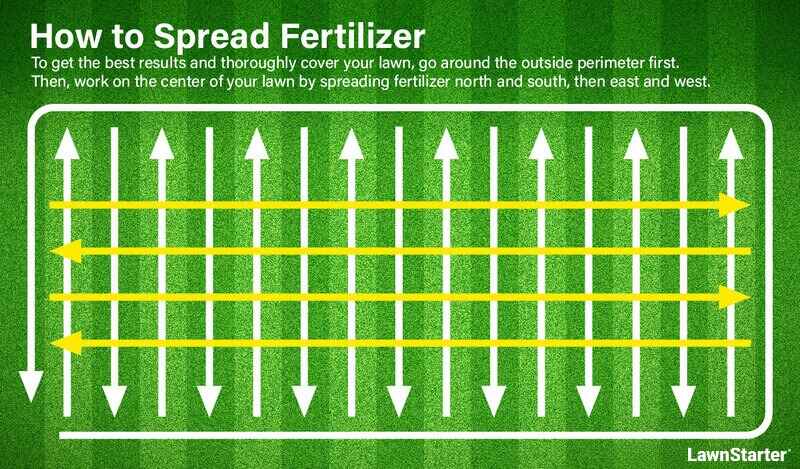
First, walk the spreader around the perimeter, then drive the spreader along the lawn’s length back and forth on parallel strips. When you have covered the entire surface, turn 90 degrees and walk the lawn’s width back and forth. Just like in the image below.
Note: If the product label requires you to apply it to dry grass, follow the package instructions to lightly water the lawn after the application.
Clean Up and Store the Product
Blow stray granules on the pavement back onto the lawn with a leaf blower. They could easily end up in the storm drains with the next rain and harm fish and aquatic plants.
Got some weed and feed leftover? Seal the bag and store it safely in your garage, where it’s hard to reach. It’s toxic to pets and children and can cause severe damage if ingested, inhaled, or comes into contact with the skin or eyes.
Safety measures:
- Stay off the lawn and keep children and pets away from the treated area until the chemicals are properly washed into the soil by rainfall or irrigation.
- If you get weed and feed dust in your eyes, flush for 15 minutes with clean, lukewarm water.
- If ingested by mistake, immediately call Poison Control or 911.
You’re Not Done. Follow Up Properly.
Don’t irrigate the lawn for 1 to 2 days, unless the label says otherwise. When you do, apply about 1 inch of water to moisten the top 6 inches of soil and ensure the fertilizer in the weed and feed gets to the grass roots.
- Dry soil can limit fertilizer and herbicide effectiveness and eventually burn the turf’s roots.
- If you overwater, you’ll wash out the nutrients and weed killer before they do their job.
How about mowing? Don’t mow for 1 to 2 days after the application to give the foliar herbicide time to travel from the sprinkled leaves down to the roots.
If you need to seed the lawn, wait 4 to 6 weeks after a weed and feed application. This way, the herbicide has time to disperse and won’t interfere with the germination. Some products take a longer time to decompose, so check the label for the recommended waiting period.
See Related: How to Get Rid of Weeds in Grass
FAQ
Yes, you can spot treat after applying a weed and feed if you see any remaining weeds or new plants sprout after the application.
No, you should not apply additional fertilizer right after spreading a weed and feed. The product already contains fertilizer, and you risk overfertilizing the lawn and burning the grass.
To reduce the runoff from weed and feed fertilizers:
• Use a slow-release product.
• Aerate and dethatch the lawn to improve absorption.
• Apply the recommended amount.
• Consider organic alternatives such as corn gluten meal.
Leave Combo Treatments to Lawn Care Pros
Weed and feed applications can easily go wrong if you skip important details. Bet on the winning strategy and hire a lawn treatment expert to feed and free your lawn of weeds. LawnStarter connects you with skilled lawn care professionals who can take all the annoying tasks off your back, from regular mowing to leaf removal.
Sources:
- “Fall Lawn Weed Control.” By Paul O. Johnson, SDSU extension weed science coordinator. South Dakota State University Extension.
- “It’s Warm Outside! Is it Time to Put Weed Control on my Lawn?” By Jeremy Kichler. University of Georgia.
- “Managing Weeds in Warm Season Lawns” By Chuck Burgess, former HGIC horticulture extension agent. Clemson University.
- Pawel Petelewicz, assistant professor in the Agronomy Department at the University of Florida, Gainesville, FL. Personal interview.
- “The Dilemma with Weed-and-Feed Lawn Products” By Christopher Enroth, horticulture educator. University of Illinois.
- “Weed Control in Home Lawns” By Patrick E McCullough, professor of crop & soil sciences and Clint Waltz, extension specialist. University of Georgia.
Main Image Credit: Scott Habermann / Adobe Stock