If you’ve been dreaming of installing an in-ground garden bed, laying down gravel landscape features, or putting in a pond surrounded by native plants, you’ll need to remove your turf grass first. Luckily, our 4 ways to remove grass will help you get the job done like a dream.
Keep reading to find out how a grass-free yard can change your life, boost the visual appeal of your property, and contribute to a more eco-friendly and sustainable outdoor space.
Why You Should Remove Grass
Ecologists recommend transforming lawns into more natural areas to support biodiversity and save many species of plants, animals, and insects from extinction. But the reasons for doing this don’t end there. Let’s take a look at some situations where grass removal may make sense:
- Conserve water: Mowing can be a chore; the less grass you have, the less water you need to keep it alive.
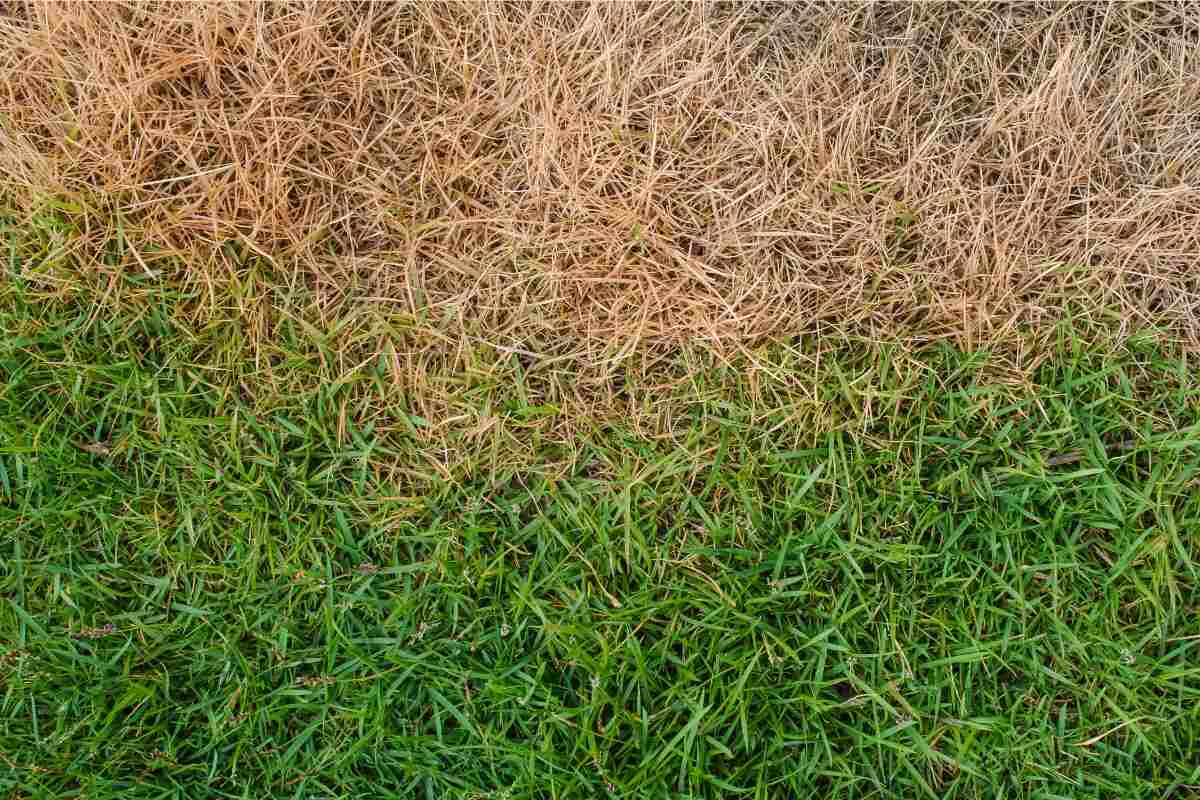
- Stop the spread of diseases or pests: If your grass is affected by various diseases, pathogens, or pests, removing the infected areas can make a huge difference in containing the problem.
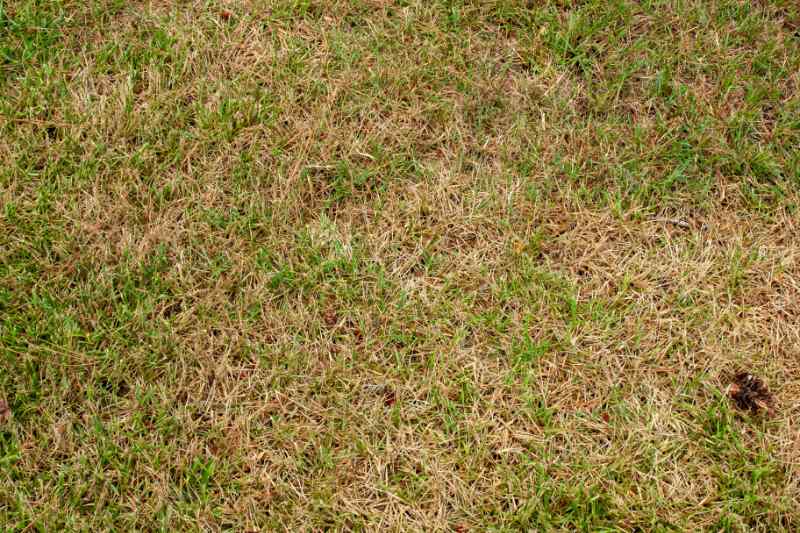
- Contain weeds: Weeds can be super annoying and take over your lawn. If you’re struggling to contain the weed population in your yard, and herbicides or manual weeding just aren’t cutting it, removing problem areas may be your best bet.
- Getting a fresh start with new seed: In some instances, reseeding or transforming a lawn may require removing existing grass to start with a clean slate and give the soil time to recover.
- Adding hardscapes: Grass removal may be necessary to add hardscapes into your yard. You’ll likely have to alter the layout of your lawn to make the desired changes.
Before starting, check the following off your to-do list:
- Do your homework: Call 811 to reach utility marking services so you don’t accidentally take out the electricity, cable, internet, natural gas, or water lines while you DIY.
- Get HA approval if applicable: If a Homeowners Association governs your home, check with them for any restrictions on turfgrass removal. It’s also a good idea to check local regulations on landscaping and yard waste removal, as permits may be required in certain cases.
- Take proper safety precautions: This is especially important if you’re using any machinery to assist you with removing the grass. Wear safety gear and operate all tools carefully.
- Make a note of your sprinklers to avoid unforeseen damage: You may want to reuse the sprinkler heads for a new lawn or transform them into a drip irrigation system to help you maintain a greener and healthier landscape.
4 Ways to Remove Grass From Your Yard
Depending on your goals and the condition of your lawn, you may decide to remove grass and start fresh. Here are the four most common ways to go about it:
1. Dig It Up
Once you know where you can and cannot dig, select your tool of choice:
- Shovel
- Sod cutter
- Rototiller
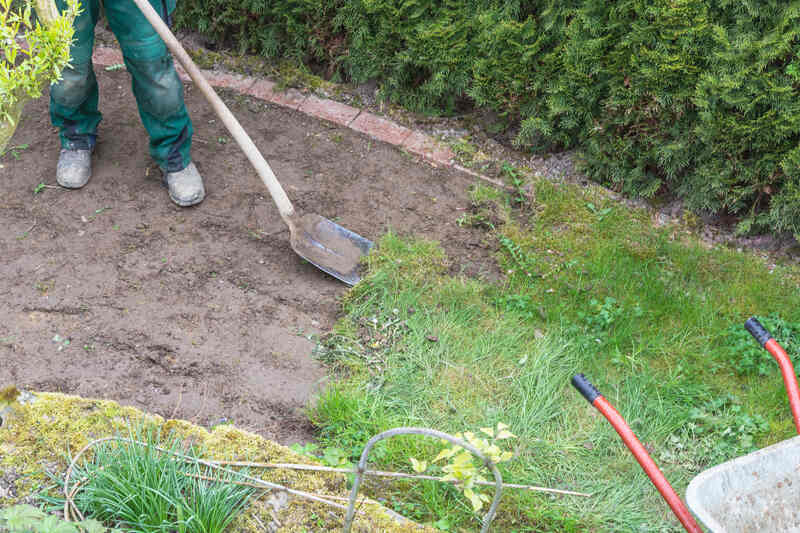
How to Remove Grass with a Shovel
For an economical and eco-friendly approach, use a shovel. Here’s how to use it to remove grass:
- Gear up (heavy-duty gloves, safety glasses, long-sleeved clothing, and possibly ear protection) and mark the area you want to work on.
- To make digging easier, dampen the area a day or two before starting.
- Push down on the shovel to cut through the grass and soil. You may have to move it back and forth to loosen the ground and be able to remove the strip of grass.
- When lifting the strip from the ground, be careful not to take too much topsoil with it – 1 to 2 inches of soil should be enough.
- Collect the removed strips of grass and transfer them to a wheelbarrow or another type of container for transportation (either for disposal or mulching in your yard).
How to Remove Grass with a Sod Cutter
Sod cutters perform the same function as a shovel but can cut out larger strips at a time. They can be super heavy (about 300 pounds), costly, and neither user- nor environmentally friendly (they typically run on gas). Plus, they usually remove more topsoil than necessary, so you may need to scrape off any excess from your strips. Follow these steps to achieve good sod-cutting results:
- Gear up (heavy-duty gloves, safety glasses, long-sleeved clothing, and possibly ear protection)
- Mark the areas you want to work on by outlining them (you can use string, spray paint, or other materials you see fit).
- Inspect and familiarize yourself with the sod cutter tool before using it. Adjust its settings based on your grass type, length, and density. Always start with a shallow setting and adjust as you go.
- After starting the sod cutter, follow the marked boundaries in a straight line and keep a steady pace to allow the tool to work its magic. You can overlap each line slightly to ensure you remove all the grass.
- Collect the removed strips of grass and transfer them to a wheelbarrow or another type of container for transportation (either for disposal or mulching in your yard).
How to Remove Grass with a Rototiller
Rather than removing swaths of grass at a time, a rototiller churns soil and grass together, and it’s best for use on small sections of land. Unlike a shovel or sod cutter, though, you’ll need to re-level the area the tiller jumbled up. You’ll also need to smother the tilled area with mulch, newspaper, cardboard, or plastic to kill any grass or weed seeds in the mix.
Pros of Digging Up Your Grass
- A shovel or sod cutter can entirely remove patches of lawn neatly
- A shovel or sod cutter maintains a flat surface
- A shovel or sod cutter is excellent for large areas
- With a rototiller, there are no grass strips to discard/no need for lugging a wheelbarrow
Cons of Digging Up Your Grass
- More labor-intensive and time-consuming
- Equipment rental can be costly and not eco-friendly
- Rototillers can disturb the soil too much/help spread grass and weed seeds
- Could remove too much topsoil along with grass
Cost of Digging Up Your Grass
Depending on the method you pick, the cost can vary greatly. If you already own a shovel and wheelbarrow, there’ll be no cost to you. Otherwise:
- Shovels run between $20 and $65
- Wheelbarrows range between $75 and $200
- Full-day sod cutter rental is about $115
- Full-day rototiller rental is between $45 and $160
2. Solarization
Not all that into manual labor but want the same turf removal results? Solarization works when clear plastic or black plastic sheets (found at a garden center near you) are laid across your lawn, heating the soil so much it kills the grass underneath.
How to Remove Grass with Solarization
- Choose a hot part of the year when the sun is most intense for solarization to work. Late spring or summer are best.
- Gather materials (clear plastic sheeting, stakes or rocks, and a shovel or garden rake).
- Mow your grass as short as possible beforehand.
- Remove any debris or rocks that might puncture your sheeting.
- Water the target area thoroughly to dampen the soil. Moist soil is a good heat conductor, enhancing the solarization process.
- Cover the grass with plastic sheeting and secure the edges with stakes or rocks. To completely seal the area, bury any visible edges into the ground.
- Keep the grass covered with the sheeting for between four to six weeks. The trapped heat should effectively kill the grass and other vegetation.
- Check the covered area periodically and remove plastic sheeting once the grass is dead.
- The soil should cool for a few days before following up with new planting.
Pros of Removing Grass with Solarization
- Heat also reduces pathogens in the soil
- Reduces weed seed numbers
- Not labor-intensive
- Doesn’t involve the use of chemicals, so it’s a great non-toxic option ideal for organic gardening or environmentally-conscious homeowners
- Relies on natural energy from the sun
- A low-cost approach to removing grass
Cons of Removing Grass with Solarization
- Eliminates everything, including soil nutrients
- Doesn’t work on certain clovers, weeds, or Bermudagrass
- Takes away from curb appeal
- Can take several months to complete
- Doesn’t work well in cooler climates as it’s dependent on direct sunlight
- Not a permanent solution, and grass or weeds may reappear in time
- It only works on the topsoil part and can’t reach roots as well
- Involves careful planning around the warmest part of the year
- Not environmentally friendly due to the use of plastic, making proper disposal crucial
Cost of Solarization
Expect to pay between $30 and $40 for a small area and $130 to $170 for a larger area.
3. Sheet Mulching
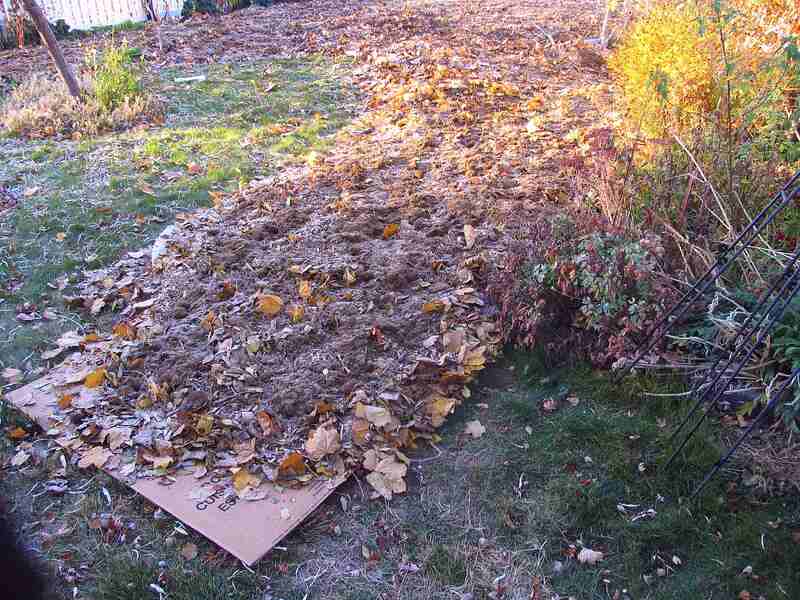
Sheet mulching, aka lasagna composting, is a method of grass removal that can be set up in an afternoon but requires time to provide the desired results. During the warm summer months, the higher temperatures and layers on layers (get it, “lasagna”?) of organic matter help move the composting along. You also can give sheet mulching a try in the fall and spring.
How to Remove Grass with Sheet Mulching
- Mark the target area(s).
- Mow your grass as short as your mower allows to create a flat surface for the cardboard, newspaper, or mulch.
- If your lawn has weeds, and they’re stubborn, pull them out by hand.
- Water the area to moisten the soil and allow the newspaper or cardboard to mold to the ground better.
- Lay down ten layers of newspaper or two to three layers of heavy-duty cardboard over the target grass. Wet the material so you can manipulate it better.
- Add compost or mulch to the newspaper or cardboard, ensuring the layer is between 3 to 4 inches thick. This will strengthen the barrier, suppress moisture, and promote soil structure throughout decomposition.
- Water the area constantly.
- You can plant new vegetation once the area is clear and the soil is exposed.
Pros of Removing Grass with Sheet Mulching
- Not labor-intensive
- Easy to DIY
- Good for small and large areas
- Inexpensive way to smother grass
- Layers of compost don’t require turning
- Offers diversity, as a wide range of organic materials can be used, including yard waste and kitchen scraps you have on hand
- Helps reduce landfill waste
Cons of Removing Grass with Sheet Mulching
- Applying the layers can be time-consuming
- The process takes several weeks
- Can attract pests such as rodents, notably if kitchen scraps aren’t entirely covered
- Not suitable for meats, dairy, or diseased vegetation as the risk of pathogens increases
Cost of Sheet Mulching
To save money, use your own compost and recycled newspaper or cardboard. You also can get cardboard from grocery stores for free. If you need to purchase organic matter, like mulch, expect to pay between $30 and $110 per cubic yard. Professional installation can cost an additional $20 to $40 per cubic yard. Some contractors charge by the hour, so you should expect to pay anywhere from $50 to $90 per hour.
4. Herbicides
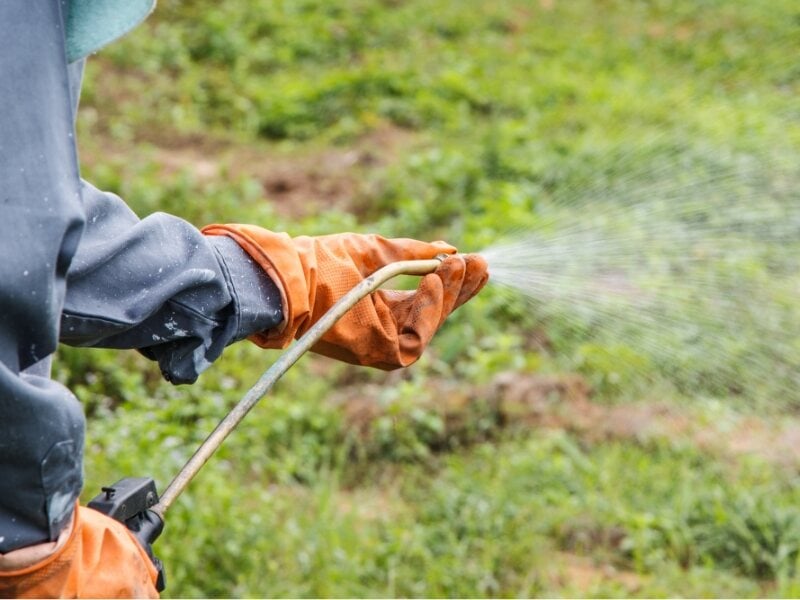
If you choose to remove your grass in favor of a more environmentally friendly lawn alternative, you won’t want to use a chemical. Plus, applying herbicides are not ideal for large areas, anyway –– it can get super expensive and time-consuming. But if you’re only looking to clear a small portion of grass and choose herbicides, use glyphosate (commonly known as Roundup).
How to Remove Grass with Herbicides
- Gather all needed materials (the herbicide of choice, protective gear, a sprayer or spreader, and water for dilution (if necessary)
- Check the weather conditions before applying the herbicide, choosing a sunny, wind-free day to prevent drift.
- If you’re using liquid herbicide, mix it with the recommended amount of water and pour it into your sprayer. If you’re using granular herbicide, load it into your spreader and calibrate it accordingly.
- Mark the target areas and apply the herbicide, following recommended application rates.
- Dispose of or store the remaining herbicide correctly, following disposal instructions on the product label.
- Wait for results (around 14 days) and repeat the process if needed.
- If nothing else comes through, remove dead grass and debris and prepare the area for new planting.
Pros of Removing Grass with Herbicides
- Won’t last in the soil for years, continuously killing plants
- Bind well to the soil, preventing leakage into the local water supply
- Not labor-intensive
- Can be cost-effective if you have a large yard that needs grass removal
- Selective herbicides allow you to target an area and protect surrounding plants
- Provide flexibility of application, as they come in both spray and granular form
Cons of Removing Grass with Herbicides
- Eliminate nutrients in the soil
- If non-selective, they kill all plants
- Leaks can negatively affect land and water ecosystems
- Low toxicity doesn’t mean zero toxicity; herbicides can still irritate the skin and cause other illnesses if not used properly
Cost of Herbicides
Prices vary depending on the size of the area and the amount of glyphosate needed. For a large area, plan to spend a few hundred dollars; a small area may only cost around $20 to $40.
FAQ About Removing Grass
What Do I Have to Do After Removing Grass?
Post-grass removal, eliminate any leftover debris, level your soil, test your soil, and provide necessary amendments according to the soil test results.
If you’re reseeding or laying new sod, go ahead and do that, filling in all visible gaps.
If you’re planting a new garden:
- Create your garden beds
- Apply a layer of organic mulch
- Install a drip irrigation system to target the grassroots directly without touching the foliage. This reduces the risk of waterlogging and disease.
- Prepare the layout of your garden, taking into account sunlight exposure and plant spacing (now and at maturity)
- Consider the climate in your area, your soil type, sunlight exposure, and biodiversity when selecting the plants you want in your garden.
- Plant your vegetation of choice, water it thoroughly (according to watering needs), mulch around it, and monitor its development.
If you’re adding hardscape elements to your yard:
- Put together a project plan and consider your budget
- Prepare the site: compact the soil to have a stable base for your hardscaping, prepare the layout according to your wishes, and take proper measurements
- If necessary (depending on the size of the project), excavate your yard
- Don’t forget about drainage, as runoff should be contained to the hardscape area
- Call a professional company for assistance if these tasks seem overwhelming
How Much Does Professional Grass Removal Cost?
If your new landscaping project requires grass removal, you can expect to pay between $0.50 and $2.50 per square foot. The key cost-influencing factor is the size of the area where the grass needs to be removed.
For instance, if you’re removing grass from a modest 100-square-foot area, the cost will fall between $50 and $250. In contrast, clearing a 5,000-square-foot lawn can cost between $2,500 and $12,500. These prices include materials and labor.
Is Grass Smothering the Same as Sheet Mulching?
Though these two techniques sound identical, but there are some differences between them.
Grass smothering refers strictly to creating an environment that inhibits grass growth to prepare an area for a landscaping project. In contrast, sheet mulching also aims to build healthy soil while inhibiting grass establishment. This means promoting microbial activity, soil fertility, and moisture retention for healthy future plant growth.
When to Hire a Professional
Removing grass is a simple DIY job, but worth it if the area isn’t overwhelmingly large. If you’re considering removing a sizable amount of turf grass, consider hiring a landscaping pro.
But if grass removal isn’t what you need and you want to keep your beautiful grass it will need to be mowed. A lawn care professional can handle other lawn care chores so you can spend more quality time with family and friends doing what you love.
Main Image Credit: pornpra / Canva Pro / License