With a rapidly spinning string to cut grass and weeds, a weed whacker might be intimidating to use if you’ve never handled one before. However, it’s not very difficult to get the hang of it. We’ll teach you how to weed whack your lawn like a pro in this simple step-by-step guide.
As a bonus, we’ll also show you some other ways to use your weed whacker.
- Tools and Materials Needed
- Step 1: Study the User Manual
- Step 2: Clear the Area
- Step 3: Map Your Path
- Step 4: Wear Protection
- Step 5: Prepare Your Weed Whacker
- Step 6: Use Your Weed Whacker
- Step 7: Turn Off Your Weed Eater and Clean Up
- Bonus: How to Use a Weed Whacker for Other Projects
- FAQ About Weed Whacking
- Call in the Pros for a Healthy Lawn
Tools and Materials Needed
There isn’t much you need to weed whack your lawn:
- Weed whacker (also called a string trimmer, lawn trimmer, whipper snipper, or a weed eater)
- Chalk box or flour
- Protective equipment:
- Safety glasses
- Gloves
- Closed shoes
- Long pants
- Long-sleeved shirt
- Hat
- Ear protection
- Face mask
- Leaf blower or garden rake
Step 1: Study the User Manual
The first step – especially for homeowners using a weed whacker for the first time – is to read the user manual. It’s better to be acquainted with your machine before taking it out on the lawn, especially if you’ve never used a string trimmer before. Some important things to note are:
- How to turn your weed whacker on
- What string it uses
- How long the string should be
- What direction the string spins
Step 2: Clear the Area
Next, clear your lawn of toys, tools, furniture, and other debris like large rocks or non-decorative bricks. A clean lawn is not only easier to work with; it’s also much safer as you reduce the debris that can take flight and injure you or damage your property.
Make sure to keep people and pets out of your yard while weed whacking as well.
Step 3: Map Your Path
Before you start weed-whacking, we recommend you map out a path. This will make your project more efficient, which is nice if you use a cordless weed eater. You can use a chalk box or sprinkle flour on your grass to mark it out, but you could also memorize it if that works for you.
Here is a short guide on using a chalkbox:
- Fill your chalk box with ground chalk. You can choose a variety of colors, but white will probably show up the best against green turf.
- Pull on the string until you reach a manageable length. Hook the end on a rock or a nail. You can also have a friend hold it.
- Hold the other end of the line closest to the chalk box with one hand and pull tightly until the string is taut. If you don’t have a friend, a rock, or a nail, you can hold the line with your knee; you’ll just get chalk on your clothes.
- Pull the middle of the string upward around 4 inches high with your other hand. Then, let go. The string will snap back onto the ground and leave a chalk marking.
Step 4: Wear Protection
Now, put on your protective gear. It may seem like overkill – that’s so much coverage! – but using a weed whacker can fling debris like rocks in your direction. Aside from possibly getting injured, you might get dirty; better for your clothes to catch the grass and muck than your skin.
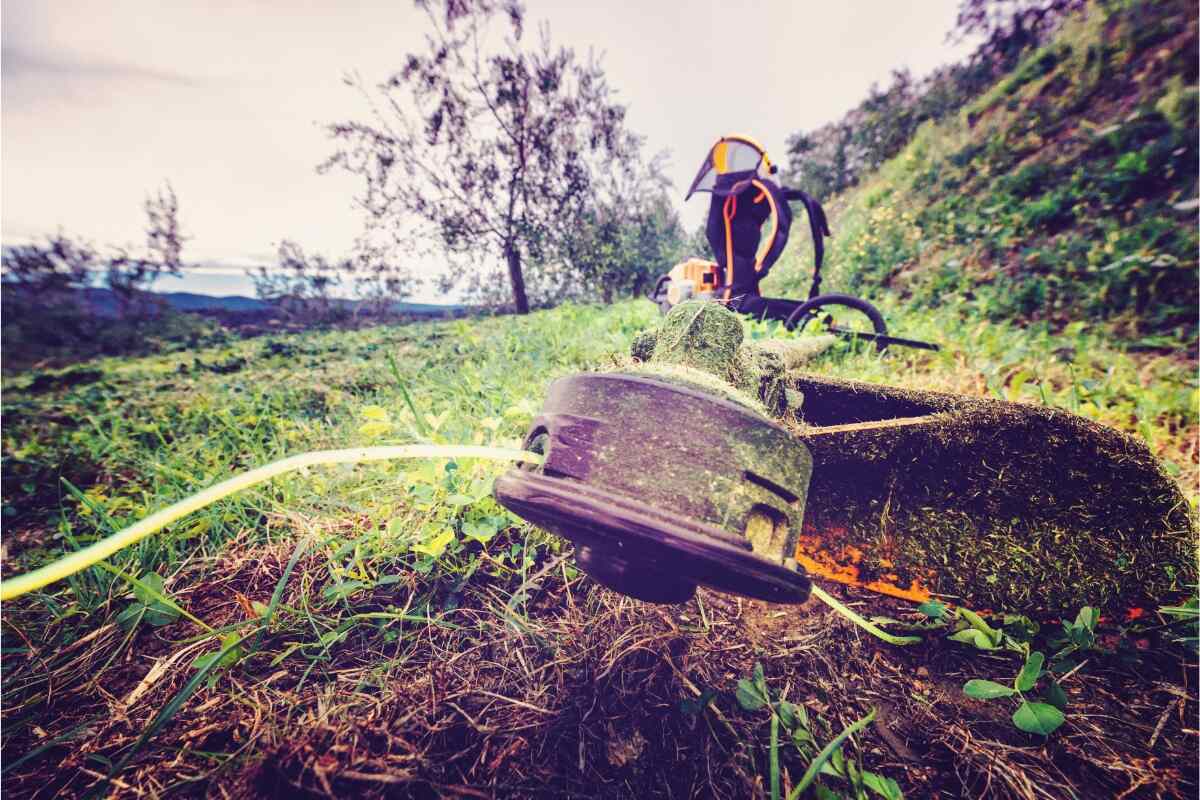
Step 5: Prepare Your Weed Whacker
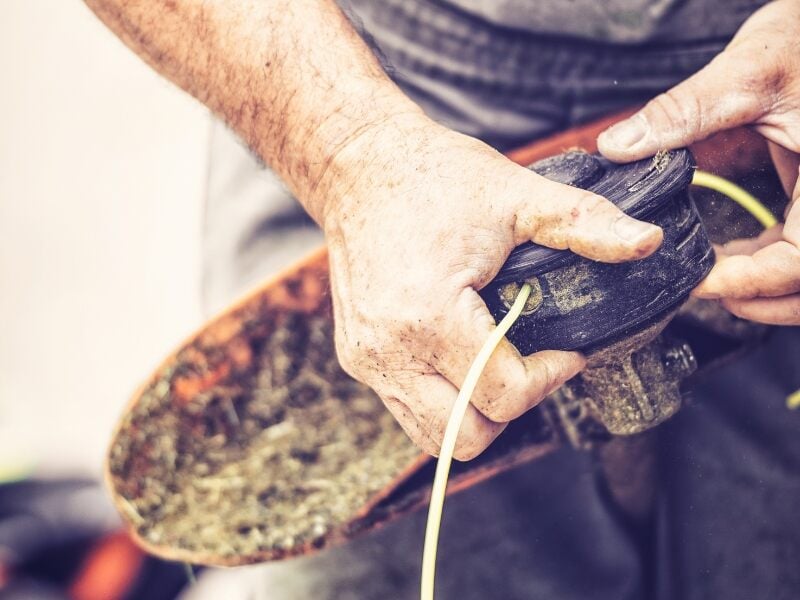
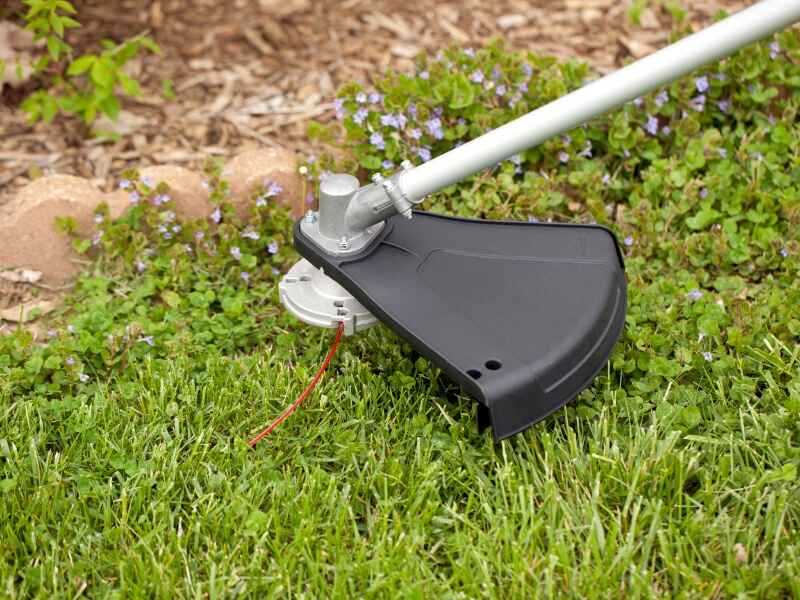
Let’s make sure the weed whacker is in working order. First, check if it has string, which is the most important part of the weed eater because it’s the thing that cuts grass and weeds.
If your weed whacker doesn’t have string — or if the trimmer line runs out in the middle of your project — you’ll need to restring it. Read our step-by-step guide on how to string a weed eater DIY for instructions.
Next, you’ll need to start your weed eater, which depends on its fuel source. If you have a corded string trimmer, then simply plug it in and pull the trigger and safety to start the engine. If you have a battery-powered weed eater, it’s the same process; just make sure the battery has been charged beforehand.
Now, the process is a little different if you have a gas weed whacker. Here are some instructions to start a weed eater with a cold gas engine:
- Put the weed eater on the ground, then prime the engine bulb around five to ten times.
- Close the choke before tugging on the starter cord.
- Close the choke halfway (half choke) and pull the starter cord. You’ll want to keep pulling until the engine starts running.
- Close the choke. If the engine turns off, repeat the process.
If your model has a warm gas engine, then it’s much simpler. Start from Step 3 (half-choke) of the above guide.
Step 6: Use Your Weed Whacker
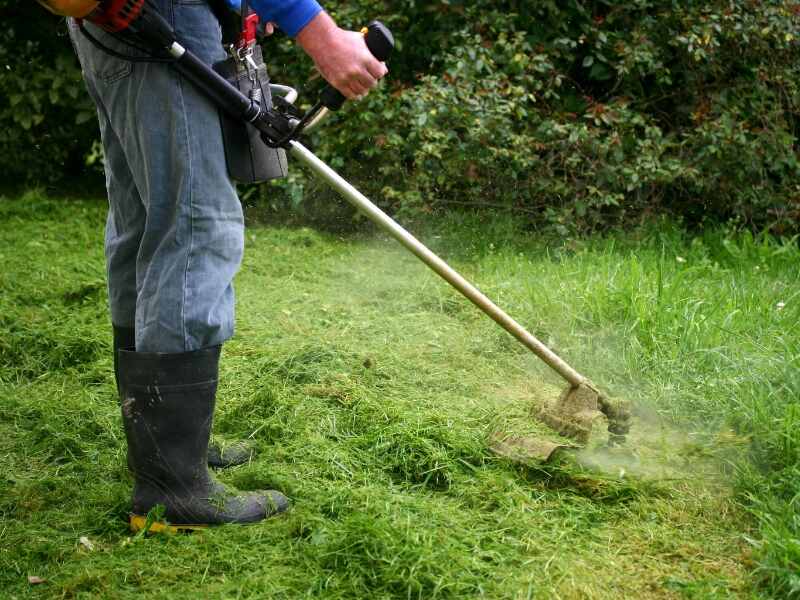
If you haven’t determined yet what way your lawn trimmer spins, check now. It’s important because moving a certain way, depending on how your model spins, can reduce the chances of flying debris getting on you (or structures, furniture, windows, or vehicles). You’ll want to move right to left if your weed whacker spins counterclockwise and left to right if it’s clockwise.
Always keep two hands on the weed eater: One on the handle and one on the trigger. Keep the machine at waist level; you can rest it on your hip and/or wear a shoulder strap if your model has one.
Keep the weed eater parallel to the ground and about 3 inches above the soil. Make sure the cable is behind you at all times if you’re using a corded weed eater.
When using your weed whacker, move forward slowly and then sway your machine from side to side (depending on how your model spins). Cut with the tip of the nylon string, being careful not to cut down large swaths of grass in one go as the string trimmer could get overwhelmed. The tip of the string is what actually cuts things.
Walk around trees and flower beds, pulling down the weed whacker’s guard if needed. When cutting near fences and other structures, walk toward them slowly so that the string doesn’t hit them. The wire spins fast enough to leave marks and damage them.
Step 7: Turn Off Your Weed Eater and Clean Up
Once you’re done, release the throttle and power down your weed eater. Before cleaning it up, let it cool down (preferably in the shade). After cleaning the trimmer head, remove the battery, unplug, or empty the fuel tank before storing your weed whacker.
A leaf blower or a rake is typically used to clean up the lawn clippings. While you can bag them, we recommend practicing grasscyling — reusing grass clippings as mulch or free fertilizer. Leaving the grass clippings on your lawn benefits your lawn more than throwing them away.
Bonus: How to Use a Weed Whacker for Other Projects
Weed trimmers are multi-purpose tools that accomplish more than just cutting tall grass and weeds. Here are some other ways to use your weed whacker to beautify your lawn and landscape:
- Edging
- Tapering
- Trimming
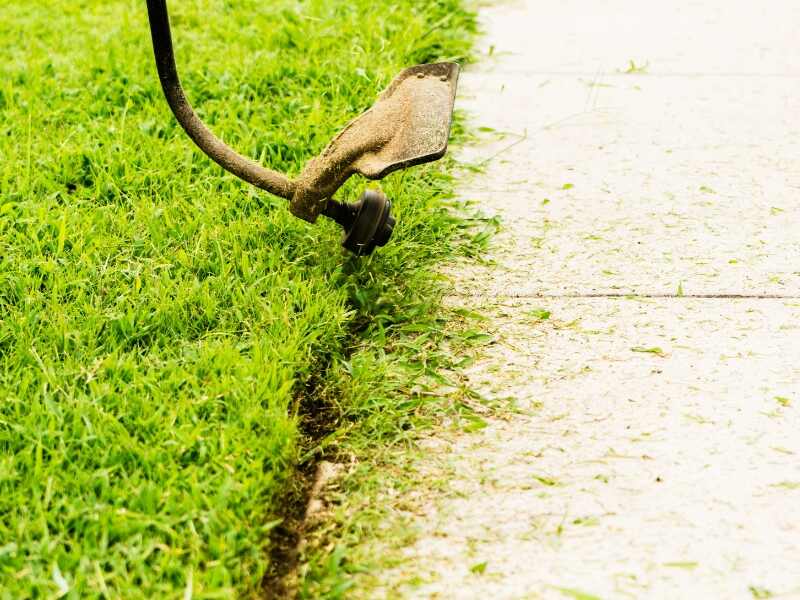
Edging
You can use your weed trimmer to maintain the edging on your lawn easily. You’ll need your weed whacker, a lawn mower, and a leaf blower or a rake. Here’s how to maintain an edge with a weed whacker:
- Mow your lawn so you have a guide on how tall you need to cut the grass on the edge of your lawn.
- Tilt the weed whacker 90 degrees so it’s on its side. If there is a hard surface, then you can also use that to help you edge.
- Start using your weed whacker. Walk left to right if it spins clockwise and right to left if counterclockwise, cutting the rebel grass along your lawn’s sides. Be careful around fences, trees, and flower beds.
- Clean up your weed whacker and your lawn. You can blow or rake the grass clippings into your lawn while waiting for your weed eater to cool down.
Make no mistake, though. A weed whacker is not good at creating a crisp edge; use an actual edger to edge your turf impeccably. If you haven’t edged your lawn and would like to learn how you can read our DIY guide on how to edge a lawn.
Tapering:
If you don’t like blunt lawn edges near your fence, curb, or driveway, you can use your weed whacker to create a tapered edge. Tapering your lawn with a weed eater is quite similar to edging with a weed eater. You just want to tilt your machine at a 45-degree angle toward the edge of your grass instead of a 90-degree angle.
Trimming
Trimming your lawn with a weed whacker will give your lawn a clean cut all throughout, even in hard-to-reach areas. Here’s how to trim your lawn with a weed eater:
- Mow your lawn first as a template on how much to cut with your weed eater.
- Tilt your weed whacker at a 10-degree angle.
- Start using your weed whacker, taking care to move slowly around obstacles like trees and walls. Remember to move your tool left to right if it spins clockwise and right to left if it spins counterclockwise.
- Clean up your weed whacker and your lawn. You can blow or rake the grass clippings into your lawn while waiting for your weed eater to cool down.
Rather than being a replacement for mowing with a traditional mower, trimming is a complement. Cutting grass is easier with a lawn mower as you can set the precise height your lawn needs to be cut.
FAQ About Weed Whacking
What Is the Best Time to Weed Whack?
The best time to use a weed whack is early morning or the evening – much like how those are the best times to mow a lawn. It’s better to weed whack at these hours because it’s not blazing hot outside. It also gives your grass time to recover.
Can You Weed Whack Wet Grass?
Please don’t! As with mowing, it’s more difficult to work with wet grass. Wet grass sticks and clumps up, which can clog the weed whacker. Aside from that, wet grass usually means wet soil; you might slip while you’re working.
What Is the Best Weed Whacker?
Some of the best weed eaters we’ve reviewed are the Husqvarna 128LD, Poulan Pro PR28SD, WORX WG191, and the BLACK+DECKER BESTA510. However, if you’re looking for more options, we also looked at the best electric weed eaters, the top gas string trimmers, and the best cordless weed eaters.
Call in the Pros for a Healthy Lawn
While weed whacking isn’t too difficult, it takes some time and effort to use one of these handy tools around your lawn – especially if you have a larger yard. You could have a beautiful, weed-free lawn without breaking a sweat if you hire a lawn care service to do it for you. LawnStarter lets homeowners connect with local lawn care pros hassle-free to get a beautiful lawn. Get in touch with us today.
Main Photo Credit: egon69 / Canva Pro / License