Most homeowners can expect to spend between $9 and $16.25 per square foot for a stamped concrete slab. A basic design can cost as little as $7 per square foot, while a complex stamped concrete design can cost as much as $25.25 per square foot.
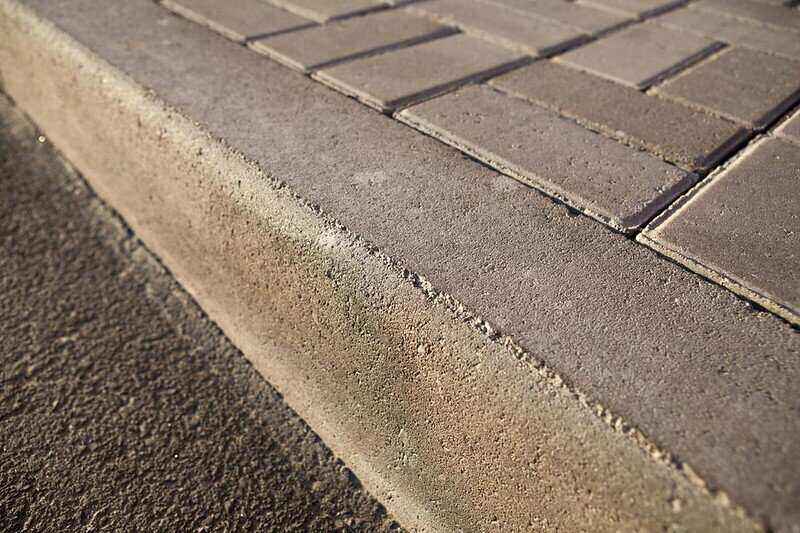
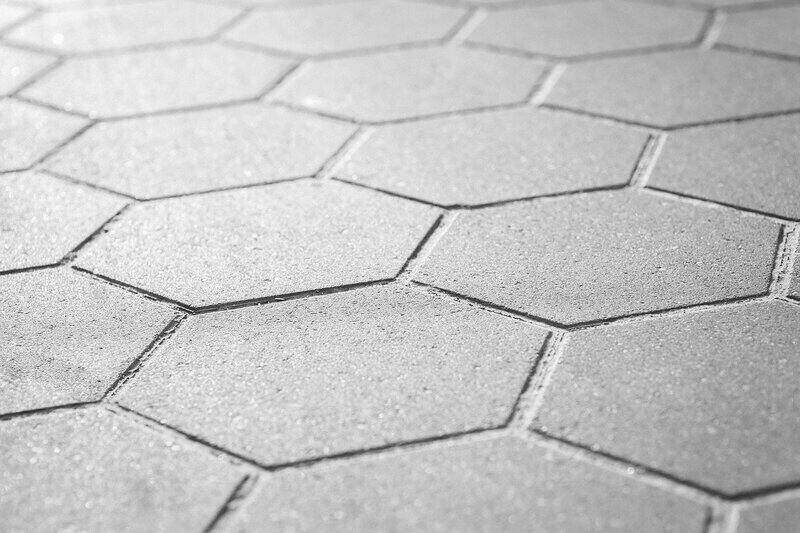
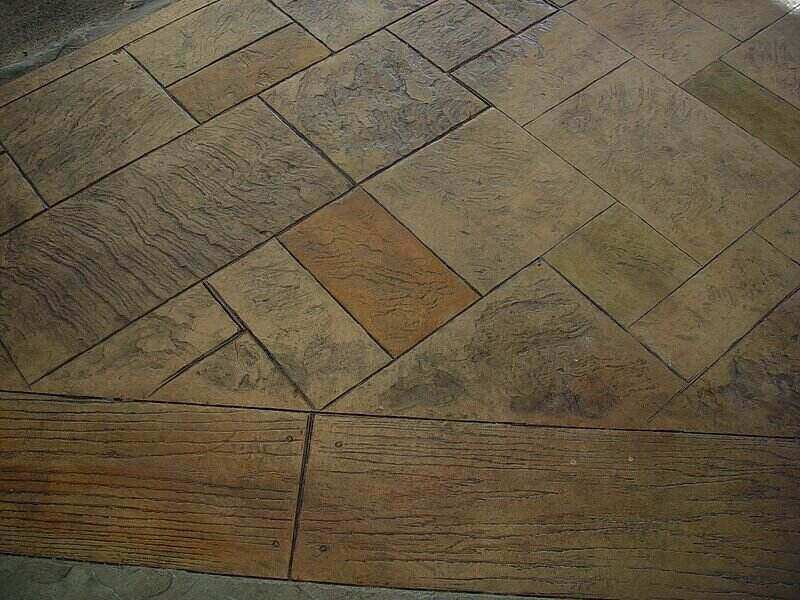
Stamped concrete is an excellent choice for homeowners who want a high-end design without spending a small fortune. Concrete companies offer multiple colors and stamp patterns that mimic the appearance of many luxury paving materials, including natural stone, wood, and brick.
Total spending on your stamped concrete will vary depending on many factors, including the slab’s size, strength, and design complexity. Want to put a bubbling hot tub or sparkling outdoor kitchen atop your stamped concrete patio? Our pricing guide will help you estimate those project costs, too.
How Much Does Stamped Concrete Cost?
- Typical Range: $9 to $16.25 per square foot
- Low End: $7 per square foot
- High End: $25.25 per square foot
The typical price range for stamped concrete runs between $9 and $16.25 per square foot. Prices will vary depending on your slab’s shape, pattern complexity, and strength. In some cases, you might pay as little as $7 per square foot for a basic stamped concrete slab or as much as $25.25 per square foot for stamped concrete with hand-applied accents.
Cost Estimator by Size
The typical price range for stamped concrete is $9 and $16.25 per square foot, with high-end designs costing as much as $25.25 per square foot. Because stamped concrete prices are by the square foot, the bigger your stamped concrete slab, the more you’ll need to pay for materials and labor.
Your stamped concrete’s size will depend on how you plan to use it. Concrete slabs make excellent patios, walkways, driveways, and even indoor flooring. A two-car concrete driveway is usually much bigger than a concrete patio, which is why stamped concrete patios often cost less.
The bottom line: The larger your stamped concrete slab, the higher your bill will be.
| Use | Typical Size | Average Cost Range | High End Cost |
| Stamped Concrete Flooring | 12×12 (144 sq ft) | $1,296 to $2,340 | $3,636 |
| Stamped Concrete Patio | 12×14 (168 sq ft) | $1,512 to $2,730 | $4,242 |
| Stamped Concrete Walkway | 4×50 (200 sq ft) | $1,800 to $3,250 | $5,050 |
| Stamped Concrete Driveway | 24×24 (576 sq ft) | $5,184 to $9,360 | $14,544 |
Other Factors That Affect Cost
Your concrete slab’s size won’t be the only factor affecting the total bill. Stamped concrete features various colors and patterns, with some designs costing more than others. Want two colors instead of one? Expect to pay more.
Other factors that can affect your total stamped concrete bill include:
- Design Complexity: The more detailed and intricate your stamped concrete, the more you can expect to pay.
- Thickness: The thicker your concrete slab, the thinner your wallet will be afterward.
- Shape: If your concrete slab has an elaborate or unusual shape, labor costs will rise.
- Reinforcements: Reinforcements help make a concrete slab less susceptible to cracking, but they come at a price.
- Grade of Concrete: The concrete’s grade will determine its quality and price.
- Location: If your slab’s site has poor drainage, is uneven, or is difficult to access, expect a higher bill.
- Concrete Removal: Need to remove existing concrete before pouring a new slab? That will cost you extra.
Design complexity
With multiple colors and patterns to choose from, the possibilities for your stamped concrete design are almost endless. Keep in mind that the more detailed and extravagant your concrete, the more you’ll pay for this home improvement project.
A basic stamped concrete design –– a simple pattern and one color –– costs most homeowners between $8.50 to $13.25 per square foot. On the other hand, a complex design with multiple colors, patterns, and accents will cost between $18 and $25.25 per square foot on average.
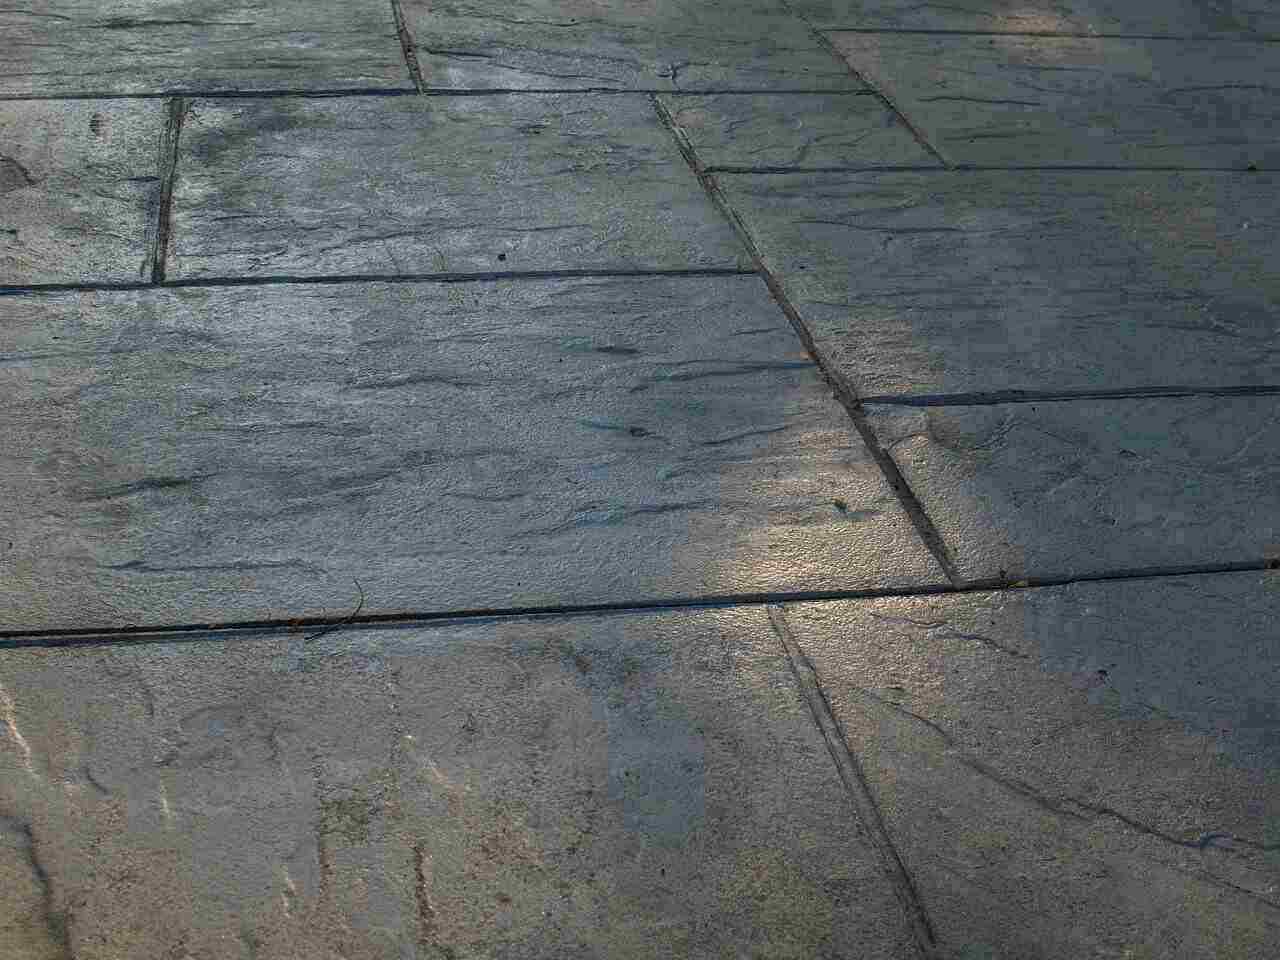
For example, replicating natural stone will be on the expensive side, as multiple colors and patterns are used to achieve the stone’s appearance. The installer then applies accents by hand to enhance and highlight the stone pattern.
| Design style | Average cost per square foot | Description |
| Basic | $8.50 to $13.25 | Simple pattern design and single color |
| Mid-range | $11.50 to $20.25 | Pattern with multiple colors and a separate border, or 2 patterns with multiple colors |
| Complex | $18 to $25.25 | Multiple patterns and colors plus hand-applied accents |
Thickness
Increasing your concrete’s thickness will also raise your material and labor costs.
Why does concrete thickness matter? The thicker your concrete, the stronger and more durable it is, making it less likely to crack and crumble over time. Most concrete slabs range between 4 and 6 inches, though some can be as thick as 8 inches.
Your stamped concrete’s thickness will vary depending on how you plan to use it. If you want a stamped concrete patio that doesn’t need to withstand lots of weight, then 4 inches should do. Concrete driveways are typically between 6 and 8 inches thick to withstand the weight of vehicles.
Shape
The easiest way to pour concrete is in a rectangular or square shape. If your concrete slab has curves or is a non-standard shape, expect to pay more labor costs. A complex shape makes the stamped concrete installer’s job more difficult.
Reinforcements
Reinforcing your concrete slab with wire mesh, a vapor barrier, or increased thickness can enhance its durability and strength. Reinforcements in your stamped concrete might add as much as $3.94 to $4.69 per square foot to your total bill. Though expensive, adding reinforcements helps ensure your concrete remains in good condition for longer.
| Reinforcement | Extra cost per square foot | Description |
| Wire mesh | +$0.35 | Enhances the concrete’s strength and helps limit cracking. |
| Vapor barrier | +$0.50 | Protects the concrete from moist soil underneath. |
| Increase slab from 4 to 6 inches | +$0.84 | Increases the slab’s weight tolerance and strength |
| Increasing edge thickness (between 1 and 2 feet) | +$1.00 to $1.75 | Reinforcing the concrete’s sides with an edger tool helps prevent cracking. |
| 2-inch styrofoam | +$1.25 | Insulates concrete flooring |
| Total Additional Reinforcement Cost: | +$3.94 to + $4.69 |
Grade of concrete
The quality of your concrete will vary depending on its composition of sand, water, cement, and loose aggregate. Some ingredient ratios create stronger concrete than others. The higher the concrete’s quality, the more expensive it will be.
How is concrete quality determined? Every mixture of concrete has a grade that identifies the concrete’s quality. The concrete’s minimum strength measured in newtons 28 days after setting determines the grade. Concrete grades help DIYers and pros find the best mixture composition for their project.
Location
Where do you want to pour your new concrete slab? If the area is flat and suitable for pouring, then you might not see any additional fees on your bill.
But when ground conditions aren’t right, here are three ways it can increase your total costs:
- The soil condition is poor: Soil is the concrete’s subgrade, and your concrete can only be as strong as its subgrade. When the earth shifts around beneath the concrete, the slab becomes more vulnerable to cracking. Your stamped concrete contractor might suggest reinforcing your slab with wire mesh if he or she suspects cracking will be a significant problem.
Poor soil conditions might also mean poor drainage. If the soil is too moist, that won’t be good for your drying concrete. You may need to invest in a vapor barrier to protect the slab from moisture damage.
- The area is hard to access: If the site makes is difficult for pros to work or bring in their equipment, expect to pay an additional fee.
- The terrain is hilly: It’s best to pour concrete over level ground. If the site is sloped, you’ll need to hire a professional to grade and level the land.
Concrete removal
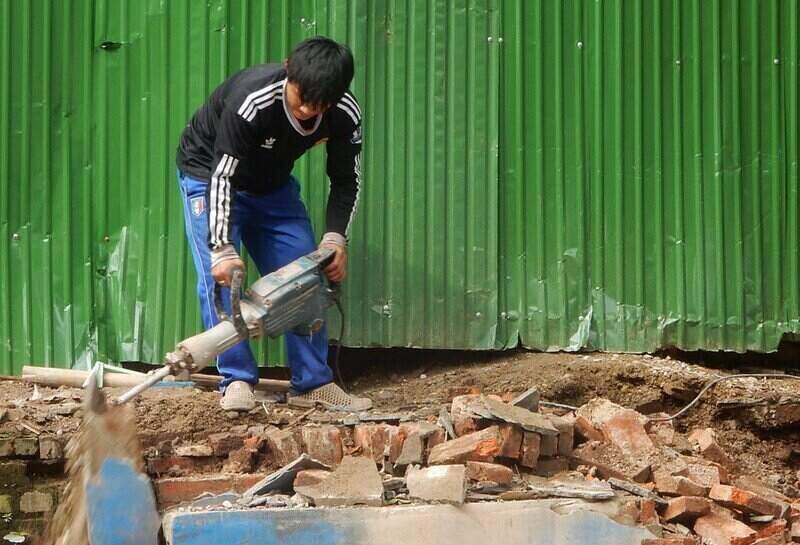
If there is old concrete where you plan to pour new concrete, you’ll need to remove it. Concrete removal typically costs $2 and $6 per square foot.
Extra Services
Once your yard has a slab of stamped concrete, your hardscaping probably won’t be over. You’ll want to put the new slab to good use. It could make the perfect spot for a relaxing hot tub or that outdoor kitchen you’ve always wanted. Maybe you’ll want to plant some flower beds around your stamped concrete patio.
- Landscaping: Your stamped concrete won’t be attracting too many eyes if a dreary landscape surrounds it. It might be time for a makeover.
- Seeding: A patchy lawn won’t do your stamped concrete any favors. Help your concrete stand out with a vibrant green yard.
- Pergola: Pergolas don’t have built-in floors, which is why your concrete slab is the perfect place to build one.
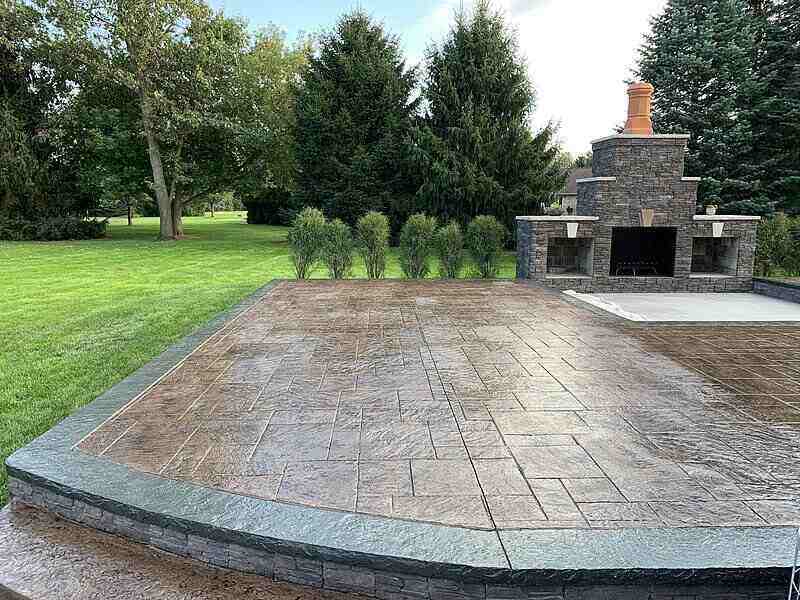
- Outdoor Kitchen: Your stamped concrete will make a solid foundation for an attractive outdoor kitchen.
- Fire Pit: A fire pit can make an eye-catching centerpiece for your concrete slab.
- Hot Tub: Turn your concrete into an outdoor vacation spot with an inviting hot tub.
Landscaping
Your stamped concrete might benefit from flowers along the driveway, palm trees planted around your patio, or with a vertical herb garden wall near your outdoor kitchen.
Most homeowners spend between $4,000 and $20,317 to landscape their yards. But remember, prices will vary depending on the landscaping project. In some cases, like flower beds, you might spend much less than $4,000.
Landscaping ideas include:
| Landscaping Project | Average Cost |
| Pathway Installation | $8 to $22 per square foot |
| Tree and Bush Planting | $25 to $3,000 |
| Mulch Installation | $37 to $113 per cubic yard |
| Flower Bed Planting | $650 to $3,000 |
| Retaining Wall Installation | $4,025 to $8,711 |
| Gazebo Installation | $5,364 to $9,027 |
Seeding
Is your grass showing some unsightly patches, especially after the pros installed your concrete slab? All that heavy machinery and foot traffic might have left a few brown patches. Get your lawn looking good as new with these three popular methods:
Broadcast seeding
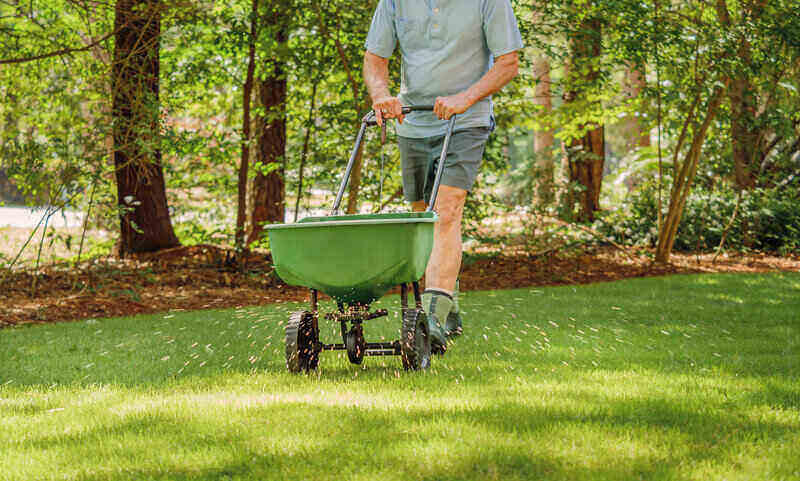
Traditional broadcast seeding involves spreading natural grass seed over the lawn. It’s the easiest DIY seeding method, and you have plenty of grass types to choose from.
A bag of grass seed averages around $1.50 to $6.40 per pound. Want to hire a professional to spread the grass seed for you? Homeowners pay an average of $668 for professional seeding.
Hydroseeding
Hydroseeding is less DIY-friendly, but it offers exceptional results. Hydroseeding is an excellent solution for erosion problems, and you’ll have grass growing much sooner than with traditional seeding.
Hydroseeding involves spraying a slurry mixture of water, grass seed, binding agents, fertilizer, and mulch over the land. Most homeowners can expect to pay between $0.08 and $0.20 per square foot for a hydroseed lawn.
Sod
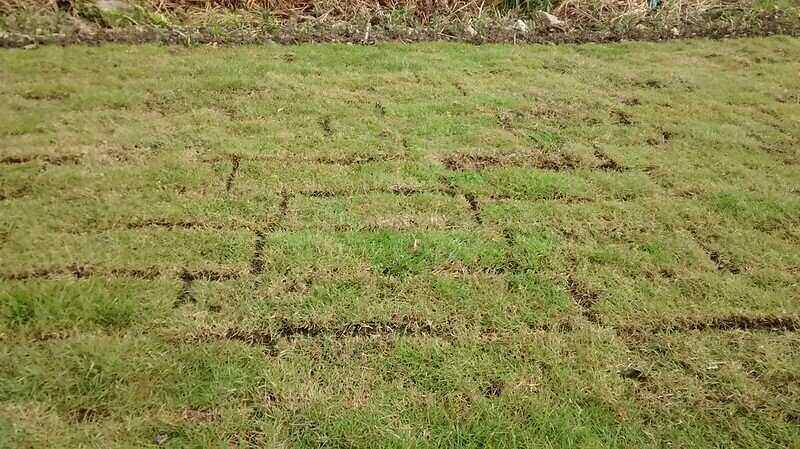
Sod is a layer of grass growing on a cut strip of soil that’s 1 to 2 inches thick. Installing sod provides you a new lawn right before your eyes. But you’ll have to wait two weeks before you can mow the grass, as the sod will need time to develop a root system.
Sod is the most expensive option, but it provides instant results. On average, sod installation costs $0.87 to $1.76 per square foot for materials and labor.
Pergola

Building a pergola on your concrete slab will help provide shade and privacy. Pergolas have a slatted roof, so while some sun can still passes through the roof, you can increase the shade by growing flowering vines between the slats.
Gather some comfy chairs and enjoy a quiet afternoon beneath your private pergola. Pergola installation typically ranges between $2,216 and $8,959. Pergola kits can cut down on your costs.
Outdoor kitchen
Outdoor kitchens offer endless entertainment. Your guests can enjoy a relaxed evening outdoors, and you don’t have to miss out on the fun while you prepare the dinner. Your stamped concrete will be a perfect space for your new kitchen and a comfortable dining area.
Installing an outdoor kitchen costs between $5,057 and $17,276 on average.
Fire pit
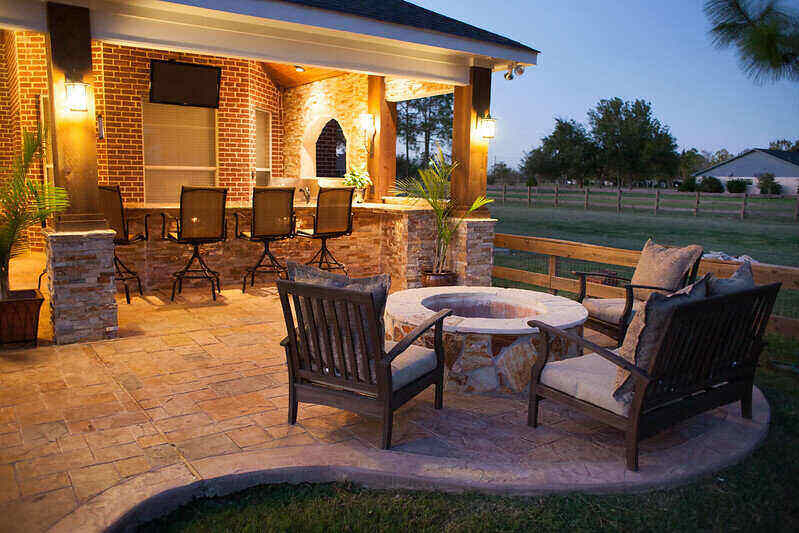
Depending on its design and materials, a fire pit costs most homeowners between $367 and $2,233. Your stamped concrete will never go unnoticed when family and friends are always roasting marshmallows over its flaming fire pit.
Hot tub
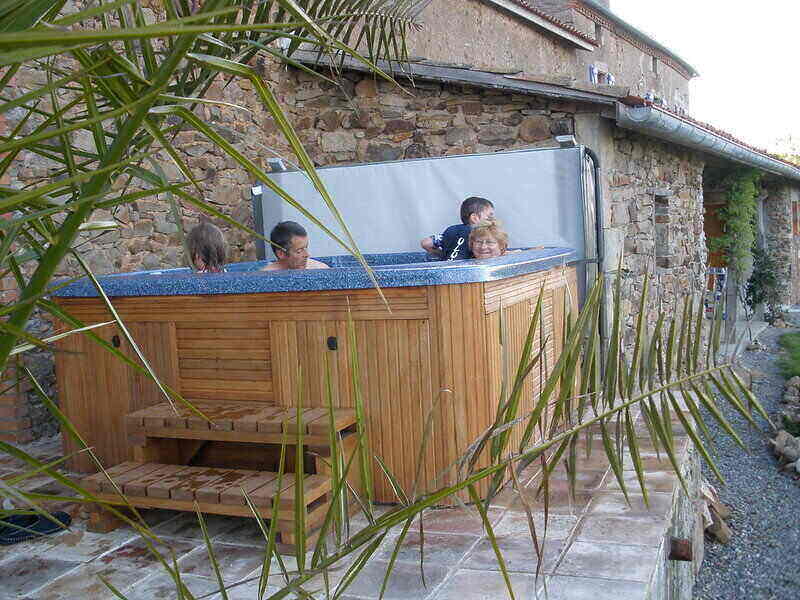
When you have a hot tub in the yard, you don’t have to travel far to go on a vacation. On average, homeowners spend between $3,500 and $9,250 for an above-ground, outdoor hot tub.
And your hot tub will need a patio, too (because who wants to step on soil and grass with wet feet). Good thing you have your new stamped concrete –– that will make an ideal patio for your backyard getaway.
Cost of Stamped Concrete Across the U.S.
The prices in this stamped concrete cost guide are all national averages. Prices will vary depending on where you live, sometimes falling below or above the average range.
Why? Demand for concrete materials and labor varies from region to region, causing concrete contractors to adjust their rates accordingly.
DIY Stamped Concrete Installation
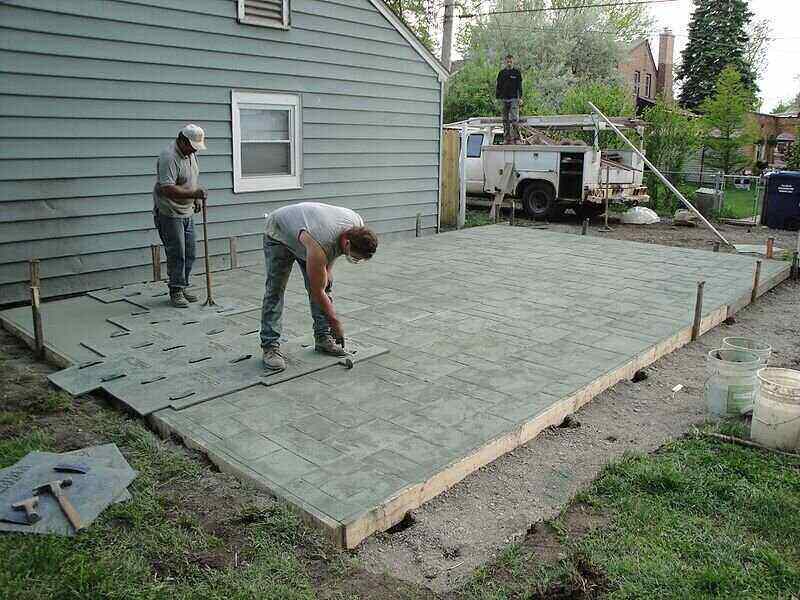
Stamped concrete is no easy feat. Before you start pouring concrete, it’s essential to consider whether you have the necessary skills and physical ability to take on this project yourself. Pouring a plain concrete slab is hard enough, but stamping the concrete is a whole new ballgame.
If you’re experienced with concrete and don’t mind the intense labor, stamping concrete can be an adventurous DIY project. On the other hand, if you don’t have experience working with concrete, this project might not be the right one for you.
Timing is everything when it comes to concrete, especially stamped concrete. Stamp too soon, and the stamping mats might slip and ruin the pattern. Stamp too late, and the concrete might be too dry to make a noticeable pattern.
When attempting to stamp concrete yourself, it’s always a smart to have someone to help you — you’ll need to stamp the concrete before it dries. If you’re the only person there to stamp an entire slab of concrete, you might run out of time.
Even if you’re comfortable working with concrete, hiring a professional helps you avoid any costly mistakes. The last thing anyone wants is to commit your time and energy to a project, only to find the finished product doesn’t meet your expectations. When you hire a professional, you can bet on professional results.
Installing concrete, let alone stamping concrete, is a labor-intensive job. Remember that timing is everything and that the timing of each step in the process will vary. Here’s what you can expect:
- Clear the land. Remove any rocks, shrubs, grass, bushes, and other debris until the soil beneath is completely exposed. The earth will be the slab’s subgrade.
- Tamp the soil. If the soil is not compact, it will make the concrete more vulnerable to cracking.
- Apply the subbase over the subgrade. Gravel is a common subbase material.
- Tamp the subbase. Tamping helps ensure the concrete is resting on a flat surface.
- Install a wooden perimeter that frames the shape of your concrete slab. The wooden frame will help keep the concrete in place as you pour it.
- Install the reinforcing wire mesh or rebar. These increase the slab’s strength and help prevent cracking.
- Mix your concrete aggregates using a concrete mixer or a wheelbarrow and shovel. Remember to wear a mask, rubber gloves and boots, safety glasses, pants, and a long sleeve shirt. Do not let your skin come in contact with the concrete.
- Add your color to the concrete mix according to the color product’s instructions. You can skip this part if you wish and add a color hardener after you pour the concrete. Or you can add color both ways.
- Pour your concrete inside the wooden perimeter. Spread and level out the concrete mixture as best you can with shovels and rakes.
- Level and smooth out the wet concrete with a screeding tool.
- Run a bull float across the concrete’s surface. This tool pushes down any floating aggregate and allows aggregate-free concrete –– known as cream –– to rise to the surface.
- Edge the sides of the concrete with an edger. This step helps to define the edges and make them less susceptible to cracking.
- With a groover, make joints in the concrete every 5 to 6 feet. Joints help limit cracks in the concrete.
- Broadcast color hardener. This step is the second way to color your concrete. Apply the color hardener powder by hand –– make a low, sweeping movement with a handful of the powder while trying to cover as much concrete as possible with each broad sweep.
The color hardener will penetrate the concrete’s surface. Once the color hardener has become moist and darkened, move on to the next step. - Work the color hardener into the surface with a Fresno concrete trowel. As you do so, the surface should begin to appear slick and polished.
- Hand-trowel any rough spots. You want the surface to be completely smooth before you begin stamping.
- Spread the release agent over the concrete surface with the same sweeping motion you used to apply the color hardener. The release agent adds a secondary color to the concrete and helps the stamps not stick to the surface.
- Test your concrete for stamping. You don’t want to stamp your concrete too soon, but you don’t want to stamp your concrete too late either. Press the concrete with your finger, and if it leaves an imprint no more than three-quarters of an inch deep, it should be ready for stamping. Your finger also shouldn’t have any sand on it after pressing into the concrete.
You also can test the concrete with a stamp. If your stamp is slipping around on the concrete, then it’s too soon for stamping. - Apply ultra-thin texture skins along the slab’s edges and in hard-to-reach areas. Stamping skins leave a textured, seamless print on the concrete that’s usually the same texture as the stamp pattern.
The skins come in handy in instances when traditional stamping is difficult, such as against a wall. The skins are light and flexible and can easily fold up against the wall to leave a textured print. - Lay down your concrete stamps. It’s helpful to develop a plan for applying the stamps before you pour the concrete. Planning ahead will help you manage your time and ensure your pattern is cohesive. Watching instructional videos on how to set up your stamp pattern is also helpful.
It’s also helpful to tamp the stamps down to get all the details in the concrete. When you need to stamp near the wall, bend the stamp as best you can against the wall and the concrete. You may need to chisel the pattern to help define the imprint.
Once you have stamped the entire concrete slab, move on to the next step. - Remove the wooden frame around the concrete once the slab has dried (you may have to wait a day).
- Make a new concrete mixture to apply around the sides (make sure the color matches the surface). You can skip this step if you don’t want to stamp the slab’s edges. Apply the cement along the sides and then use a hand trowel to flatten it out. Next, throw the release agent on the sides and then apply the stamps.
Move on to the next step the following day, once the edges have cured. - Wash down the concrete and rinse off the release agent.
- Follow this up with an acid wash. Then, scrub the concrete with a bristled broom to help remove the release agent. Your goal is to remove as much of the release agent as possible. Wash down the concrete with water again. Let the concrete slab dry overnight.
Remember that you may have to wash down the concrete slab with water and acid multiple times to remove the release agent. - Finally, apply the sealer. Sealer helps enhance your concrete’s color and shine and provides a protective barrier.
Watching a visual guide can be a helpful way to understand the process. Check out this detailed instructional video by TimDCVA on how to pour and stamp a concrete slab.
FAQ About Stamped Concrete
When concrete is well maintained, it can provide beauty and entertainment for years to come. The benefit of concrete is that it’s low-maintenance, but it does need some occasional cleaning. Follow these three maintenance steps to help keep your concrete slab in good condition:
— Clean up spills: When oil or grease spills on your concrete, remove the spot immediately. Otherwise, the spill might stain your concrete.
— Keep it clean: Sweep and wash the surface of your concrete. You don’t need to do this every day, just enough to avoid buildup.
— Pressure wash with care: For tough grime, scrub the concrete with a bristled broom and mild detergent. If the muck is stubborn and the broom and detergent won’t do, try a pressure washer –– don’t use a PSI that’s too high; otherwise, you risk damaging your concrete.
It’s a good idea to reseal stamped concrete every two to three years, depending on its condition.
You can walk on your stamp concrete about four to five hours after the final layer of sealer has been applied and the project is complete. Avoid walking on the concrete throughout the process, even if it seems dry and stable.
If the concrete slab is a driveway, you’ll need to wait at least seven days before allowing cars on the concrete.
Stamped concrete can last up to 25 years or more, depending on how well it was installed and is maintained.
Stamped concrete can mirror many paver materials with its various patterns, including:
— Cobblestone
— Flagstone
— Riverstone
— Yorkstone
— Sandstone
— Fractured Earth
— Wood
— Brick
On average, a plain slab of concrete costs $6.60 per square foot for materials and labor, with prices ranging from $4.34 and $7.73 per square foot.
On average, most homeowners spend between $9 and $16.25 per square foot for stamped concrete, but sometimes that bill might be as much as $25.25 per square foot.
Prices for a stamped concrete patio will vary depending on the patio’s size and design. For a 12×14 (168-square-foot) stamped concrete patio, most homeowners can expect to spend between $1,512 and $2,730 or as much as $4,242 for a complex patio design.
Conclusion
Stamped concrete looks special and can serve a valuable purpose for your home, too. Stamped concrete makes the perfect foundation for outdoor activities and can even be your new driveway.
Want to make your concrete’s patterns pop? Call up a local landscaping professional to design a cohesive and attractive landscape that will highlight your home’s new outdoor entertainment space.
Remember, stamped concrete averages between $9 and $16.25 per square foot. On the low end of the scale, homeowners pay an average of $7 per square foot. For complex, high-end designs, homeowners typically spend as much as $25.25 per square foot.
Total costs will vary depending on many factors, including the stamped concrete’s design complexity, shape, and size.
Main Photo Credit: Shutterstock