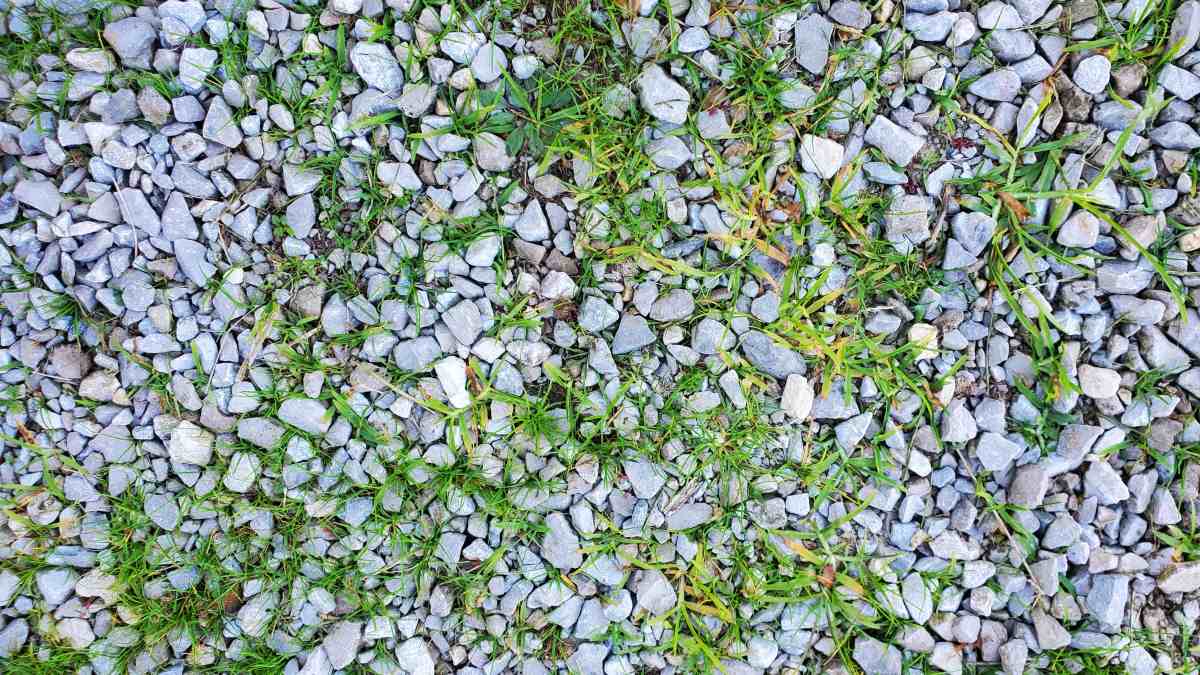
If your patio and walkways are more weed than gravel, you can soak them in vinegar, use a weed torch, or apply herbicide, among other things. In this article, we’ll show you how to remove weeds from gravel with both natural and synthetic methods.
If you’re dealing with a minor weed problem, you can quickly spot-treat the weeds with hand pulling, homemade solutions, or a garden hoe. However, if the weed problem is severe, a post-emergent herbicide will provide the fastest solution.
Tip: And before you add more gravel beds to your landscape, consider laying down landscape fabric to prevent future weed growth.
1. Spread Table Salt
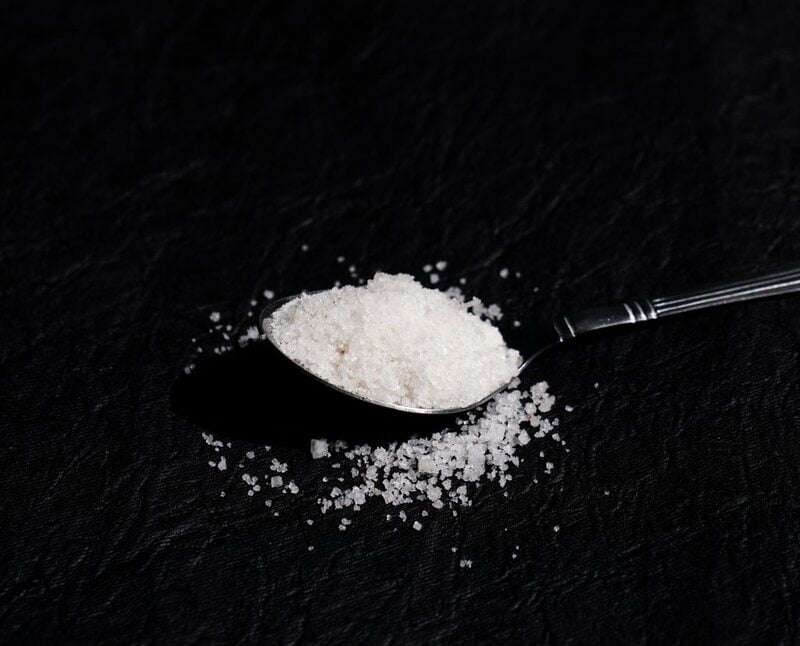
Take a small amount of regular table salt and sprinkle it directly at the base of the weeds.
If the weeds are taking over a larger area with no desirable plants in sight, you can spread a light layer of salt over the entire area.
After applying the salt, give the area a light watering. This might seem counterintuitive, but it helps the salt penetrate the soil and reach the weed roots faster. Salt acts like a dehydrator for weeds, drawing out their moisture and halting their growth. You should start seeing results within a few days, but complete die-off can take anywhere from one to two weeks.
However, keep in mind that too much salt can make the soil infertile. To avoid this, conduct a soil test a few weeks after applying the salt. Not sure how to do it? Read our article on Why, When, and How to Test the Soil pH of Your Lawn.
2. Pour Boiling Water
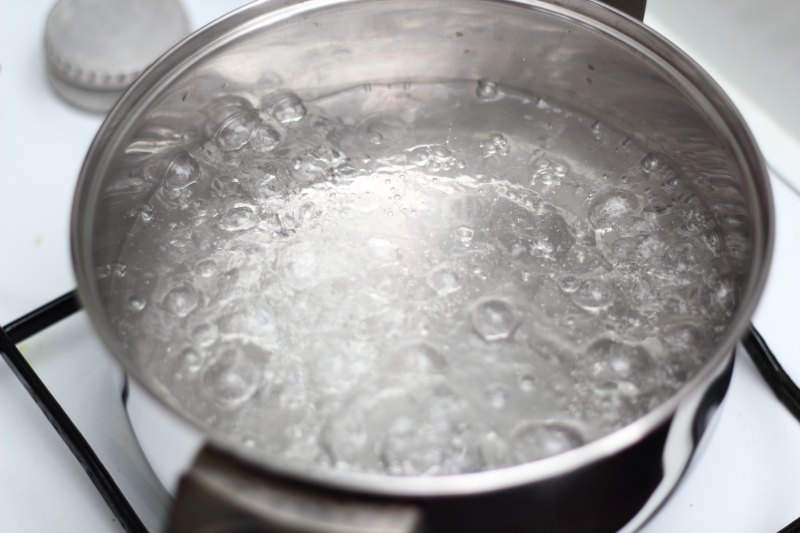
Heat some water and pour it onto the weed carefully. This method will quickly kill any plant it touches, so use a tea kettle or a pot with a spout to control the flow, especially if you have other flowers or herbs nearby.
Boiling water immediately damages the cells of the tissue it hits. However, it doesn’t affect the roots. That’s why it works best on young, small weeds that haven’t had a chance to establish themselves.
Even then, you might need to pour boiling water more than once to make sure they’re really gone. Aaron Steil, a horticulture extension specialist at Iowa State University, recommends a follow-up treatment about 7 to 10 days later.
3. Pull Weeds by Hand
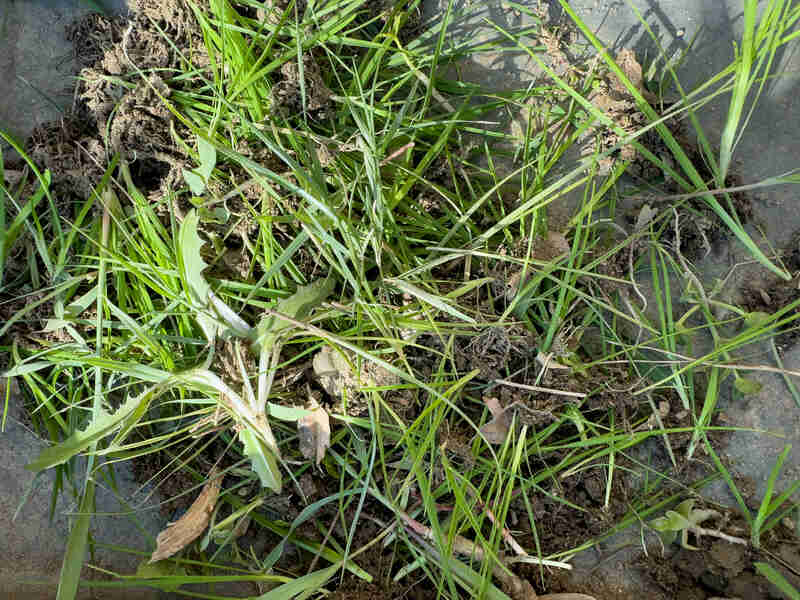
To effectively remove weeds by hand:
- Start by moistening the soil around the weeds to make it easier to pull them out.
- Then, grab the weed close to the ground, focusing on the point where the stem meets the soil.
- Pull slowly and steadily to remove the entire root system so it doesn’t grow back.
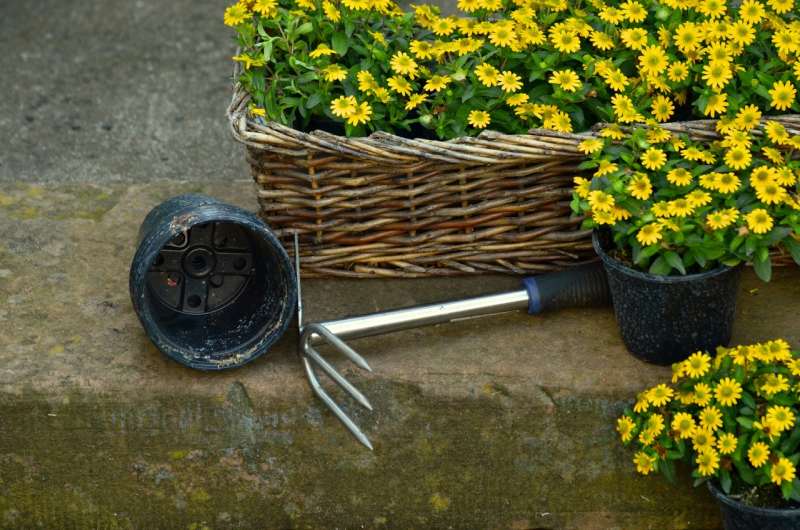
Pro Tip: If a weed breaks and leaves its roots behind, or if you find the roots are too deep and tough, use a trowel or weeding fork to dig around and beneath them. This way, you’ll get the whole weed out without messing up the gravel too much.
4. Use a Weed Torch

Get a weed torch (aka flame weeder) and burn the weeds. The goal is to wilt the weeds, not to set them on fire. Here’s how:
- Clear the area of any flammable materials like dried leaves or debris.
- Make sure the gravel is dry —wet rocks can crack or split when they heat up.
- Hold the torch at a safe distance from your body and ignite it according to the manufacturer’s instructions.
- Slowly pass the flame over the weeds. Avoid staying in one spot for too long to prevent damaging the gravel or leaving ugly black marks.
After torching, the weeds will turn brown and crispy. Leave them for a day or two to dry out completely, and then sweep them away or rake them out of the gravel.
Heads Up: If you torch a poisonous weed, it’ll release its toxins into the air. That’s why, to use a flamer safely, you first need to identify the type of weed you’re dealing with.
Want a cheat sheet on common weeds and how to handle them? Check out our guide Read Your Weeds: Identify Them to Learn About Your Lawn’s Health.
Important Note: Before going full-on dragon mode, check your local regulations. During dry periods or fire season, some areas might have restrictions on using weed torches. Not following these rules or failing to obtain the necessary permits can lead to fines, legal trouble, or even being held liable for any damage caused by an accidental fire.
5. Spot-Treat With a Post-Emergent Herbicide
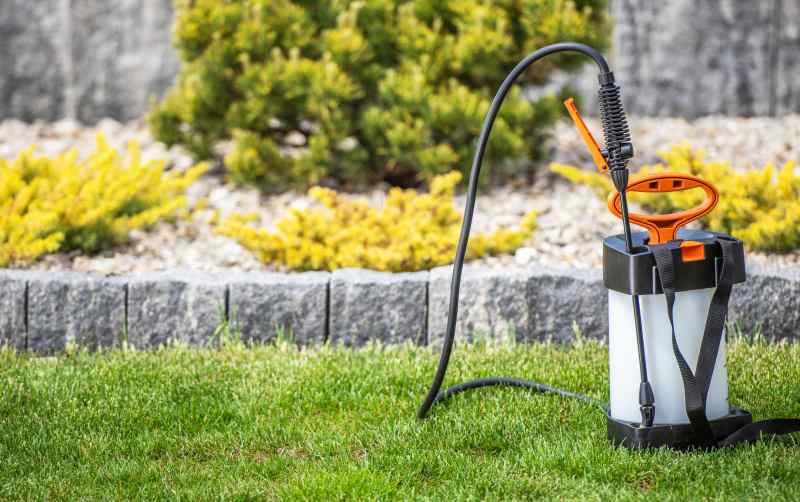
For stubborn weeds, consider a targeted approach with a post-emergent herbicide. Ideally, choose one that’s appropriate for the type of weeds you’re targeting and apply it directly to individual weeds or small patches. This minimizes herbicide use and protects the surrounding gravel.
For expert product recommendations, head over to our list of the Best Post-Emergent Herbicides of 2024. Most are chemical-based, but there are also organic herbicides available.
If you’re new to using herbicides, read our guide on Applying Post-Emergent Herbicides to Your Lawn. It’s packed with helpful tips and step-by-step instructions.
6. Spray Vinegar
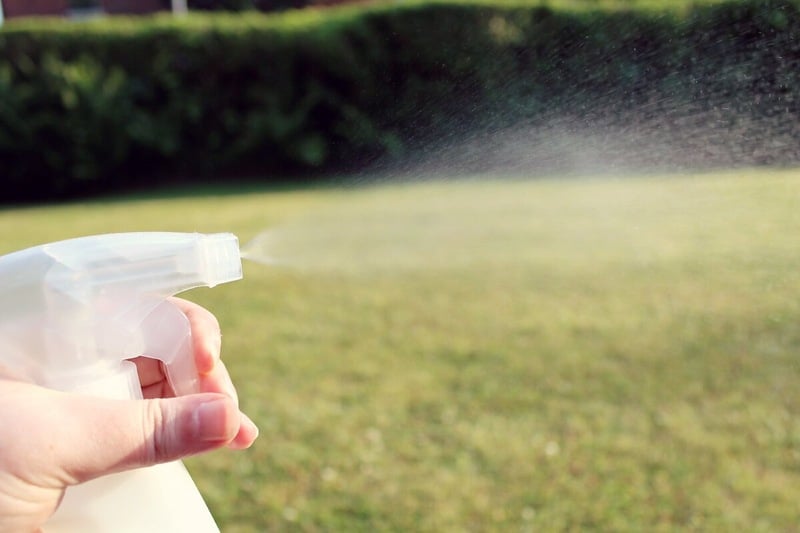
Mix one gallon of kitchen vinegar, one cup of salt, and one tablespoon of dish soap in a bottle. Spray this solution on the weeds, focusing on the leaves and base.
Now, here’s the thing: There isn’t enough evidence to guarantee it works perfectly every time. Household vinegar typically contains around 5% acetic acid, which may only scorch or temporarily suppress some weeds (or do nothing at all).
Horticultural vinegar has a higher acetic acid concentration (20% to 30%), but experts advise against it. It’s not a guaranteed solution, and using it repeatedly can be risky for your health and the environment.
Before opting for this method, make sure to read our article Vinegar as a Weed Killer: You’re Probably Doing It Wrong. It’ll give you a good overview of its effectiveness, pros, and cons.
If you’re still interested in a DIY solution, our guide on How to Make Homemade Weed Killer has a few alternatives you can try, such as using rubbing alcohol.
7. Use a Garden Hoe
If the weeds are sprouting up in a small area of your gravel, you can simply remove them with a garden hoe. Like with hand pulling, using a hoe takes some effort, but it lets you target specific weeds without harming nearby plants or flowers.
You can:
- Use a stirrup hoe: This is perfect for getting weeds out from between decorative stones. Hold it close to the gravel and gently rock it back and forth. The blade on this hoe works both ways —when you push it and when you pull it— so it cuts the weeds without displacing your gravel.
- Use a standard garden hoe: If the weeds are growing in a larger gravel area, like a driveway or a big path, use a garden hoe with a wide, sharp blade. Slide it just under the gravel’s surface to chop through the weeds’ roots and stems. Move the hoe forward carefully to avoid pulling too much gravel out of place.
Pro Tip: No matter what type of hoe you’re using, try not to dig too deep. If you go too far into the soil, you can disrupt its structure and bring more weed seeds to the surface.
FAQ About Removing Weeds from Gravel
How do you prevent weeds from growing in gravel?
While it’s tough to keep weeds out of gravel permanently, you can significantly reduce their growth with a few preventive measures, such as:
- Lay down landscape fabric before adding gravel to block weed seeds from reaching the soil. Just remember to replace the fabric every couple of years.
- Use a pre-emergent herbicide to stop weed seeds from sprouting in the first place.
- Regularly clear away leaves and sticks since they can give weed seeds a place to settle and grow.
- Edge your gravel path to keep weeds from spreading in from the surrounding soil.
- Maintain a gravel depth of 2 to 3 inches. This helps with drainage and makes it tougher for weeds to take root.
Is it safe to use weed killers on my gravel driveway or path?
Yes, you can safely use weed killers on your gravel driveway or path. However, always read and follow the label instructions on any herbicide, especially around areas where runoff could affect other parts of your garden or lawn.
Also, when thinking about natural options, make sure to do your research first. For example, vinegar is a popular choice for weed control, but its effectiveness is inconsistent, and it can be dangerous. Household vinegar has a low acetic acid concentration, which may not kill weeds effectively, while horticultural vinegar, with higher acetic acid levels, can cause skin burns and harm surrounding plants.
What is the best tool for weeding in gravel?
It depends on the size and scope of the area you’re working with. A hand weeder or a stirrup hoe is perfect for small, isolated patches in between stones.
If you’re dealing with a larger infestation in a bigger area, it’s best to go for a standard garden hoe or a weed torch. These tools can cover more ground faster. A garden hoe can slice through multiple weeds in one go, while a weed torch allows you to wilt and kill weeds with minimal physical effort.
Let the Pros Weed Out Your Worries
You’ve tried all of the above DIY methods – pulling, hoeing, vinegar sprays – but weeds just keep popping up between your gravel stones. Wouldn’t it be nice to relax and enjoy your free time instead?
Professional lawn care services can take the weeding burden off your shoulders. They’ll also maintain your lawn with regular mowing and edging to prevent weeds from encroaching on your patios, walkways, and other landscaped areas. Contact a local landscape pro in your area today to enjoy a cleaner, weed-free outdoor space.
Main Photo Credit: Tom / Adobe Stock