Flower bulbs can greet you with a colorful spring display after the cold winter. But you must first learn how to plant bulbs in the fall — from choosing the right location to proper spacing and aftercare.
We’ve also asked an expert to provide insights on planting bulbs in fall. Even if you’d rather hire a landscaping pro to plant your flower bulbs, understanding each step can help you take care of your blooms.
1. Select Quality Bulbs
If you’re planting bulbs in the fall, you must choose quality bulbs to ensure bright blooms in your garden.
“Factors to consider are size and firmness,” says Nicole Flowers-Kimmerle, horticulture educator at the University of Illinois Extension. “Select bulbs that are firm and free from soft or rotting spots or other signs of disease.”
According to her, ensuring your bulbs are disease-free can increase their chance of surviving the winter and producing blooms in the spring.
- Check for firmness: Squeeze each bulb gently. You’ll want a firm, solid feel. Avoid bulbs that are mushy or brittle. Soft bulbs usually mean they’ve already started rotting inside.
- Inspect for mold or damage: Avoid bulbs with cuts, bruises, or signs of mold. They’re more vulnerable to diseases and pests once planted.
- Go large: Bigger bulbs generally produce more vigorous plants and larger flowers. So always choose the largest bulbs you can find.
2. Choose the Right Location
Even the best quality bulbs won’t bloom if planted in the wrong spot. To help your flower bulbs thrive, consider factors like sunlight exposure and soil drainage when choosing the planting area:
- Look for full to partial sun: While bulbs like crocuses and snowdrops can flourish even in partial shade, most spring-blooming bulbs, such as tulips and daffodils, need at least 6 hours of direct sunlight each day.
- Avoid soggy areas: Don’t let your bulbs sit in waterlogged soil, which can cause them to rot. Instead, choose a well-drained area or raised garden bed.
3. Prepare the Soil
Set the stage before planting bulbs in the fall. Prepping the soil can give your flowers healthy roots and vibrant blooms come spring.
Bulbs prefer loose, well-drained soil, allowing their roots to spread easily. Plus, water won’t pool and cause them to rot.
- Loosen the soil: Using a garden fork or trowel, loosen the top 8 to 10 inches of soil to help air and moisture move freely around the bulbs.
- Mix in organic matter: Improve drainage and add nutrients by blending in compost, peat moss, or aged manure to the soil. Sandy soil drains well but will benefit from added compost, while clay soil will need organic matter to loosen it up.
- Smooth the surface: Don’t forget to rake the area flat so bulbs can sit evenly and avoid tilting or shifting once planted.
See Related:
4. Plant Bulbs Deep Enough

When you plant bulbs too shallow, they may dry out or be pushed up by frost. On the contrary, planting them very deep will make it harder for them to reach the surface.
The packaging label has instructions on how deep to plant a specific bulb. But a good rule of thumb is to plant each bulb at a depth of 2 to 3 times its height. For example, if you have a 2-inch bulb, plant it 4 to 6 inches deep.
And if you’re planting in sandy soil, dig a little deeper to ensure the bulbs have access to moisture. On the other hand, plant a bit shallower in heavy clay for better drainage.
5. Space Bulbs Properly
Let your bulbs breathe. Planting them too close together will make your bulbs compete for water and nutrients. On the other hand, planting them too far apart will make your flower bed look sparse.
“Bulbs should be spaced 6 to 12 inches apart to allow for the spread and future divisions,“ recommends Flowers-Kimmerle.
Follow these additional tips for spacing flower bulbs:
- Check the package instructions: Each bulb variety has its own spacing needs, which are usually listed on the package.
- Use a ruler or hand trowel: It’s always better to use these simple measuring tools for consistency, as just eyeballing it can throw off the spacing.
- Stagger the layout: If you’re aiming for a more natural look, plant fall bulbs in a zigzag or triangular pattern rather than in straight rows.
6. Place Bulbs Pointed Side Up

The pointed side is where the stem and leaves emerge, while the rounded bottom is where the roots grow.
- Identify the top and bottom: Most bulbs have a pointed or tapered top and a flatter, bulbous bottom. If you’re unsure, the roots (or root scars) are usually on the bottom side.
- Set bulbs gently: Place each in its hole without pressing too hard to avoid damaging it. You want it to sit upright, with the top pointed up.
- When in doubt, go sideways: Plant the bulb sideways if you’re unsure which is the top or bottom. It will naturally grow towards the light.
7. Backfill and Firm Soil
Backfilling correctly ensures the bulbs stay at the right depth and avoid damage before they can establish their roots.
- Refill holes carefully with soil, keeping the pointed tops from shifting.
- Break up clumps, as crumbly soil settles more evenly than large chunks, giving shoots an easier path to grow through.
- Press lightly to remove air pockets without compacting. Air pockets can cause bulbs to dry out or rot.
- Level the surface with your hand or a rake so the bed looks tidy and is ready for mulch.
8. Mulch to Suppress Weeds
Mulch locks in soil moisture, keeps soil temperatures stable, and stops weeds from stealing nutrients. A little extra effort goes a long way in protecting the bulbs you just planted.
- Apply mulch after the soil has cooled but before it freezes. This will provide insulation for the bulbs without trapping excess warmth that could trigger early growth.
- Spread 2 to 3 inches deep to retain moisture and block weeds effectively.
See Related:
9. Water Thoroughly
Before winter, water the bulbs to settle the soil and eliminate air pockets, jump-starting root growth. But don’t overdo it. Bulbs don’t like soggy conditions, so remember these watering tips:
- Water right after planting: Give the entire area a slow, deep watering to help the soil settle around the bulbs.
- Maintain light moisture: Your goal is to keep the soil slightly damp for the first few weeks until the ground freezes.
- Stop watering once frost hits: Allow nature to take over, as the bulbs will naturally stay dormant until spring.
10. Protect Bulbs from Critters
If you can, Flowers-Kimmerle advises choosing bulbs that are less attractive to critters. “The first thing to think about is planting bulbs that animals find less palatable, such as daffodils, alliums, scilla, or hyacinths.” She suggests interplanting these bulbs with critter favorites, like tulips.
To keep your bulbs safe from hungry critters while waiting for spring, these preventive steps can help:
- Lay wire mesh or chicken wire over the area and secure the edges with stakes or heavy rocks.
- Remove any leftover bulb husks and soil clumps that might attract the critters’ attention.
- Spray natural animal repellents or sprinkle crushed red pepper around the area, but don’t apply too close to the bulbs.
FAQ About Planting Bulbs in the Fall
Yes, but use pots with drainage holes and quality potting mix.
Bulbs may not establish strong roots before winter if you plant too late. You can still try, but blooms might be smaller because they won’t have enough time to form a well-developed root system.
Store unplanted bulbs in paper bags or mesh containers to prevent mold until the soil’s ready. Also, keep them in a cool, dry, dark place.
Yes, fertilizer can help encourage root growth.
No, moving bulbs mid-bloom can shock them and shorten flower life.
Let a Pro Handle the Planting
With the right soil prep, spacing, and care, your bulbs will reward you with months of color — proof that fall planting truly pays off. But you don’t have to do all the steps yourself. A local landscaping pro can help you achieve even better results with no effort on your part.
Sources:
- “Fall Bulb Planting for Spring Blooms.” Colorado State University Extension.
- Nicole Flowers-Kimmerle, horticulture educator at the University of Illinois Extension. Personal interview.
- “Plant Bulbs in the Fall for a Spring Celebration.” By Peter Ekstam, master gardener. Penn State Extension.
- “Plant Spring Bulbs During the Prime Months of Fall.” By Trisha Gedon, senior communications specialist. Oklahoma State University.
- “Planting Bulbs.” University of Illinois.
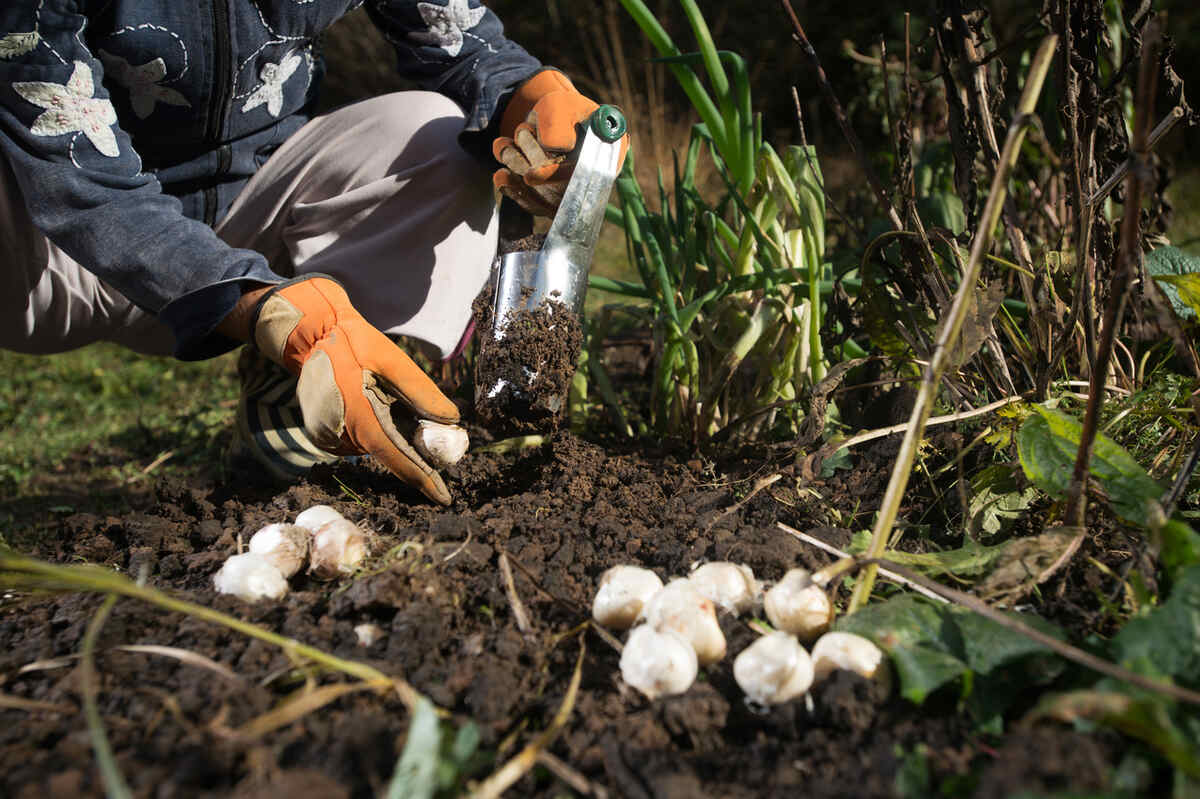
Main Image: A gardener plants bulbs in soil. Image Credit: kaliantye / Adobe Stock