Starting a lawn from scratch puts you in a bind: Sod is expensive, and traditional seeding takes forever. Hydroseeding splits the difference — a high-pressure slurry of grass seed, mulch, fertilizer, and water that goes down fast and costs a fraction of sod.
It’s especially effective on large yards, slopes, and hard-to-reach areas where laying sod isn’t practical and broadcast seed would wash away. Expect a walkable lawn in roughly 5 weeks.
The catch: Timing, soil prep, and consistent watering all have to be right. LawnStarter’s landscaping pros can handle that for you and help you get a lush lawn without the guesswork.
| Key Takeaways |
|---|
| • Hydroseeding sprays a slurry of grass seed, water, mulch, and fertilizer for faster results than traditional seeding at lower cost than sod. • Professional hydroseeding costs range from $0.07 to $0.21 per square foot, making it more affordable than sod but pricier than traditional seeding. • Success depends on proper timing (spring or fall), consistent watering for the first month, and avoiding foot traffic until grass establishes. |

What Is Hydroseeding?
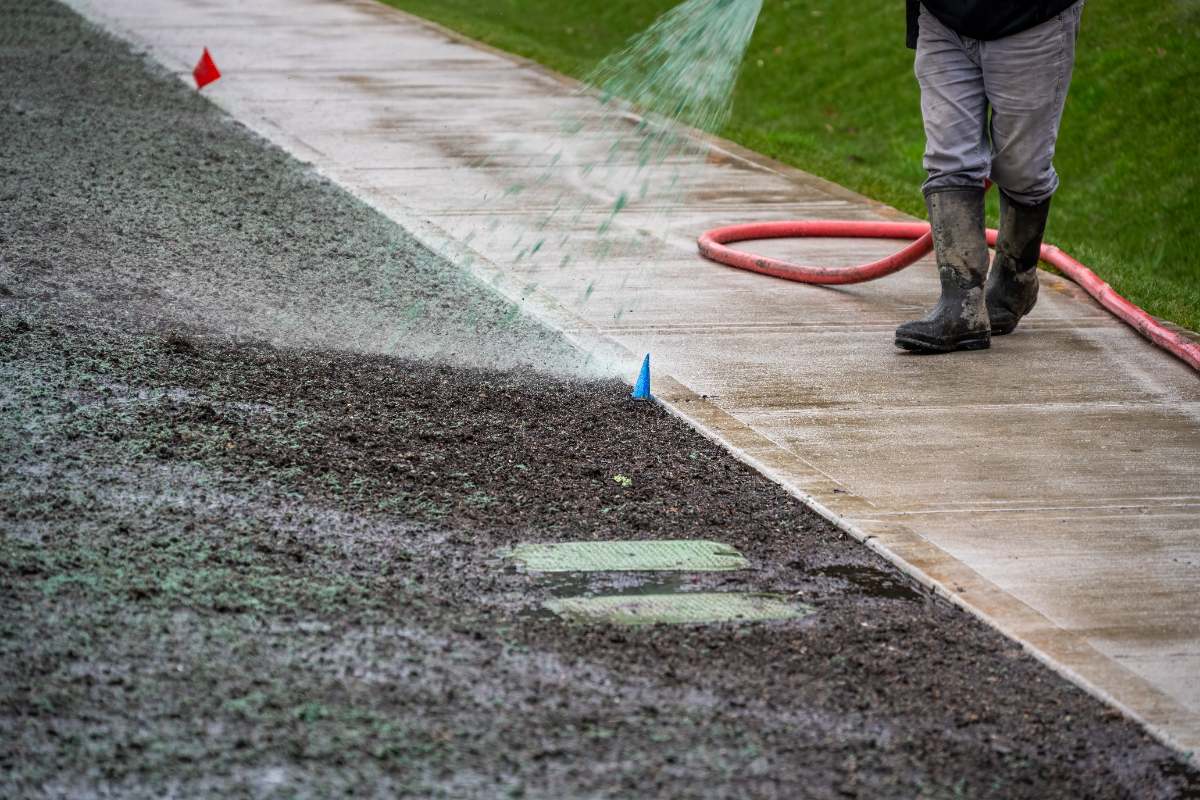
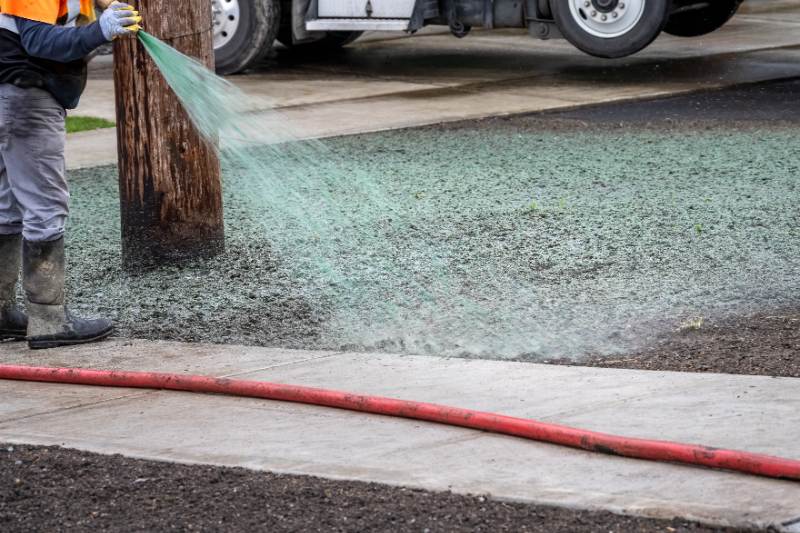
Hydroseeding (also called hydraulic mulch seeding) is a lawn planting method that sprays a mixture of grass seed, mulch, fertilizer, and water over prepared soil. A pro loads this mixture into a tank mounted on a truck or trailer, then sprays it over bare ground.
The result is a uniform green coating that locks in moisture and creates ideal conditions for fast, consistent germination.
The mulch in the mix holds moisture, protects the seeds from wind and sun, and helps prevent soil erosion — giving your new grass a major head start over bare broadcasting.
What’s in the Hydroseeding Mixture?
A hydroseed slurry consists of 6 key ingredients — think of it as a seed-starter smoothie that gets sprayed onto bare soil. Each ingredient plays a specific role in helping seeds germinate quickly and stick to the ground:
Grass seeds: Your choice of grass types for the lawn
Mulch: Protects seeds and helps them stick to soil
Fertilizer: Provides nutrients for initial growth
Water: Creates the sprayable slurry mixture
Dye: Shows where slurry has been applied (optional)
Tackifier: Binding agent for slopes (optional)
The slurry may also contain soil additives (humic acid, mycorrhizal fungi, biochar) but not all of them do. Whether you should use one with soil additives depends on the state of your soil.
See Related: What Are the Different Types of Soil Amendments for Turfgrass Lawns?
Pros and Cons of Hydroseeding
The benefits of hydroseeding are real compared to both sod and traditional seeding — but it’s not perfect for every situation. Here’s an honest look at where it shines and where it falls short:
| Pros | Cons |
| ✓ You can customize what grass seeds to include in your slurry ✓ Looks more uniform than both sod and traditionally seeded lawns ✓ Helps with erosion control ✓ More cost-effective than sod ✓ More convenient than traditional seeding ✓ Faster results than traditional seeding | ✗ Needs a lot of water in its first few weeks ✗ On very steep slopes it may require pairing with erosion control blankets or tackifiers ✗ DIY hydroseeding is less effective and more complicated than DIY sodding and DIY traditional seeding |
Since moisture retention is what makes or breaks most seed-from-scratch lawns, proper watering matters most. Water your lawn 2 to 3 times a day for the first month. Run your sprinklers for 15 minutes each time.
After that, you can start watering your lawn less, although it still needs more water than an established lawn.
When hydroseeding isn’t the right fit: If you need a usable lawn quickly or have a small yard, sod may be the better call. Hydroseeding is generally better suited to seeding large lawns, hard-to-reach spots or slopes.
Hydroseeding requires a no-foot-traffic window of about 5 weeks and consistent watering. If you can’t keep people and pets off the lawn, weigh your options carefully.
See Related:
Hydroseeding vs. Traditional Seeding and Sod
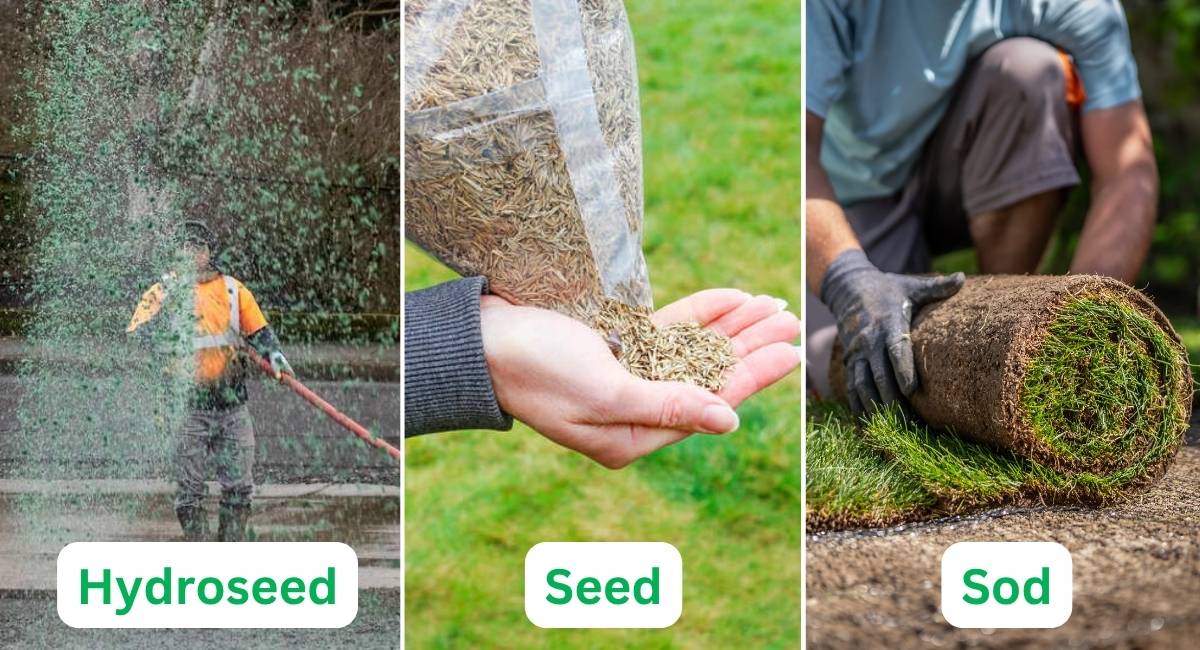
Hydroseeding: knelson20 / Adobe Stock Free / License
Spreading seed: agneskantaruk / Adobe Stock
Installing sod: Peter / Adobe Stock
How does hydroseeding compare to traditional seeding and sod? Here’s how hydroseeding stacks up against these other methods of planting new grass.
Hydroseeding vs. Traditional Seeding
Compared to hydroseeding, traditional seeding is cheaper. Professional lawn seeding costs typically range from $0.09 to $0.15 per square foot, versus $0.07 to $0.21 for hydroseeding.
However, that cost savings is the sole meaningful advantage traditional seeding has over hydroseeding.
Hydroseeded lawns sprout faster and tend to look more uniform than traditionally seeded lawns, which tend to grow patchy. Hydroseeding is also more convenient, though it costs more and requires more water.
| Hydroseeding | Traditional Seeding |
| ✓ More convenient ✓ Sprouts faster ✓ Looks more uniform ✗ More expensive ✗ Needs more water | ✓ Cheapest way to grow a lawn ✓ Offers as much customization as hydroseeding ✗ More time-consuming ✗ Takes longer to sprout ✗ Grass growth can be patchy |
Hydroseeding vs. Sod
Sod’s main advantage over hydroseeding is speed — it is pre-grown grass laid directly onto prepared soil, so it looks like a lawn immediately. You can usually walk on it in about 2 to 4 weeks once the sod rooting test shows it has established.
On the other hand, sod is less hardy, significantly more expensive, and the seams between pieces can give it a less natural look.
Hydroseeding costs significantly less than laying down sod and offers more grass type options. Professional sod costs average around $1.65 per square foot installed, compared to $0.07 to $0.21 per square foot, the cost range for hydroseeding.
That means hydroseeding can cost up to 80% less than sod for the same area. Grass grown from seed is also hardier and more disease-resistant because it develops a stronger root system.
Hydroseeded lawns also tend to look more natural. The tradeoff is that hydroseeding needs more maintenance (particularly watering) and can’t be walked on for about 5 weeks while the grass establishes.
| Hydroseeding | Sod |
| ✓ Offers more grass options ✓ Cheaper and more cost-effective ✓ Looks more natural ✓ Grass has better disease resistance and is hardier ✗ Needs a lot of water ✗ Can be done only during the grass’s growing season ✗ Can’t be walked on for about 5 weeks or until established | ✓ Fully grown from the beginning ✓ Can be walked on after a shorter time period ✓ Can be laid down almost any time of the year ✗ Lawn is less hardy ✗ More expensive ✗ Can have seams that give your lawn a more artificial look |
See Related: Hydroseeding vs. Sod: Which Is Right For You?
FAQs
It’s not recommended. The slurry can damage or kill existing grass, and hydroseeding works best on bare soil. If you want to fill in a patchy lawn, it’s better to overseed the lawn instead.
Hydroseeding typically needs about 5 weeks before you allow regular foot traffic. Full establishment varies by grass type and weather, but steady watering and avoiding traffic early on helps the lawn fill in evenly.
Water a few times a day until germination — often enough to keep the top 0.5 to 1 inch of soil consistently moist. Overwatering can wash away seeds and lead to fungal problems.
Let LawnStarter Handle Your Hydroseeding
Hydroseeding hits the sweet spot between sod’s high cost and traditional seeding’s slow, patchy results. The average homeowner can tackle hydroseeding DIY, but it will take a full day of work, specialized equipment rental and a some testing to get it right.
Rather skip the hassle? LawnStarter’s local landscaping pros can handle your hydroseeding project anywhere in the U.S.
For yards where sod ends up being the better fit, LawnStarter’s sod installation service is the same kind of start-from-scratch project, with a faster timeline.
Main Image: Professional worker hydroseeding a lawn. Image Credit: knelson20 / Adobe Stock