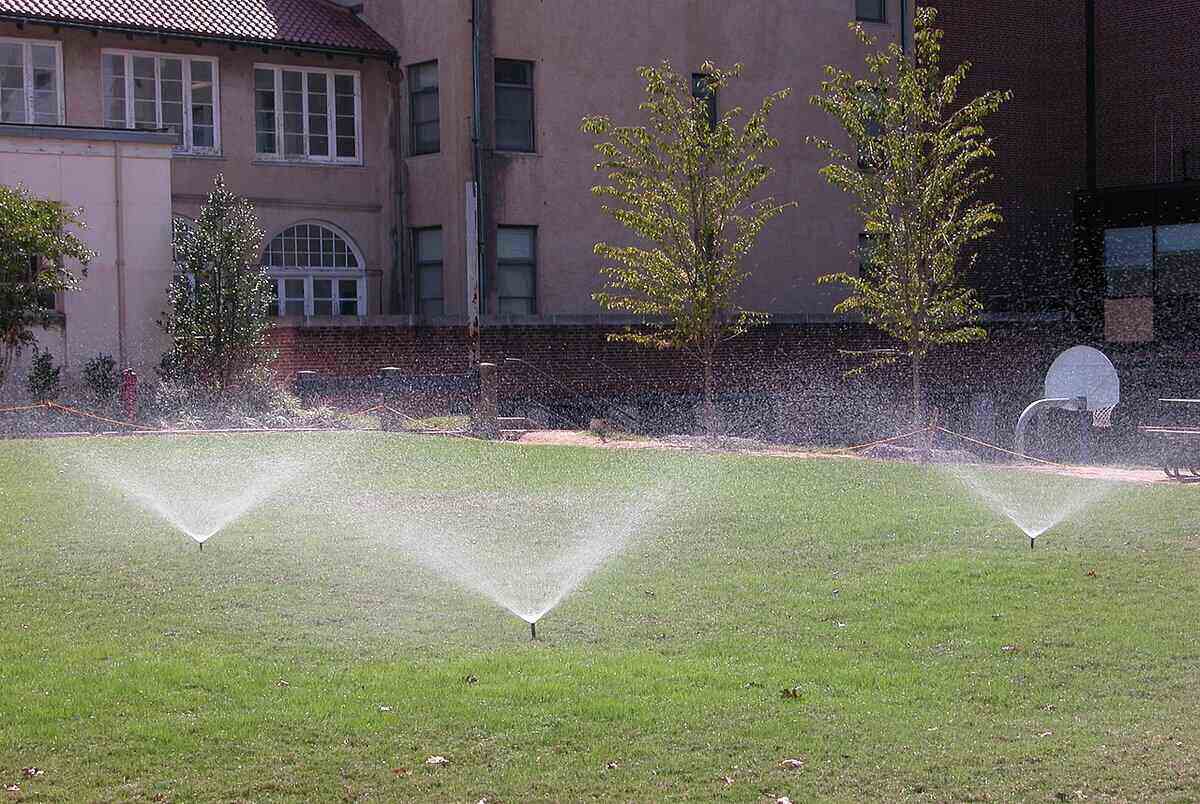
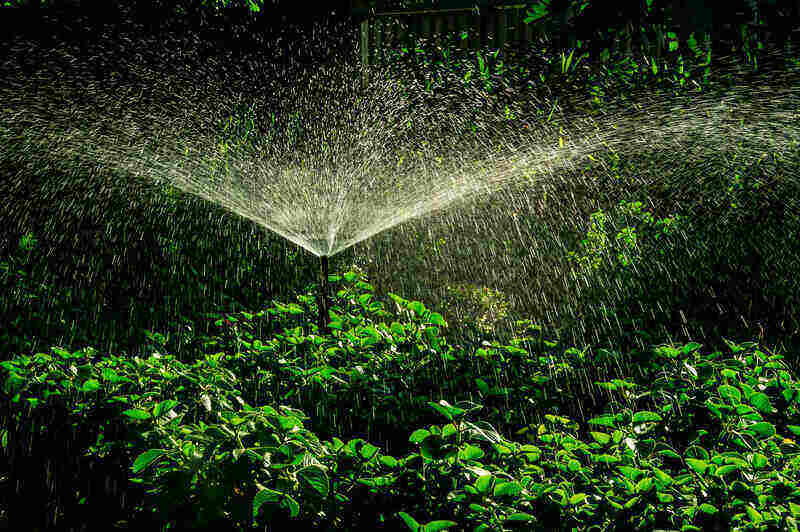
As a homeowner, you don’t want to water your yard with a garden hose. I’ll walk you through the process of installing a sprinkler system, including calculating the flow rate and installing the sprinkler heads.
As a landscape designer, I’ve designed professional sprinkler systems for homeowners. However, if you’re a DIY enthusiast, setting up your own sprinkler system can be a more budget-friendly option.
| Project Difficulty: Expert Estimated Time to Complete: 3-5 days depending upon the area size Project Cost: An in-ground automatic sprinkler system costs $2,630 per 1/4 acre (materials only), plus the cost of the controller. Professional installation costs $0.29 to $0.48 per square foot depending on the number of zones and other factors, such as the type of sprinklers. |
If sprinkler system installation is more than you can handle or you prefer to leave the job in more capable hands, let LawnStarter connect you with a qualified professional. A local irrigation pro can handle the job, installing your new sprinkler system correctly and efficiently.
Plan Your Installation
Plan Your Installation
Setting up your sprinkler system might initially feel daunting, but you can handle it successfully with the right information, planning, and tools.
Follow Local Regulations
Before breaking ground, it’s important to consult your local municipality. Looking into the factors outlined below will guide you in starting your sprinkler system project effectively:
- Permits: Some areas may require permits, particularly if a backflow prevention device is installed.
- Licensed professional: In certain states, cities, or counties, using a licensed professional for installation might be necessary to adhere to local codes and avoid potential fines.
- Utilities: Contact your local utility companies to have them mark any underground lines. This service is typically free and will help you avoid damaging utility lines that provide power, phone, cable, or internet.
Assess Your Property
- Get a scaled layout: Start with a simple sketch of the yard using graph paper and a measuring wheel or an online tool. Include structures (house, driveway, trees, garden beds) and label dimensions.
- Mark the water source: Show where the sprinkler system will get its water from, like an outdoor spigot.
- Identify sprinkler coverage areas: Draw the yard divided into sections based on landscaping needs — lawn, garden beds, or trees.
- Keep the sketch close at hand for later use: You will be adding the zones and sprinkler heads and then connecting everything with piping.
Check out this video on the anatomy of a sprinkler system to learn more:
Calculate Water Requirements
Calculate Water Requirements
Calculating water requirements involves a little math.
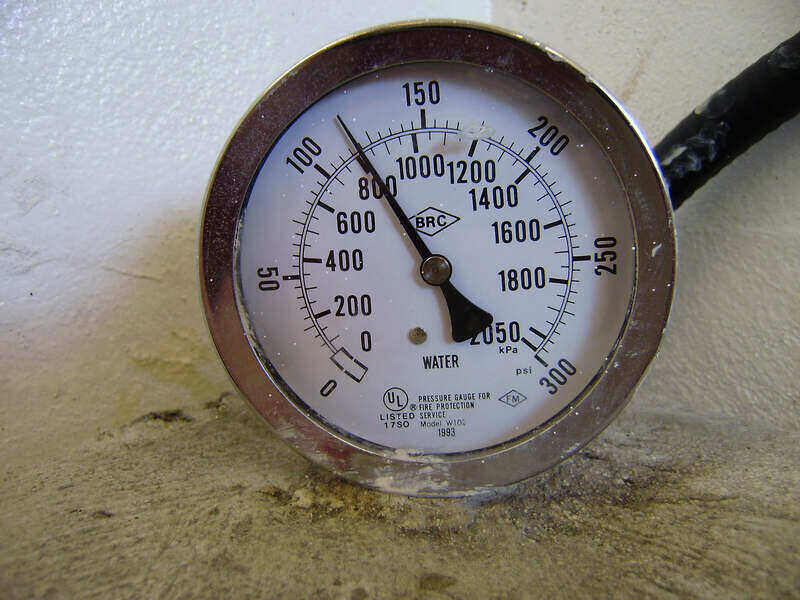
Measure water pressure: To determine your water pressure, follow these steps:
- Ensure all water valves and faucets inside and outside your home are turned off.
- Attach a pressure gauge to an outside faucet.
- Turn on the water at the spigot.
- The gauge will show you your water pressure in pounds per square inch (psi).
Check flow rate: To determine your flow rate, measure the amount of water, or how many gallons of water per minute (GPM), move through your water lines. The steps for determining your flow rate are basic:
- Take a 5-gallon container to your outside spigot.
- Turn the water on fully, and use your phone to record the time it takes to fill the container.
- Divide the container’s size by how many seconds it took to fill.
- Multiply that result by 60, and you end up with the flow rate (gallons per minute).
- To determine the gallons per hour (GPH), multiply the flow rate by 60.
Check out this example below:
5 (gallon container) / 30 (seconds to fill) = 0.166 (gallons per second)
0.166 X 60 (seconds in a minute) = 10 gallons per minute
10 (flow rate, or gallons per minute) X 60 (minutes per hour) = 600 (gallons per hour)
Try it out: Assuming you’re using a 5-gallon bucket, use this calculator to determine your GPH.
Measure the water service line size: Before running to the hardware store for PVC pipe, measure the size of your existing water service line. This will ensure you purchase the correct size parts to tap into the main. Here’s how to do that:
- Locate the line: Find where the main water line enters your home (usually in the basement or crawl space).
- Clear area: Remove any insulation or debris around the pipe.
- Measure diameter: Using a tape measure, wrap it around the pipe, divide the circumference by π (3.14) to get the diameter.
- Check for markings: Look for size indications on the pipe (e.g., 1", ¾").
- Note material: Identify if the pipe is PVC, copper, etc.
- Sketch setup: Draw a simple diagram with your measurements.
Know Your Water Source
The type of water source you have, whether it's municipal or well, can influence the pressure and flow rate of your sprinkler system. To assess how your water source affects your system, follow these steps:
Municipal water system: Check for a water meter outside your home. The size is often stamped on the meter. If you can't find it, contact your local water company for details.
Contact your water company to inquire about typical flow rates and any restrictions on water usage, especially during peak seasons.
Well water system: Look at the well pump for any labels or specifications. The size may also be listed in the owner’s manual.
Test the flow rate by running the pump for a set period and measuring how much water is produced. This will help you understand the availability for your sprinkler system.
This video will illustrate how to use a water pressure gauge, calculate flow rate, and set up a sprinkler system DIY:
Divide the Space Into Zones
Each zone/area of your yard requires a different amount of water. Establishing these areas is key for determining sprinkler head coverage and the appropriate water pressure.
At this point in the process, you should have drawn out areas on your sketch that have similar water requirements: lawn, garden beds, etc. Keep in mind, your system has a maximum GPM it can handle (based on your home’s water supply).
If your house provides 10 GPM total, you can’t have more than 10 GPM worth of sprinklers in a single zone.
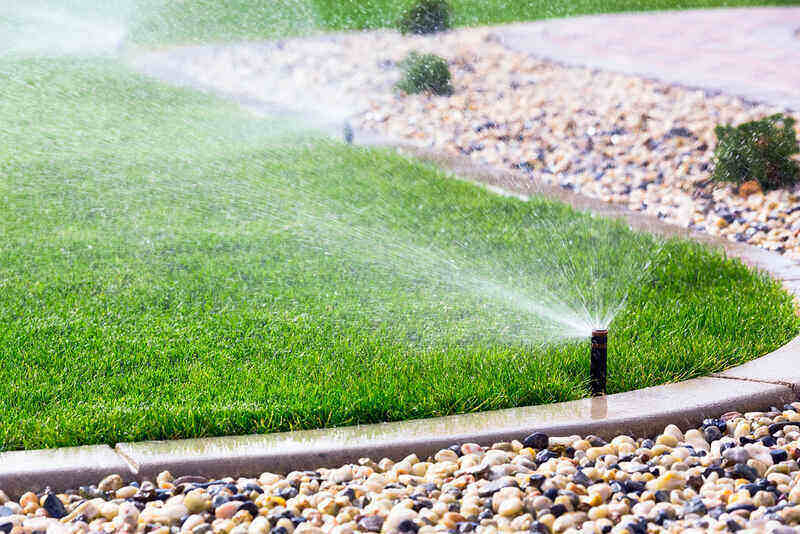
Choose Sprinkler Heads
Sprinkler heads operate differently when it comes to water usage and coverage areas. Rotors use more water and require fewer units per zone, whereas spray heads use less water and need more units per zone. It's important not to mix rotors with spray heads.
Using your zoning layout and flow rate calculations, you can now begin placing sprinkler heads on your drawing.
| Rotors(Rotary) | Spray Heads(Stationary) |
| Large, open areas | Small/tight areas, garden beds |
| Coverage: 25–45 feet | Coverage: 5–15 feet |
| Water Use: 3–5 GPM each | Water Use: 1–3 GPM each |
A sprinkler zone can typically handle 5 to 6 rotary heads or 8 to 10 spray heads. However, keep your maximum GPM in mind.
Example: Zone 1 has 2 rotors at 4 GPM each, equaling 8 GPM total. This is within a 10 GPM limit. If a zone exceeds your GPM, split it into two zones.
Determine the Number of Valves
Valves function as on/off switches for individual sprinkler zones, regulating the flow of water to the sprinkler heads in that particular section of your yard. They automatically open and close in response to signals from a sprinkler controller, also known as a timer.
Here’s an example of where the valves fall in the sprinkler system flow:
Water Source → Valve Manifold → Valve → Zone 1 → Sprinkler Heads (Lawn)
Typically, you'll have one valve for each zone. So if you’ve divided your yard into 3 zones (front lawn, garden beds, side yard), then you'll need 3 valves — one for each zone.
Mark the Piping
Once you've mapped out your zones and selected the right sprinkler heads and number of valves for each area, it’s time to connect them with piping. There are two types of pipes you'll use: the main line, which transports water from the source to the control valves, and the lateral lines, which disperse water from those control valves to each sprinkler head.
Piping can be represented on your sketch by:
- Main lines: Solid lines on the drawing
- Lateral lines: Dashed lines on the drawing (these branch off each valve to carry water to sprinkler heads)
Valves and zones can now be connected to the main and lateral pipe runs. These “pipe-runs” on your sketch will be important for trenching later.
Note: Now is a good time to double-check your sketch to see if it has all of the elements you need.
Required Tools and Materials
Now it's time to gather your tools and materials for installing your sprinkler system. Make sure you have shovels, PVC glue, a pipe cutter, and landscape flags or stakes (or string).
Additionally, you might consider renting a power trencher or pipe-puller for about $200 from your local equipment rental or home improvement store.
If you don’t want to buy all of the materials individually, there's an easier alternative: sprinkler system kits. These kits include all the components and are designed to work together, taking the guesswork out of ensuring the parts will fit together properly.
Check out what else you need:
- PVC pipes
- PVC fittings (elbows and tees)
- Controllers and timers
- Sprinkler heads/lawn nozzles
- Tubing or risers (These connect sprinkler heads or drip lines to the PVC pipe.)
- Valves
- Sprinkler manifold (The manifold sends water to your valves, which are connected separately.)
- Sprinkler valve box (This enclosure contains your manifold and valves. Sometimes, valves may be located above ground. Typically, valve boxes are positioned around the perimeter of your house.)
- Wires
- Drains (Drains keep water out of the pipes when they are no longer pressurized. Manual and automatic drains are installed at the end of sprinkler lines and low points.)
- Backflow preventer (When your system is hooked up to city water, the backflow preventer for yard sprinkler systems keeps the water from returning to the home’s water supply.)
- Landscape fabric
Step-by-Step Installation Guide
Now that you have located underground wires and pipes, mapped your system, and purchased supplies, it’s time to learn how to install the system.
1. Prep Your Site
- Mark sprinkler heads and pipes: On the diagram/drawing, wherever you marked the spot for a sprinkler head, place a landscape flag in the ground that corresponds to the spot on the drawing. The same goes for the pipe locations, but use string or spray paint to mark where the pipes will go.
- Dig trenches: Now that you’ve identified where the sprinkler heads and pipes will go, it’s time to dig those trenches. You might consider renting a power trencher for a quicker and easier job than digging by hand. To avoid disturbing your entire lawn, a pipe-puller can be used to install the PVC piping more efficiently.
As you dig, set the soil to one side and place the sod on the opposite side. Ensure the trenches are 6-12 inches deep, and don’t forget to line them with landscape fabric.
2. Connect to Water Supply
To connect to a water supply for your sprinkler system, you need to connect to your house’s spigot (suitable only for warm-weather areas) or the main water line. If you decide to use the main water line, it’s advisable to call a plumber.
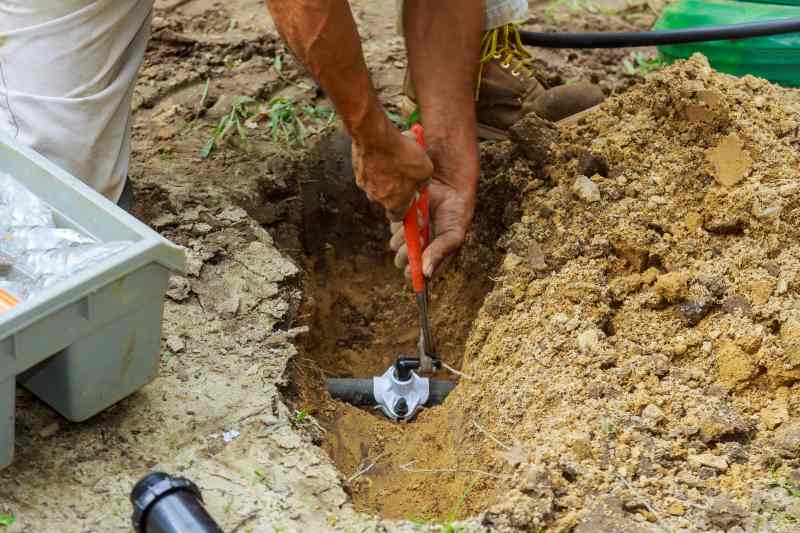
3. Install the Valve Manifold
")
Begin by digging a hole slightly larger than the valve manifold box. Connect the main water supply line to one end of the valve manifold assembly, ensuring the clamps or adapters are securely tightened. These valves regulate water flow within the system, opening, and closing to let water enter the sprinkler setup.
4. Install the Main Line
Lay your PVC pipe in the trenches and lay the appropriate sprinkler heads and couplings at each landscape flag or stake.
5. Assemble Parts
Begin by setting up all the components at the first sprinkler location, excluding the sprinkler heads. Once that's done, proceed to the next location and repeat the process.
6. Flush the System
Before installing the heads, flush out any dirt and debris that may have entered the pipes, as these can cause blockages. To do this, turn the water back on. Start at the heads closest to the valve box and work outward. Manually open each valve, allow the water to clear the pipe, and then close it, moving on to the next valve and repeating the process.
7. Install Sprinkler Heads

Sprinkler heads are the components that distribute water across your landscape. The type of sprinkler heads you choose will depend on the spray direction, the area you wish to irrigate, and the desired spray pattern.
After clearing debris from the system, you can attach the sprinkler heads to your irrigation setup. Ensure that any pop-up heads are level with the ground.
8. Set Up the Controller

At this stage, you're prepared to connect the controller to the valve manifold following the manufacturer's guidelines. Controllers and timers enable you to manage both the timing and quantity of watering. In essence, the controller acts as the central command for your home sprinkler system.
Additionally, smart controllers that conserve water by automatically adapting to current weather conditions are available. These models are Wi-Fi-enabled and can be operated through a mobile app.
Note: If you are uncomfortable working around electricity, call an electrician, an irrigation pro, or someone who knows how to install a sprinkler system control box.
9. Test and Program Your System
It’s time to get the control box ready and ensure it’s working right, following the manufacturer’s instructions. Depending on the type of system you’ve set up, here are some tips the manufacturer usually suggests.
- First, turn on the system and go through each zone, checking the sprinkler heads and spray patterns. Knowing how to adjust lawn sprinkler heads early on will keep your system running smoothly.
- Set up the control box for the days and times you want the system to run.
10. Fill Trenches
Once you have tested your newly installed outdoor sprinkler system and everything works properly, it’s time to backfill the trenches with dirt and replant the sod you removed.
11. Keep it Maintained
You’ve gone through all the work to install your system — congratulations! Your sprinkler is ready to use, but you’ll need to perform simple maintenance tasks each year to keep it running its best.
At least once per year, run a lawn sprinkler audit for each zone, ensuring your heads are delivering the proper amount of water to each area.
Check out these additional tips below to keep your sprinklers running smoothly:
- Inspect the water pressure of your sprinkler heads regularly.
- Adjust your sprinkler schedule as needed.
- Winterize your sprinkler system in the fall.
- Clear debris from sprinkler heads.
- Adjust the angles of your sprinkler heads.
- Stay on top of routine maintenance for your irrigation system.
- Utilize smart irrigation technology.
Mistakes to Avoid
Common errors, such as incorrectly installing sprinkler heads or not digging trenches deep enough before setting up your sprinkler system, can create complications and frustration. Avoid these common mistakes:
- Neglecting to evaluate your soil type: Not knowing your soil type can significantly impact the effectiveness of your sprinkler system. Certain soils, like clay, don’t absorb water well, and overwatering can lead to runoff and erosion.
- Failing to install sprinkler heads properly: If the spray heads are installed incorrectly, they risk being run over by the lawnmower. I've observed many broken sprinkler heads because they weren't buried deep enough to be positioned lower than the grass.
- Ignoring plant spatial needs with adjacent sprinkler heads: Watch that the sprinkler heads aren’t right up against a shrub because the constant water pressure that shoots out will damage the plant's foliage.
- Disregarding trench depth in cold climates: Cities in colder areas have regulations on the depth of residential sprinkler main lines. This depth should make allowances for the sprinkler system components, including the diameter of the supply line, the type of sprinkler heads, and the risers.
Note: Generally, lines should be installed at a minimum depth of around 5 inches, with most being buried within the top 12 inches of soil.
FAQ
Absolutely. If you live in regions where temperatures drop below freezing, you must winterize your sprinkler system to prevent pipes from bursting.
How many sprinkler heads are too many depends on your home’s water flow rate and a few other factors. If you overload the system and put too many heads per zone, none of the heads will perform at their best.
The number of sprinkler heads you can install depends on a few variables, including:
• Water pressure
• Type of backflow device
• Zone valves
• Sprinkler head brand
Note: If you purchase a kit, check the performance chart or design manual that comes with your sprinkler system to gauge how many heads you can have on your system.
Freedom From Your Watering Schedule
Putting in a sprinkler system is no easy feat, but it’s something to be proud of if you decide to tackle it and accomplish the project. However, if this DIY project is more than you care to do, why not call for help to install your system?
Reach out to LawnStarter, and we’ll put you in touch with a local landscaping professional or irrigation pro who can design and install a sprinkler system for you. The benefits are a well-watered, healthy landscape and the freedom to wander far from a watering schedule.
Sources:
- “10 Best Practices For Your Irrigation System.” By Guy Virone. Environmental Designers Irrigation.
- “How Deep Are Sprinkler Lines?” Irrigreen.
- “How to Install a Sprinkler System: Step-By-Step Guide 2024.” Mcleod Landscaping, Inc.
- “Frequently Asked Questions: The Advantages of Owning an Automatic Sprinkler System.” Rain Bird.
LawnStarter participates in the Amazon Services LLC Associates Program and other retailer affiliate programs. LawnStarter may earn revenue from products promoted in this article.
Main Image Credit: Ildar Sagdejev / Wikimedia Commons / CC BY-SA 3.0