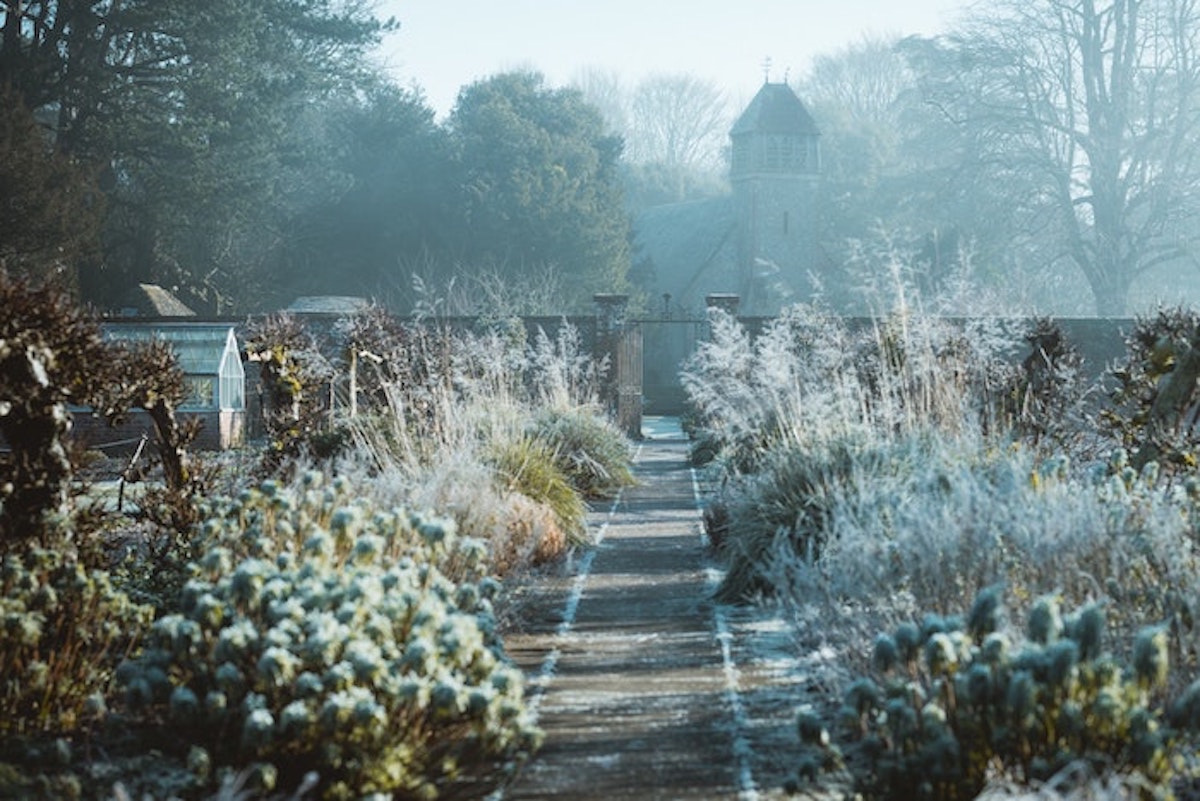
As the mercury drops and the days get grayer, Seattle gardeners have one more thing to do before they tuck away for the coldest months of the year –– it’s time to winterize your Seattle garden.
To get started, grab your warmest flannel and use our guide to winterize your Seattle garden in 15 steps.
Don’t worry, this winterization project shouldn’t take more than a weekend, especially if you get some help. But … if your garden has grown as fast as Seattle’s own Amazon or Starbucks, then you’ll need a lot of help with the weeding and mulching.
15 Ways to Winterize Your Seattle Garden
1. Get others to help you
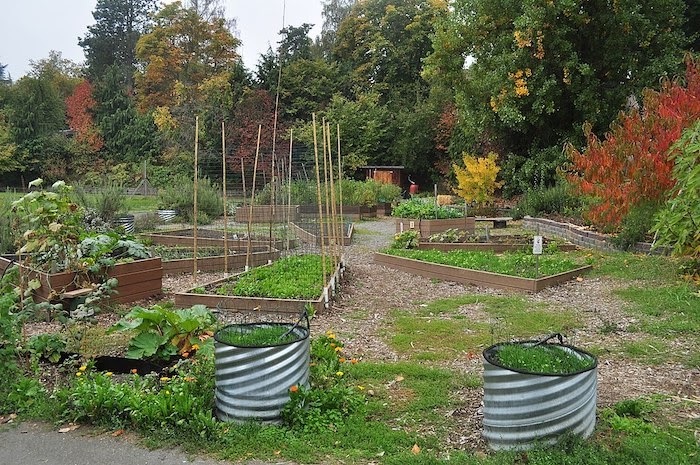
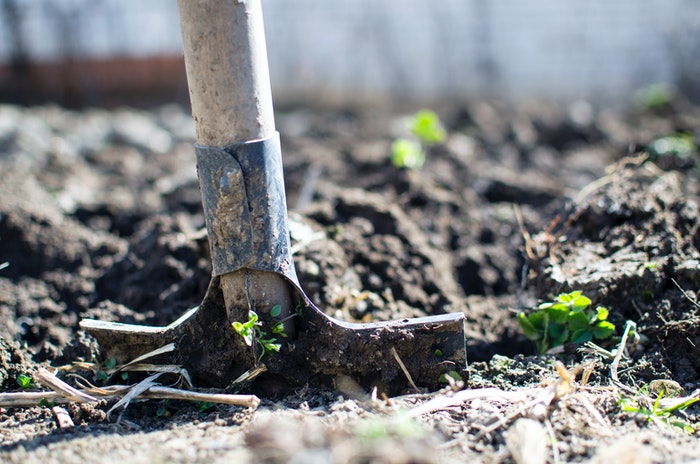
Photo Credit: Joe Mabel / CC BY-SA 4.0
Winterizing the garden is typically a weekend job. Lower the hefty workload by inviting the family outdoors to help you tend to the garden. Everyone can take part and learn about where their food comes from.
Brownie points: If you have little ones, introduce them to gardening to sow a fascination for nature and the outdoors at an early age.
Are you a member of one of Seattle’s community gardens? Winterizing the community garden needn’t be a solo affair. Invite friends and other garden members to help you prep the garden for winter.
Whether at home or at the community garden, having all hands on deck will ensure no job is skipped.
2. Put your soil to the test
Tourists always want to bring their umbrellas to Seattle, but Seattleites know better. It doesn’t rain that much in Seattle… until it does. But too much rain this winter could lead to soil compaction, erosion, and drainage issues.
Here’s why you should test your soil: Testing your soil will help you determine the best way to combat erosion and drainage issues, depending on your soil type. Most solutions usually involve particular soil amendments.
Clay soil can get very sticky when wet and will soak up plenty of moisture. Too much rain could lead to drainage problems and drowned plants.
Testing your soil can also reveal factors like pH and how much nutrients the soil can store. A soil test can help you optimize plant growth, diagnose culture problems, improve fertilizing, and identify nutrient deficiencies.
How can I test my soil? Soil kits are available for gardeners to test their soil at home. Gardeners may also perform their own soil drainage tests.
If you want a detailed review of your soil and professional recommendations on preparing for a rainy season, take a soil sample to a local university cooperative extension.
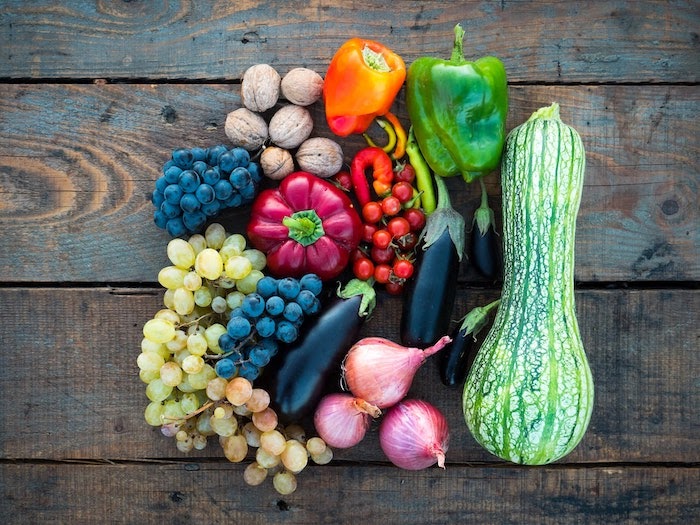
3. Harvest before the frost
Located in USDA Plant Hardiness Zone 8, Seattle has a long growing season. Your remaining vegetables have likely had plenty of time to ripen and are ready for harvest.
It’s best to harvest your vegetables as soon as they’re ready. Delaying a harvest for too long can be a betting game.
Why a delayed harvest can be a bad bet: An unexpected frost can ruin many of your good vegetables. The first frost is difficult to time because there is no definite date for when it will occur. In Zone 8, the first frost typically occurs in November. But remember, that’s only an estimate.
Yet a frost can do some good: Greens like kale, swiss chard, and collards can become a bit sweeter after a light frost.
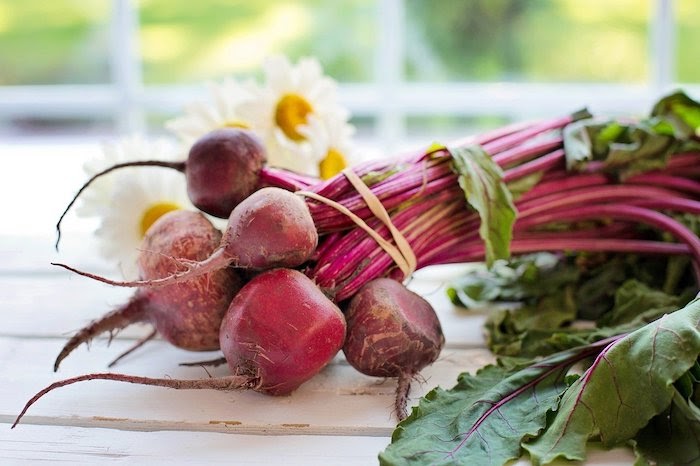
Frost and root crops: Crops growing below the soil’s surface aren’t affected by frost, but they are affected by freezing. Root crops like carrots, beets, parsnips, and rutabagas will survive a frost and still stay in good condition. Just remember to harvest them before the ground freezes.
4. Remove annual flowers and vegetables
You put a lot of work into growing your annuals — your vegetables and flowers that won’t come back in spring. Now is the time of year to remove their depleted debris from the garden.
Why removing plant debris is essential: Pests and bacteria are in the market for a cozy dwelling to overwinter in. If you leave the plant debris in the garden through winter, your new growth in spring will suffer from pests and diseases.
So, put on your garden gloves, grab that hand rake and turn the page on your annuals. Clean up the plant debris to give your Seattle garden beds and flower beds a head start on next year’s growing season.
5. Pull the weeds
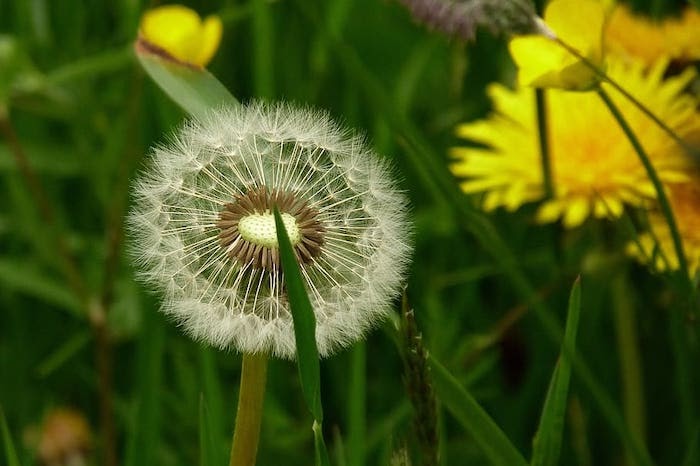
Weeds aren’t welcome in the summer. The same is the case in winter. As you winterize your garden this fall, pull up as many weeds as you can. If you remove all the weeds, you get a gold star.
Why weeding is necessary: Pests and bacteria are looking for places to overwinter, and those weeds sure look inviting. It’s time to cancel the invitation.
6. Bring your tender plants indoors
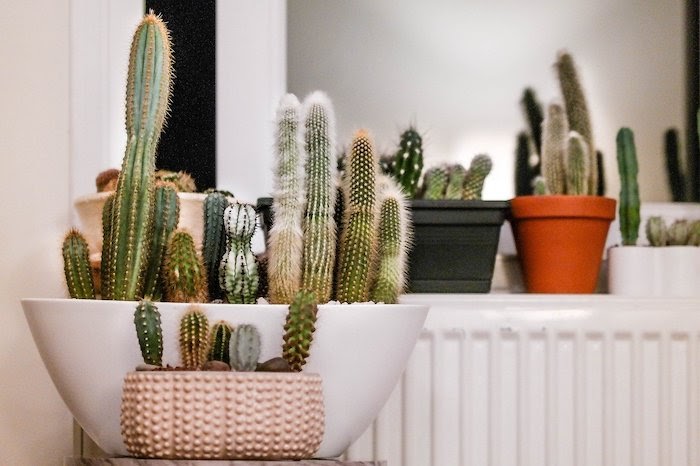
Cold weather is coming, and some of your leafy friends may not like the change in temperatures. Winter hardiness varies among plants, with some plants able to withstand the big chill better than others.
Your most vulnerable plants will likely include tropicals, potted flowers, succulents, and tender bulbs, so bring them inside.
Introduce them to the indoors by reducing light levels. Make sure any plants you bring indoors as houseplants are healthy and pest-free.
Protecting your tender bulbs involves a bit more work, though. Here’s what to do:
- Remove tender bulbs from the soil and dry them. Keep in mind that storing moist bulbs may lead to rot.
- Dry the bulbs on trays in the garage or tool shed, but make sure to do this before temperatures get too cold at night.
- Store the dry bulbs in mesh bags.
- Add several sheets of paper between the bulbs to help absorb excess moisture.
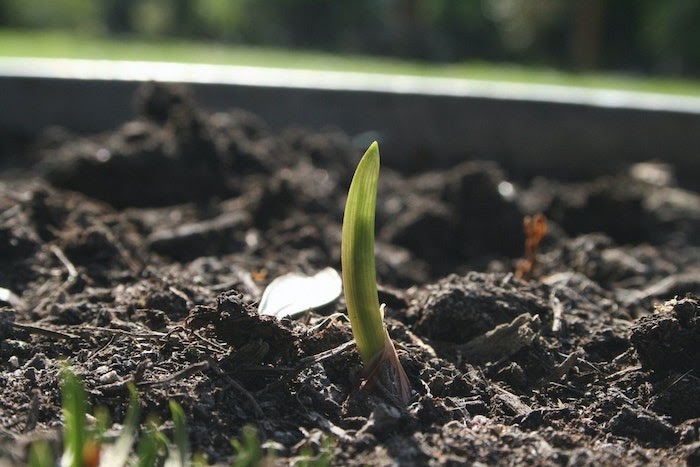
7. Divide the overcrowded perennials
Overcrowded growth isn’t healthy for your flowers. As your perennials grow back year after year, they often begin to multiply and compete for space. The competition can lead to limited nutrients and air. If your perennials are looking bunched or forming dense clusters, you may want to divide them.
How to divide your perennials:
- Dig up the parent bulb carefully and remove loose dirt around the roots.
- Divide the plants by teasing apart the roots by hand.
- If the roots are difficult to separate, cut them with a sharp knife or split them apart with two forks.
- Ensure your divisions have an ample amount of roots before planting them back in your flowerbed.
The result: The next time your flowers bloom, the new growth should appear fuller and more spread out.
8. Transition to winter gardening
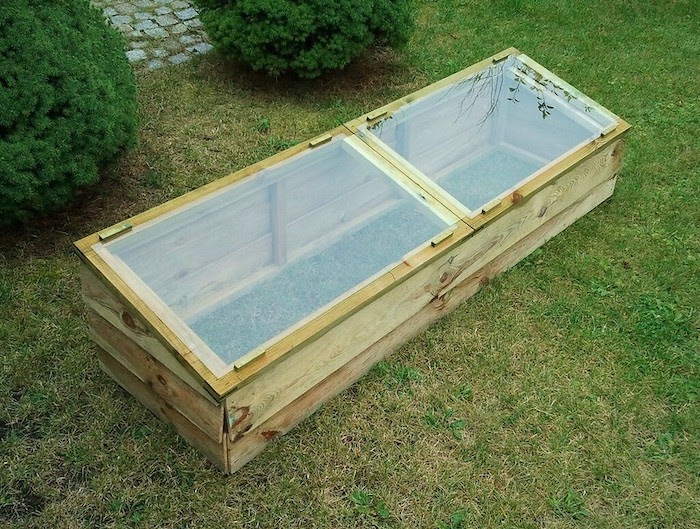
If you’re a Seattle gardener who isn’t ready to say goodbye to the outdoors this winter, consider growing your crops in a greenhouse or cold frame. A little bit of snow, rain, and cold air shouldn’t spoil your garden party fun.
A greenhouse lets you regulate your garden’s growing climate even when temperatures outside are bitterly cold. Get your greenhouse’s growing conditions just right, and you could be gardening all year.
9. Harvest the compost pile
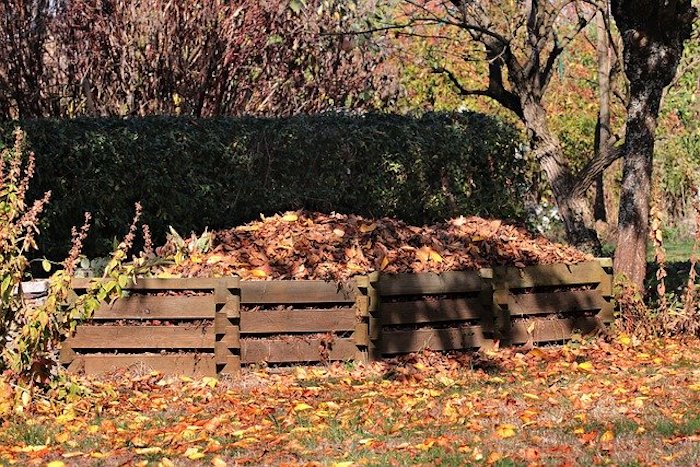
Compost can act as the perfect soil amendment for your garden’s depleted soil. After a long summer sizzling and baking under the hot sun, the compost pile should be full of decayed, nutrient-rich organic material. (It sounds delicious to your garden, but maybe not to you).
Here’s what to do: Spread the decayed compost material over your vegetable gardens and flower beds to replenish the soil. The soil has grown a lot of plants this year and given up plenty of nutrients.
Restore the ground now, and you’ll help ensure your plants have plenty of nutrients and food to spring into the next growing season.
After harvesting the compost for the garden, you might notice the compost bin has a lot more space. That means it’s ready to start composting next year’s nutrients booster. So rake up the leaves, gather the grass clippings, and toss in the holiday scraps.
10. Insulate with mulch
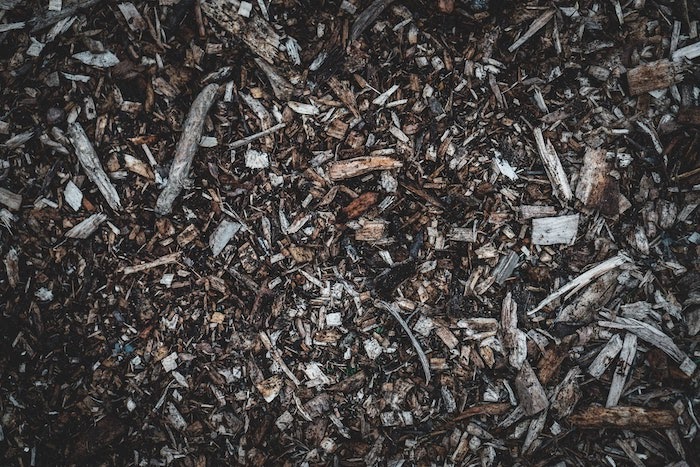
A 2- to 3-inch thick layer of mulch over your gardens and flower beds will help keep your plants cold through the winter. You may worry about your plants not being warm enough, but cold soil temperatures are best for your plants in winter.
When temperatures rise during a warm spell, the insulating mulch helps the ground remain cold.
Why cold is better: Keeping the ground cold when outside temperatures are unseasonably warm ensures your plants don’t begin to grow prematurely. It also ensures your plants don’t endure a cycle of freezing and thawing.
Other benefits of mulching: Organic mulch, like wood chips or shredded leaves, also can help limit weeds, control erosion, prevent soil compaction, and add organic matter to your garden’s depleted soil.
11. Shut off the irrigation system
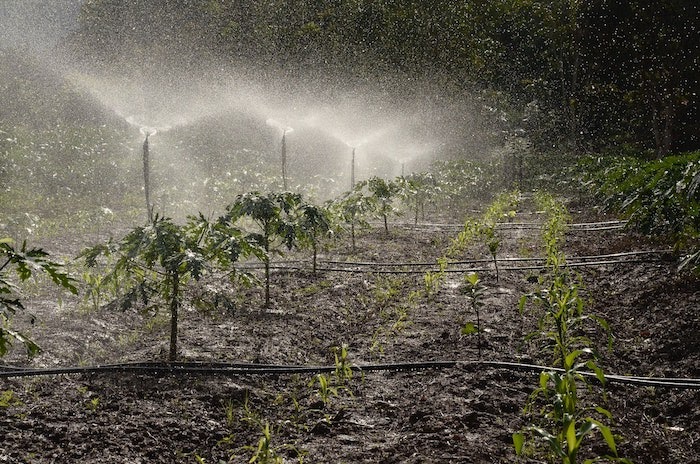
Before the mercury drops below freezing, blow out the pipes and turn off your irrigation system.
Why you need to do this: No one wants to deal with the headache of frozen pipes. Any water left inside the pipes may freeze, expand, and cause significant damages. And the repairs can be costly, too.
Your garden may have other water features that also require winterizing. A professional can help you determine the best way to winterize your water fountains, garden ponds, or water gardens.
12. Cover vulnerable plants
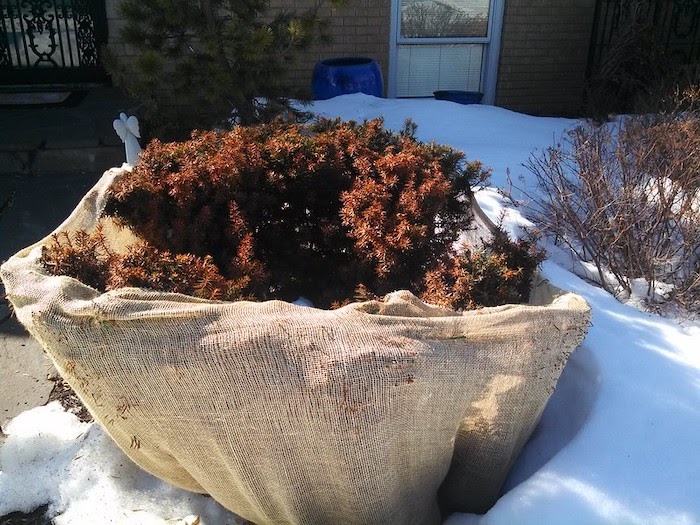
If you’re establishing new woody plants, you’ll need to protect them from the cold days ahead. Harsh winter winds and freezing weather may damage these plants by causing dryness, stress, and winter burn.
When the local weather station warns of a temporary freeze, provide your woody plants with a protective layer. Surround them with landscape fabric, burlap, or blankets. If you can, use a frame to prevent the cover from touching the plants.
Your flower beds also will benefit from some extra protection during the winter months. Cover them with tablecloths, bed sheets, or landscape fabric.
Remember: When the threat of frost and wind has passed, remove these coverings from your plants to ensure they get enough sunlight and don’t overheat.
13. Clean your gardening tools
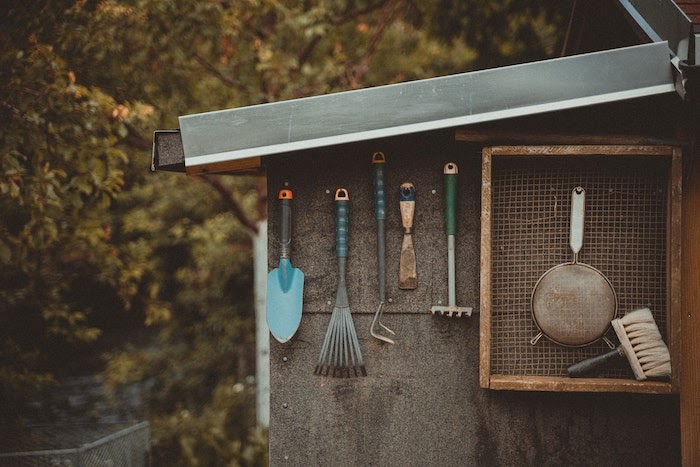
It’s good to clean your gardening tools as often as you can. But if this is a task you tend to put off, now is the perfect opportunity to get the tools squeaky-clean before you put them away for the winter.
Why you ought to clean your tools: Dirty tools can spread pests and diseases throughout the garden. Keeping your tools clean also promotes proper tool maintenance and care.
Tools in good condition will have a much better time slicing through the soil, making our gardening tasks a whole lot easier.
14. Moderate the watering
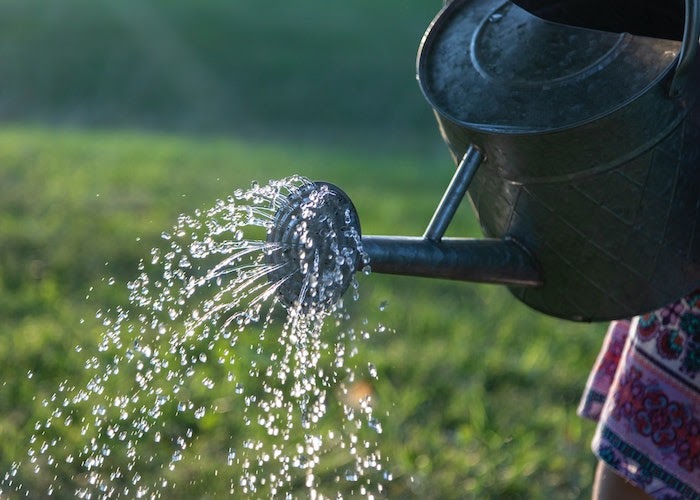
While most gardens need long, periodic drinks in winter, your Seattle garden may get just enough moisture from the rain.
The key this season is not to overwater. But if the rain isn’t falling and the days are dry, give your plants a long, replenishing drink a few times a month.
Pro tip: Avoid watering gardens when the temperature is close to freezing. It’s best to water the plants on those unusually warm days.
15. Review this year’s successes
As you scrub down the tools, pull up the weeds, and spread out the mulch, take that time to reflect on this year’s gardening success. Which plants brought you the best harvest? Which plants were too much maintenance?
Why reviewing your garden’s victories is important: Recognizing your garden’s strengths is the key to an even more successful growing season next year. If you focus too much energy on weaknesses that need improvement in the garden, you may overlook the hidden gems that make your garden the success it is.
Reviewing your garden also helps you decide how to winterize it.
For example, if a perennial vegetable has been struggling to grow in your Seattle garden, you may choose to remove it along with the weeds and other plant debris. Removing the plant will create space for a higher performing plant and lead to more success next season.
Another example: If the perennial coneflowers have not met your expectations, skip out on the dividing, and toss them instead. Plant a different flower next year.
The bottom line: The better you feel about your garden’s growth potential, the more likely you’ll enjoy maintaining it, and the more bountiful your harvest will be.
When to Call a Professional
Not every gardener wants to spend a chilly autumn weekend winterizing the garden. When your friends are out getting mouth-watering teriyaki, the last thing you want to do is pull weeds. Call a landscaping professional near you for assistance with winterizing your garden.
A professional can help winterize the irrigation system, prevent freezing pipes, and spread mulch. They can also help winterize around your Seattle garden’s soil type and maintain the winter landscape.
Main Photo Credit: Annie Spratt / Unsplash