Your hardy bulbs are snug in their beds, and it’s time for your vegetable garden’s long winter’s nap. Let’s scrub those tools, lay down some mulch, and get your gardens ready for the cold days ahead. It’s time to winterize your garden.
Winterizing your garden is an integral part of preparing your vegetables, flowers, and shrubs for the next growing season. Forget to winterize your garden, and you won’t be reaping those rewards next harvest. A sudden drop in temperatures can kill or damage your tender plants, and it’s always better to be proactive than reactive when it comes to caring for a garden.
Which plants should you bring inside for winter, and do you need to turn off the irrigation system? Can your woody plants withstand the cold? Find out in this garden checklist of 12 ways to winterize your garden and be sure to check out our section where we ask the experts.
12 Steps to Winterize Your Garden
- 12 Steps to Winterize Your Garden
- 1. Know your USDA plant hardiness zone
- 2. Remove annual vegetables and flowers
- 3. Pull weeds
- 4. Bring your tender plants inside
- 5. Divide the perennials
- 6. Cover your vulnerable plants
- 7. Cull your compost pile
- 8. Insulate with mulching
- 9. Drain the irrigation water
- 10. Clean your tools
- 11. Give your plants a good watering
- 12. Review this year’s successes
- FAQ about Winterizing a Garden
1. Know your USDA plant hardiness zone
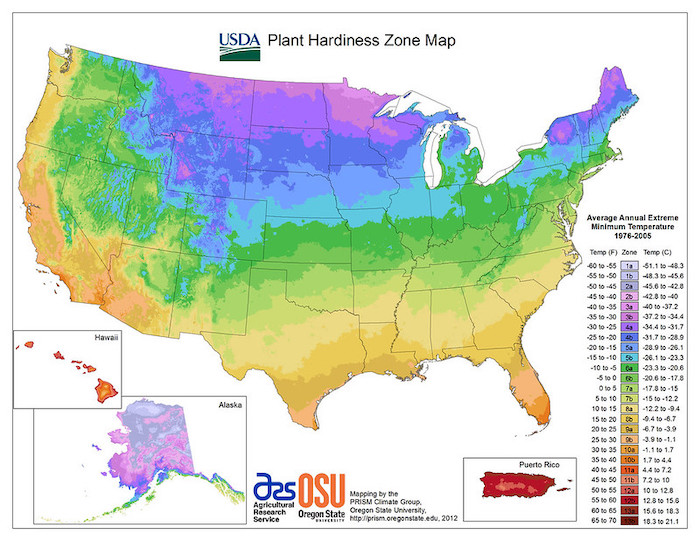
Before you begin to winterize your garden, you’ll want to know how to best protect your growing plants from a frigid winter based on where you live. If you live up North in the colder zones, you may need to develop a more ardent winterizing strategy than someone living in a warmer plant hardiness zone.
The plants you bring inside, whether you cover your shrubs with landscape fabric, which bulbs you decide to grow this year –– these, and other winterizing steps, will be determined by the plant hardiness zone where you live.
The USDA determines plant hardiness zones by calculating the average annual extreme minimum temperature over the past 30 years. Remember that these zones do not calculate the lowest temperature the zone has ever had, nor does it predict the lowest temperature occurring in the future.
2. Remove annual vegetables and flowers
Annual flowers, such as marigolds and petunias, won’t be returning on their own next spring, and neither will some of your favorite vegetables, including tomatoes and radishes. Annual plants grow for only one season.
On the other hand, perennials like hydrangeas and daylilies typically return for many growing seasons without needing to be replanted.
While you may want to avoid removing spent vegetables and flowers, this invites pests and disease. Many bacteria and pest eggs can overwinter in debris, and they will take over your healthy plants once spring arrives.
To help ensure no harmful elements fester in your garden, clean up all plant debris in the vegetable garden and flower beds.
3. Pull weeds
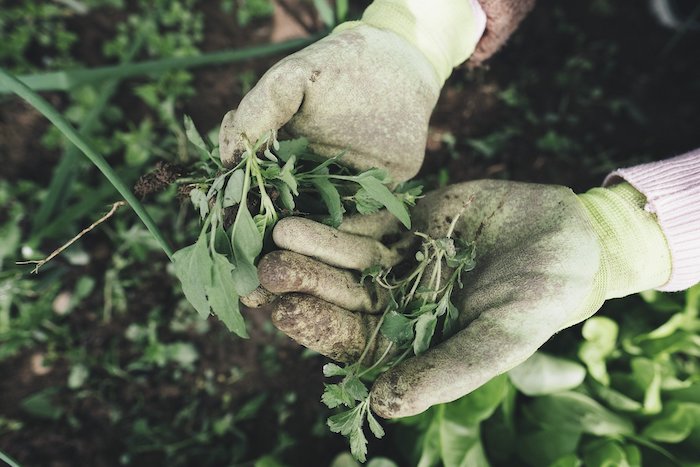
Nothing shows your garden a little TLC like pulling up those pesky weeds. No gardener enjoys it, but it’s best to cross this chore off the list when the winter months are just over the horizon.
Like plant debris in the garden, weeds camping out in the garden through winter can host many pest eggs and pathogens. It’s wise to limit real estate for these harmful organisms if you want to protect next year’s crops.
4. Bring your tender plants inside
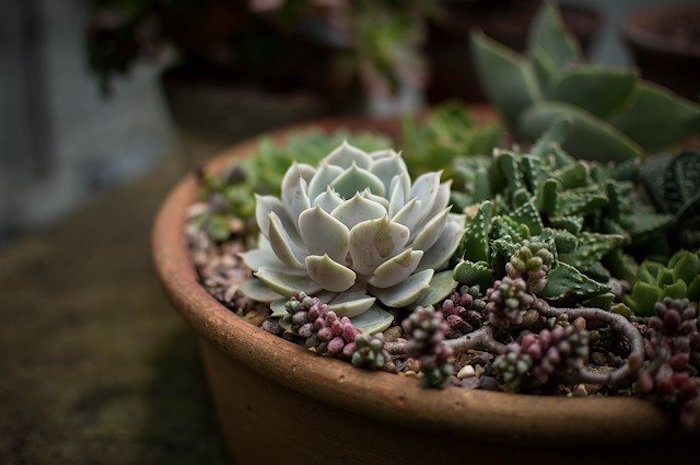
Some plants are hardier than others, meaning they can withstand a drop in temperatures or are protected underground from cold frosts. Winter flowers, like English primrose, violas, and camellia, will do just fine in your winter landscape. Even your carrots are incredibly winter-hardy and can stay in the garden through the coldest temperatures.
It’s your succulents, potted flowers, and tender bulbs you’ll want to bring inside. A frost or sudden drop in temperatures can easily shock and kill these plants. The tenderness of the bulbs you store or the plants you bring inside as houseplants will depend on the zone you live in and the plant’s cold-hardiness.
To protect any vulnerable bulbs from frost, remove them from the ground and dry them. Storing moist bulbs may lead to rot. Dry them on trays in the garage or tool shed (make sure temperatures aren’t cold at night), and then store them in mesh bags.
Add several sheets of paper between the bulbs to help absorb any excess moisture.
5. Divide the perennials
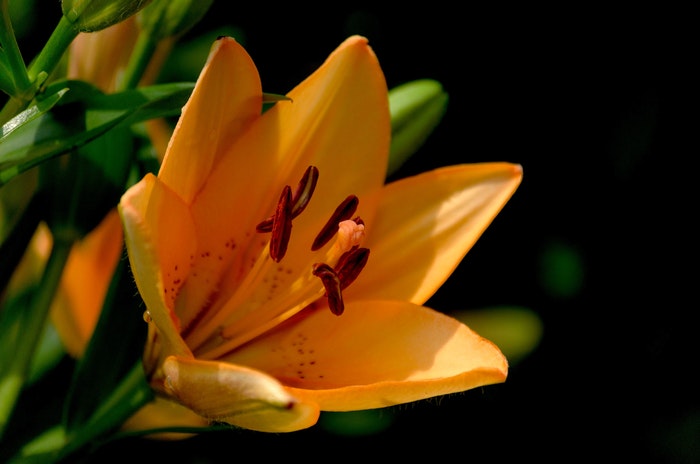
Throughout the gardening season, you may have noticed some perennials began growing too close together. This bunching can turn into a problem down the road as the plants start to compete for air, space, and nutrients.
To ensure the health of your blooms, gently dig up the parent bulb and remove any loose dirt around the roots. You can divide the plant by carefully teasing the roots apart by hand, cutting the roots with a sharp knife, or splitting them with two forks. Your divisions should have a healthy amount of roots before planting them back into the garden soil.
After successfully dividing your perennials, you’ll likely notice your flower beds appearing more spread out and fuller next growing season.
6. Cover your vulnerable plants
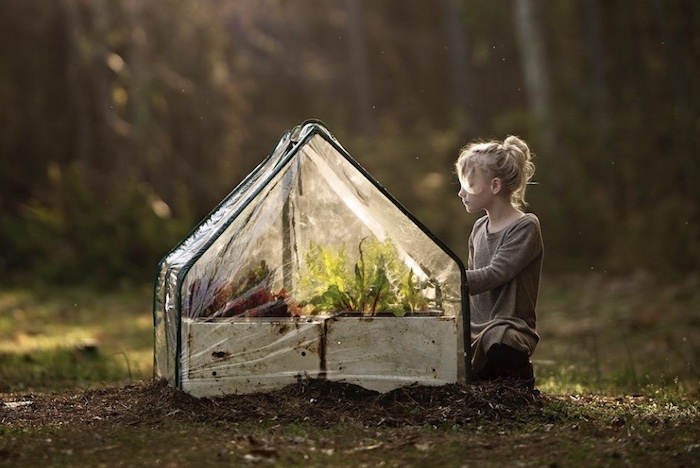
If you’re establishing new plants, like shrubs or perennials, you’ll want to give them a sheltered covering that offers protection from the snowfalls, frosts, and cold weather ahead. Landscape fabric, bed sheets, and tablecloths can all make great covers for your flower beds.
Remember to take these coverings off when the threat of frost has passed so your plants can get enough light and don’t get too warm.
Kale, lettuce, and carrots are perfect crops for a bit of winter gardening. If you’re growing cold-hardy vegetables to harvest for a winter salad, now is the time to set up your garden quilt, plastic row covers, cold frame, or mini-greenhouse.
If the weather station predicts a temporary freeze, cover establishing shrubs and small trees with burlap, landscape fabric, or blankets to keep them warm. Though your woody plants may appear tough, winter winds can cause these plants winter damage, such as dryness, winter burn, or stress.
7. Cull your compost pile
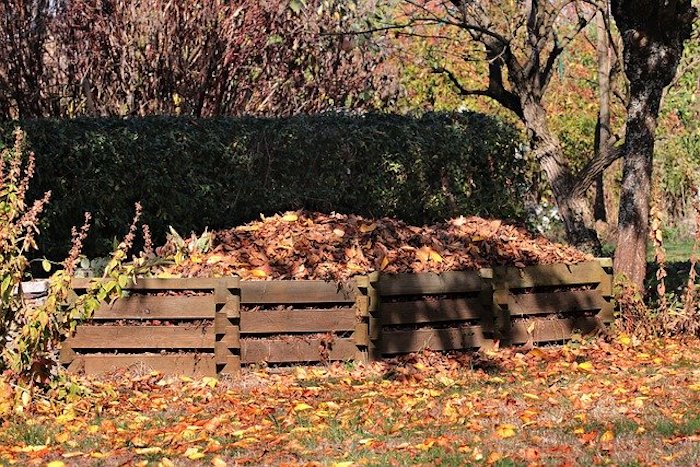
Yep, even the compost pile needs a little tending to before the first frost and snowfall. Now that the summer heat has passed, you can finally take full advantage of the decomposed material that has cooked up under the hot sun.
Sprinkle this rich compost over your flower beds and gardens, and your plants will benefit from the replenishing nutrients next growing season.
Enriching your depleted garden bed soil with compost also creates more room in the compost bin. As you gather up the fallen leaves, holiday scraps, and dry straw, throw this autumn debris straight into your composting pile now that it’s got the space.
8. Insulate with mulching
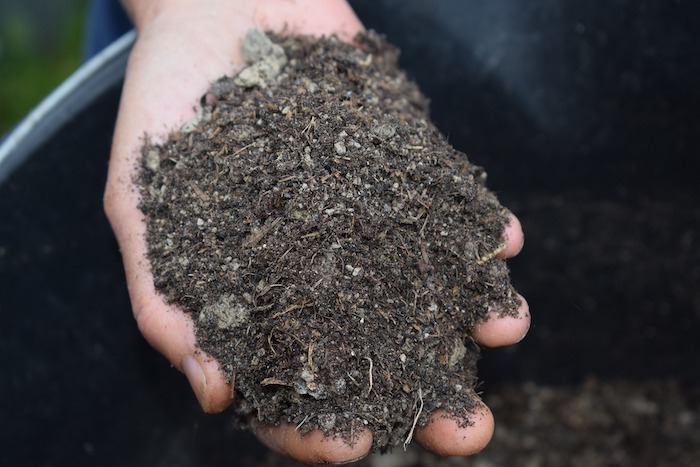
You may be thinking that a blanket of mulch will keep your plants warm underground as they wait for winter to pass. Instead, mulch keeps your plants cold in the winter. It helps create an insulating shield that separates the soil from the freezing air, keeping the soil’s temperature consistent throughout the season.
Without consistent soil temperature, your plants would begin to grow prematurely during a warm spell, or they may endure an unhealthy cycle of thawing and refreezing.
Organic material, like wood chips or shredded mulch, offers your garden excellent winter insulation, retains moisture, deters weeds, and adds organic matter and nutrients into the soil.
While the chilly winter passes through and the temperatures drop, a 2- to 3-inch thick layer of mulch will keep your garden well protected. And when spring arrives in just a few months, your plants will have plenty of nutrients to rev up their new growth –– all thanks to your mulch.
9. Drain the irrigation water
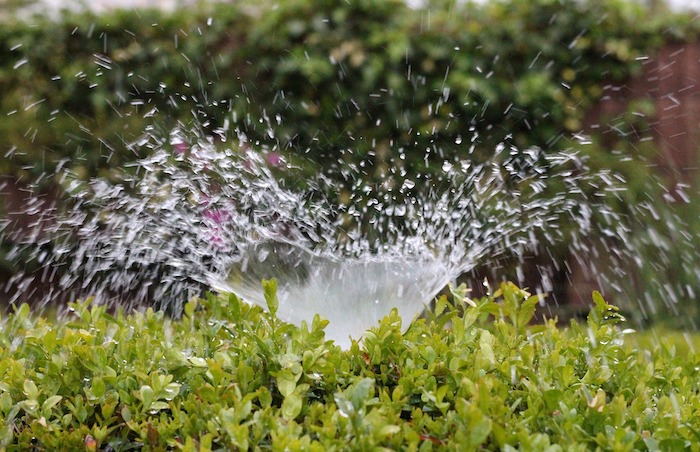
Frozen pipes? No, thank you. Shut off your irrigation system just before temperatures drop below freezing. Keeping on the irrigation system during winter could cause pipes to freeze, leading to significant damages and costly repairs.
If you have a pond in or near your garden, you’ll need to consider whether you want to shut off this pipe. Shutting off the pipe can help prevent pipe damage, but it may also affect the fish and turtles that call your pond home.
If you choose to keep your pond pipe on through winter, you’ll need to perform routine winter maintenance to keep your pond and pipe in check. Consider speaking with a professional to help determine the best strategy.
10. Clean your tools
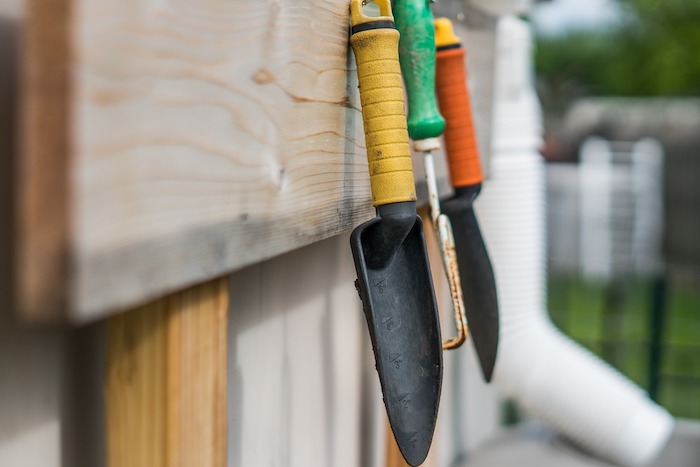
Every gardener knows you should clean and maintain your gardening tools throughout the year. But after a long day in the sun weeding, planting, and tilling, it’s easy to throw the trowel straight into the garden bin, promise to clean your tools next time, and head inside for an ice-cold drink.
Tool upkeep is essential. Proper maintenance ensures your tools are sharp, long-lasting, and in good enough shape to slice through the soil and make your gardening chores much smoother. Dull tools aren’t going to make weeding any more manageable, and dirty tools are a sure way to spread plant diseases and pests to your healthy plants.
So no more excuses: It’s time for some fall cleaning. Get the hot water running, the soap bubbling, and let’s get those tools squeaky clean.
11. Give your plants a good watering
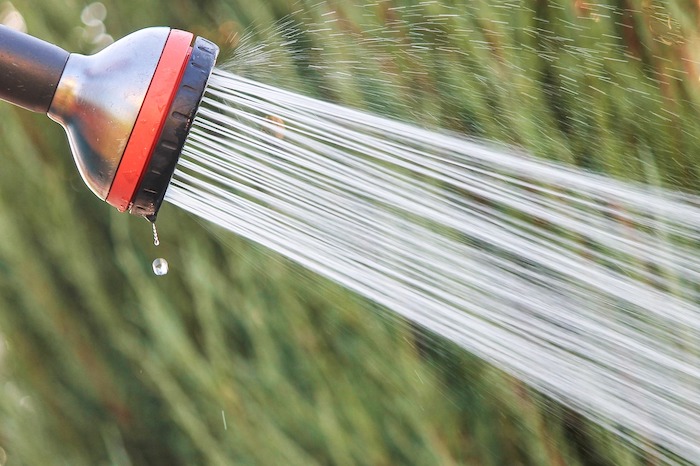
You don’t need to water your garden as much when it’s dormant. So before you tuck it in for the winter, it’s going to need a big glass of water if it’s going to handle the upcoming dry winter weather.
Throughout the winter season, give your garden a deep watering a few times a month. The dry weather can damage the plants’ roots, even in dormancy. Only give your garden a replenishing drink when temperatures are warmer and never when they’re close to freezing.
12. Review this year’s successes
Before planting any new fall or winter bulbs, consider how this year’s growing season went. How did your perennials do? Are the annuals worth replanting every year? Take note if you felt a particular plant was too much maintenance, or if a flower bed didn’t bloom the way you thought it would.
After carefully revisiting your successes and those that went wrong, you’ll have a better attack plan for winterizing your garden. You’ll know which plants to throw out and which to keep, and the better you feel about the garden, the more you’ll enjoy maintaining it, and the healthier and more beautiful it will be.
Ask The Experts
- In your experience, what garden winterization task has proven to be the most beneficial?
- What is your favorite mulch to use on your garden beds in winter?
- What are your tips for winterizing a water garden or garden pond?
- What steps do you take to protect your perennials through the winter?
 Dr. Danesha Seth CarleyDirector, Center for IPM Director, Center of Excellence for Regulatory Science in Agriculture, Associate Professor, Dept. Horticultural Science
 Laura Deeter, PhDProfessor of Practice: Horticulture and Crop Science, Sandy and Andy Ross Endowed Director, Chadwick Arboretum Canvas Certified Educator, Swift Associate
 Dr. Danesha Seth CarleyDirector, Center for IPM Director, Center of Excellence for Regulatory Science in Agriculture, Associate Professor, Dept. Horticultural ScienceNorth Carolina State University
In your experience, what garden winterization task has proven to be the most beneficial?
While all the steps articulated in this article are important when winterizing your garden, the step that is most important, which also makes it my favorite, is the final step “review this year’s successes.”
I recommend folks take pictures of their garden regularly. When the weather is dreary and gray, and you are positive the sun will never come out again — I’m looking at you February — I like to open my gardening books, my seed catalogs, dig out my gardening journal, and begin planning my plantings for the Spring.
Having the photos of my garden throughout the past year helps me remember what worked, when things bloomed, and where things needed to be adjusted. The “review what worked” always makes me smile and remember that the sun will in fact come back out.
By mid-March, my seedlings are up and growing, and my excitement for what new flowers I might bring to my yard this year is piqued again. Mulching, protecting tender plants, and cleaning my tools are all chores that need to be done, but reviewing what’s gone well, and where the new season might take me gives me life.
 Laura Deeter, PhDProfessor of Practice: Horticulture and Crop Science, Sandy and Andy Ross Endowed Director, Chadwick Arboretum Canvas Certified Educator, Swift AssociateOhio State University
1. In your experience, what garden winterization task has proven to be the most beneficial?
Leaving the garden alone. Don’t clean the stems until spring growth appears. This is beneficial for many pollinators and other native beneficial insects as well as small mammals. Leave the leaves where you can, or blow them into the garden beds.
2. What is your favorite mulch to use on your garden beds in winter?
Leaves from my trees. It’s free, decomposes easily, and adds organic matter to the soil. Anything that hasn’t decomposed in the spring can be moved to the compost pile to add as organic matter later.
3. What are your tips for winterizing a water garden or garden pond?
This will depend on if the pond contains fish and/or a waterfall. If there are no fish then removing as much of the debris as possible will aid spring cleanup. If you have a skimmer, clean it out as well. If you have plants, trim up their foliage, and move hardy plants one layer down for winter. Tropical water lilies will not survive northern winters.
Waterfalls can be left running all winter though gardeners will have to ensure enough water stays in the pond to keep the pump running and watch out for ice dams that might cause water to overflow the edges. A winter waterfall can create some beautiful ice formations.
Ponds with fish will need to maintain a small patch of surface water (don’t let it freeze over all the way) for oxygen exchange. A small, floating heater can help with this in areas with very cold winters.
4. What steps do you take to protect your perennials through the winter?
Hardy perennials should not need much in the way of protection. They go dormant and their crowns and roots remain protected. I will often blow my leaves into the garden and that can provide an addition layer of protection and organic matter. Tender perennials can either be dug and composted, or simply left to decompose through the fall and winter. Perennials that are borderline hardy to a zone can have a larger layer of leaf litter or mulch piled around their crowns to help ensure their survival
FAQ about Winterizing a Garden
When should I begin to winterize my garden?
Autumn is the perfect time of year to begin winterization, as temperatures have yet to drop, and you can still keep warm while tending to your garden. It’s important to winterize your garden before freezing temperatures arrive; otherwise, you risk killing your tender plants and freezing your pipes.
How long does it take to winterize a garden?
Winterizing a garden shouldn’t take more than a weekend unless, of course, you have many gardens to tend. You likely won’t have your garden winterized in a single morning, so plan accordingly and give yourself plenty of time to devote to the garden. Winterizing your garden isn’t a process you want to rush.
Do I need to winterize my garden every year?
Yes, garden winterization is a must-do every year. After a successful growing season, your garden soil will likely be nutrient-poor and in full of weeds. Winterizing your garden every year will help ensure your garden can produce a bounty of blooms, fruits, and vegetables next season.
When to Call a Landscaping Professional
Call a landscape professional near you if you need assistance winterizing your garden. A professional can help winterize your irrigation system, install mulch, or even maintain your flower beds. Winterizing your garden can feel like a daunting task, especially if you’ve got multiple gardens on your hands. Don’t hesitate to call a professional if you require additional help.
Main photo credit: Manfred Richter / Pixabay