When you step outside your house during a rainstorm, do you think of Noah’s Ark? If your yard regularly floods from stormwater runoff, a rain garden just might be the olive branch you’ve been seeking.
Rain gardens are good for the environment and for homeowners who want to reduce erosion on their property. And the best part is, you can build one yourself. Does the idea pique your interest? Read on for a basic guide to rain garden design and construction.
What Is a Rain Garden?
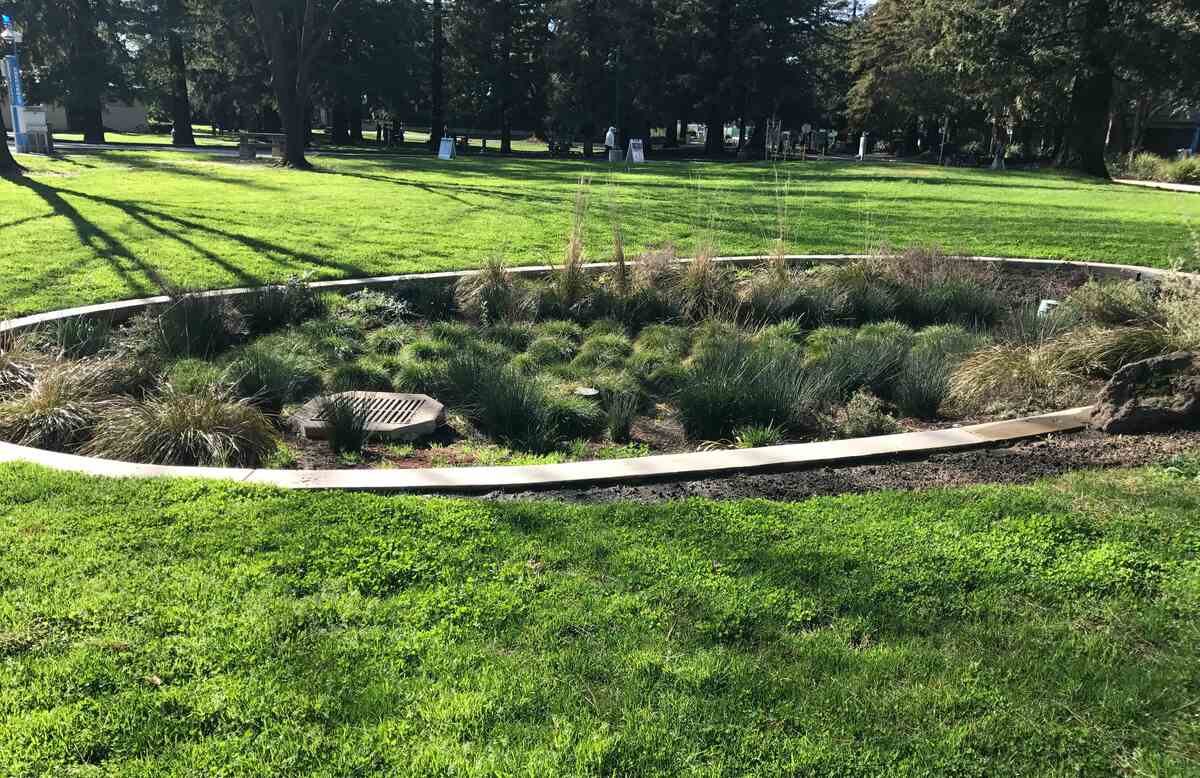
A rain garden is a garden planted in a depressed area of your landscape. Its purpose is to collect and hold water runoff from rooftops, driveways, sidewalks, parking lots, and other hard surfaces.
Rain gardens prevent stormwater and all its pollutants from flowing into lakes and rivers. In doing so, they help preserve natural aquatic ecosystems. Rain gardens can also help preserve your property. With their deep root systems, they hold the soil in place and discourage erosion.
Depending on what type of plants you use, a rain garden can even be a home for songbirds, butterflies, and other beneficial wildlife.
How to Design Your Rain Garden
When planning your rain garden, there are four essential factors to map out: location, size, shape, and plant types.
Location, Location, Location
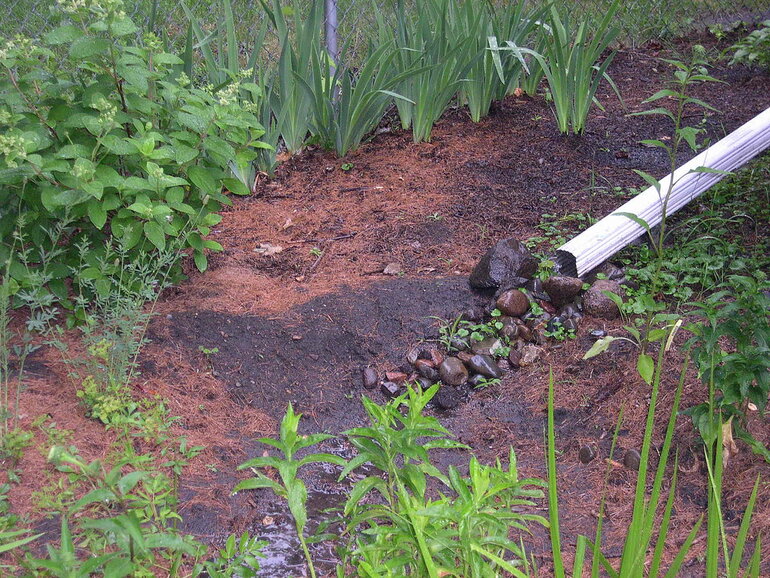
Next time it rains, go outside and observe your property’s natural drainage flow. It’s simple, really. Where does the water go? That’s where the rain garden should go, too.
Note: If you notice heavy pooling in one spot, don’t put your garden there. You’ll run the risk of drowning your plants. Instead, build the garden just a little uphill of the area so it can catch the stormwater before it pools.
A proper location is important for the rain garden to function, and it’s also important for protecting your home. Make sure your garden is at least 10 feet away from your foundation to prevent leakage.
You’ll also want to stay away from underground utility lines and septic systems. Contact the Diggers Hotline before you begin your project to find out (for free) where your utility lines are buried.
The soil where you plant your rain garden needs to drain at least every 48 hours (again, to protect your plants from drowning). Testing your soil’s drainage (aka “infiltration”) is easy. Just dig a hole 10 inches deep and fill it with water. If the hole is dry in 48 hours, you’re good to go. If not, you’ll need to find another spot.
Does Size Really Matter?
When it comes to rain gardens, yes, size does matter. To figure out what size your garden should be, think about the size of the hard surface where the water runoff originates.
For instance, if rain pouring from your roof is the main source of runoff on your property, you’ll need to measure your roof. The size of your garden should be 5-10% the size of your roof. The same goes for sidewalks, driveways, and any other impervious surface that causes runoff.
Most rain gardens fall between 100 and 300 square feet. If that isn’t big enough to quell your property’s runoff, you could consider building more than one. If you have an exceptionally large roof, it might be a good idea to plant one rain garden near each downspout.
Soil type also determines rain garden size. If you have sandy soil, you can plant your garden smaller and deeper because the water will drain faster. If you have clay soil, however, the water will drain slower. So, your garden will need to be larger and shallower.
Choose Your Rain Garden’s Shape
There are lots of rules for a rain garden’s location and size, but the shape is where you get to use your imagination. Your design can take any shape you like, from a traditional circular plant bed to a silhouette of your dog. As long as the garden fits where it needs to fit, just about any shape will do.
Before you start buying plants or digging up soil, try sketching an outline of what you want your garden to look like. Having a physical picture in front of you can help you select the best plants to bring your vision to life.
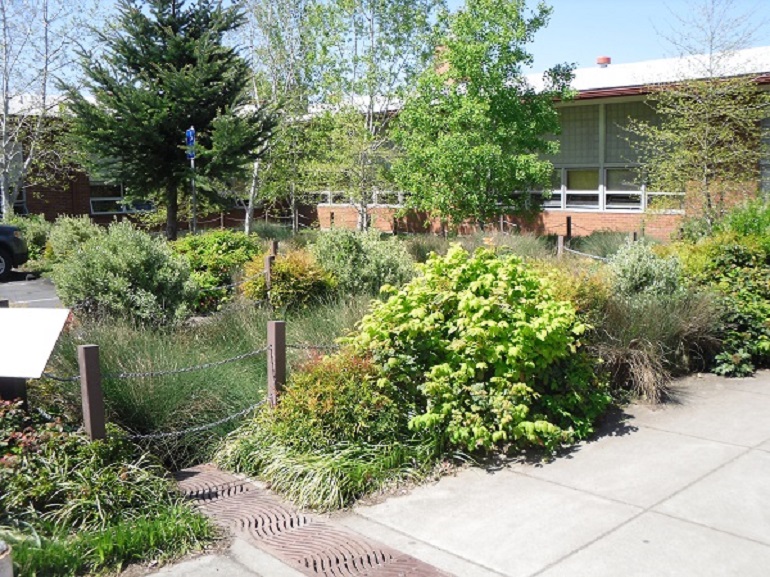
Select Your Rain Garden Plants
There are loads of diverse options for plants in a rain garden. Of course, what you can plant depends on your local ecosystem and your yard’s soil type.
Wherever you are in the world, here are some general rules of thumb to follow when choosing plants for your rain garden:
- Always use native plants.
- Choose drought-tolerant plants that can also survive standing water (for up to 48 hours).
- Plant a combination of flowering species, ground cover/creeping plants, sedges, rushes, and grasses.
- If your garden’s depth varies, use different plants in the swale (low spot) and the more uphill areas.
- Incorporate woody plants (trees and shrubs) if possible.
- Mix plants of different heights, textures, and colors to make your garden more visually striking.
Common plant choices for rain gardens include:
- Purple coneflower (Echinacea purpurea)
- Switchgrass (Panicum virgatum)
- Sweet pepperbush (Clethra alnifolia)
- New England aster (Symphyotrichum novae-angliae)
- Red twig dogwood (Cornus sericea)
For a detailed list of the best rain garden plants for different climates, check out this resource from the University of Minnesota.
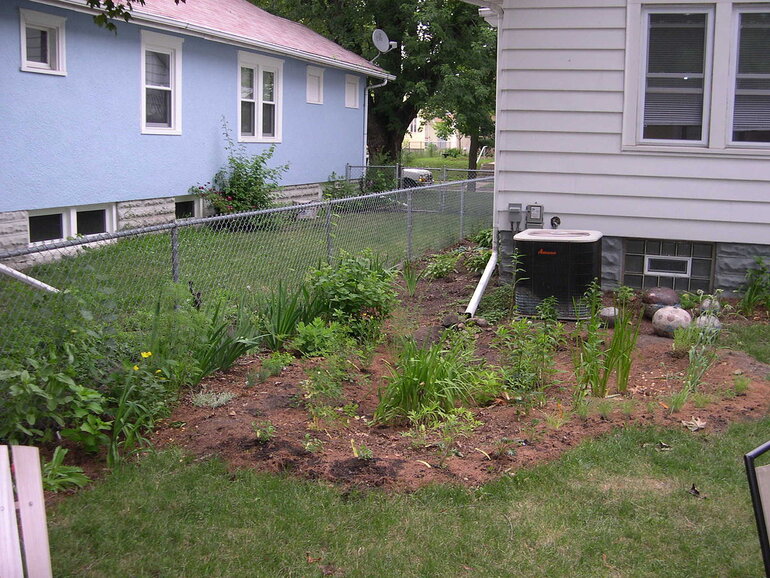
Building Your Rain Garden
Now that you’ve planned where your rain garden will go and what it will look like, you’re ready to start building!
Here are the tools you’ll need to get started:
- Long rope or garden hose
- Shovel
- Wheelbarrow
Once you’ve got your tools, these are the simple steps to follow to build your rain garden.
- Set up your guide. Lay your rope or hose on the ground in an outline of your garden’s shape. This will serve as a guide while you dig.
- Start digging. When you dig the depression where your rain garden will go, keep a few things in mind. For the best water infiltration, you want the bottom to be level all the way across. It’s OK if your garden has varying depths (if it’s on a slope, for instance). All parts of the hole should be 6 to 12 inches deep.
- Add soil nutrients. Now is the time to add extra nutrients or supplements to your soil if needed or desired. You might consider adding a layer of compost. It can improve infiltration for clay soils and slow infiltration for sandy soils.
- Build a berm. If your garden is on a slope, you’ll need to build a berm (a small mound) on the lower side of the garden. The berm will keep excess water from overflowing out of the garden. You can use the extra soil that you’ve dug up to create the berm.
- Plant. Before you start planting, make sure you remove all weeds in the area. Then, plant each specimen in at least 3 inches of topsoil. Space perennials and grasses 1 foot apart and ground covers 8 inches apart so everything has room to grow. Compact the soil around your plants’ roots to prevent air pockets. For more thorough planting advice, check out this great resource on rain gardens (planting instructions start on Page 27).
- Install mulch. Mulch will help protect the soil, retain moisture, and prevent weeds. It will also give your garden a polished, cohesive look.
- Remove debris. After hours of digging and planting, you’ll find yourself with piles of excess soil, plant material, and other debris. You’ll need to remove all the waste from the garden site and dispose of it. This is where your wheelbarrow comes into the picture.
- Care for your plants. Especially in the first few months, your plants will need some help getting established. Water them regularly, although how much water and how often will depend on what type of plants you use. You’ll also need to be diligent about weeding in the first year so that invasive weeds don’t outgrow and kill your fledgling plants. After the first year, your rain garden should be fairly self-sufficient and low maintenance.
When to Call a Landscaping Professional
If you can’t figure out where on your property a rain garden should go, you’ll probably want the assistance of a local professional landscaper. You don’t want to design and build a rain garden only to have it not function because you put it in the wrong spot.
A professional landscaper’s input can also be helpful in plant selection. Local pros will know the best native plants for your specific soil type. And they have a trained eye for creating aesthetically pleasing plant layouts.
Whether you make it a DIY project or enlist the help of a professional, a rain garden is a simple, cost-effective, and eco-friendly solution to your property’s stormwater runoff and erosion problems.
Send your two-by-two animals back where they came from. With a rain garden, you won’t have to worry about your yard turning into the “great flood” ever again.
Main Image Credit: Shutterstock