Want to know why your grass isn’t growing the way you’d like? The answer might be hiding right under your feet — in your soil.
Different soil types affect how well water drains, how nutrients reach your plants, and whether your lawn stays healthy or struggles. Before you can fix lawn problems or grow a better yard, you need to know the type of soil you’re working with.
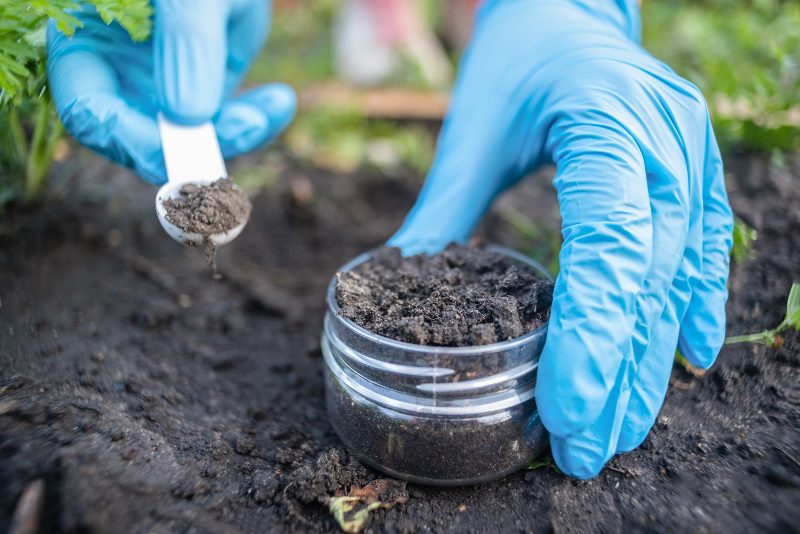
The good news? You don’t need to send samples to a lab or buy expensive testing kits. You can test your soil at home using any of these 5 easy tests (jar, ribbon, drainage, squeeze, or visual test). Once you’ve determined whether you have sand, clay, silt, or loam soil, hire a LawnStarter landscaping pro who can amend or work with your soil type, not against it.
1. The Jar Test (Soil Composition Analysis)
With the jar test, you can see exactly what’s in your soil — whether it’s mostly sand, silt, or clay. This simple home soil test works like a science experiment, letting different soil particles separate in water so you can see each layer clearly.
There’s just one caveat: “It can take several days for the smaller particles of clay to settle,” says Christopher Enroth, horticulture educator at the University of Illinois Extension.
What you’ll need:
- Clear glass jar with a tight lid (like a mason jar)
- 1-2 cups of soil from your lawn or garden
- Water
- A teaspoon of dish soap
- Permanent marker or tape for labeling
How to Do the Jar Test
- Fill your jar about 1/3 full with soil (remove any sticks, leaves, or pebbles).
- Add water until the jar is nearly full, then add a few drops of dish soap. Enroth says dish detergent helps separate the soil particles.
- Shake the jar vigorously for a full minute to mix everything up.
- Set the jar somewhere still and leave it undisturbed for 24 to 48 hours.
Expert Tip: Enroth recommends breaking up the soil sample to avoid large chunks. He also notes that “sand will settle quickly, silt will take a few hours, and clay can take days to settle.”
Reading the Results
After the soil settles, you’ll see clear layers — sand on the bottom, silt in the middle, and clay on top.
- Thick sand layer: You have a fast-draining soil
- Thick silt layer: Holds more water than sandy soil but less than clay soil
- Thick clay layer: Slow drainage, but better nutrient retention
You can also measure each layer with a ruler: Enroth suggests you “use a ruler to measure the layers and then reference the NRCS soil triangle.” Just match the percentages of clay, silt, and sand on the triangle’s edges. Where the three lines meet tells you your soil type.
See Related:
2. The Ribbon Test (Clay Content Check)
According to the United States Geological Survey, clay minerals are found in about 93% of U.S. surface soils. So, your yard probably has at least some clay. But how much clay is too much for healthy lawn or garden soil?
“The ribbon test can be useful to determine the amount of clay content in a soil,” says Enroth. “If a ribbon can’t be formed and immediately falls apart, then that could indicate high sand content. Essentially, the longer the ribbon, the higher the amount of clay in the soil sample.”
What you’ll need:
- A small handful of moist soil
- Spray bottle with water (to adjust moisture if needed)
- Plastic tray or any clean flat surface
- Ruler or measuring tape
How to Do the Ribbon Test
- Pick a spot in your yard and dig down 2 to 4 inches to get a soil sample.
- Remove any stones, roots, or debris. Gently moisten the soil with your spray bottle — it should be damp, not dripping wet.
- Roll the soil in your hands to make a ball, like you’re making a mudball.
- Using your thumb and index finger, press the edge of the ball to squeeze out a flat ribbon until it breaks.
- Repeat several times until you’ve used up the whole ball.
- Place the ribbons on your tray and measure each one with your ruler. Calculate the average.
Reading the Results
- Long ribbons (2 to 3 inches) mean high clay content — expect slow drainage and possible compaction problems.
- Short ribbons (less than 1 inch) mean sandier, loamier soil with low clay content that drains faster.
- The ideal ribbon length is between 1 and 2 inches.
See Related: Friable Loam: The Ideal Lawn Soil and How to Get It
3. The Drainage Test (Percolation Rate)
The drainage test (percolation test) measures how quickly water moves through your soil. This is especially helpful if you notice standing water or puddles in your yard after it rains.
“It is done by digging a test hole and measuring the rate at which water drains and the hole empties,” says Enroth.
What you’ll need:
- Shovel
- Bucket of water
- Ruler or measuring tape
- Stopwatch or timer
How to Do the Drainage Test
- Dig a hole 12 inches deep and 6 inches wide.
- Pour a bucket of water into the hole and let it drain completely to saturate the surrounding soil.
- Once drained, fill the hole to the top with water again.
- Start timing how long it takes for the water to soak in completely. (Enroth suggests using a ruler and a stopwatch to mark how long it takes for the water to drop every inch.)
- You can repeat steps 1 to 4 in other areas of your yard for more accurate results.
Reading the Results
- If water drains completely in less than 30 minutes, you have sandy soil that drains too fast — plants may dry out quickly.
- If it takes more than 4 hours, you likely have heavy clay soil that can drown roots.
- The ideal drainage time is around 2 hours, which indicates loamy soil with a good balance.
Note: Enroth says the results will vary based on how much moisture is already in the ground. “Filling it the second time and taking the measurements will give a more accurate measure of the rate of drainage,” he says.
See Related:
4. The Squeeze Test (Moisture Retention)
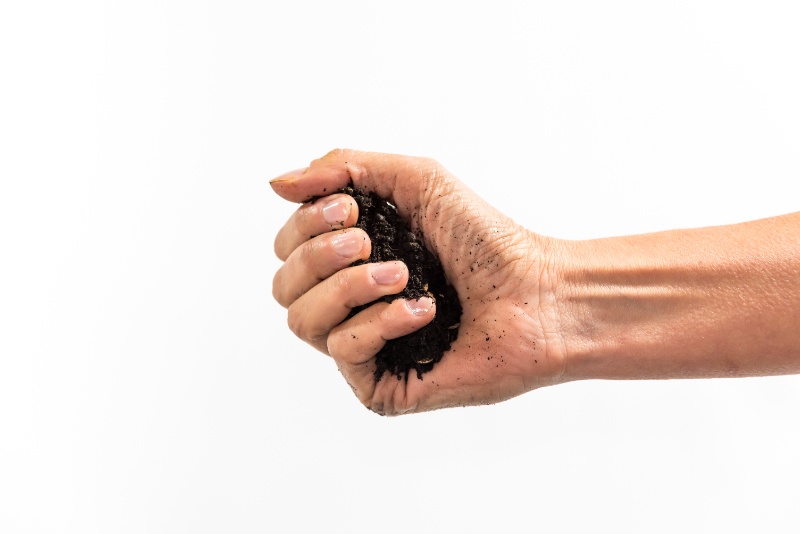
While the squeeze test is primarily used to identify a soil’s texture, it can also tell you how well your soil holds moisture. Enroth says, “It depends on whether a ball of soil holds its shape when squeezed, which will help to classify if a soil is sandy, silty, loamy, or clayey.”
What you’ll need:
- Garden trowel
- Small cup of water
How to Do the Squeeze Test
- Using a garden trowel, dig 3 to 4 inches deep and scoop a handful of soil.
- Add a little water from your cup to the soil in your hand — just enough so it sticks together without dripping.
- Squeeze the soil firmly in your fist, then open your palm.
- Try breaking the soil ball apart gently with your fingers to see how it crumbles.
Reading the Results
- Soil that holds its shape and feels slick or sticky is clay soil — it holds water well but drains poorly.
- If it falls apart right away, you have sandy soil that drains fast but dries out quickly.
- What you want is loamy soil that’s soft and crumbly, showing a good balance of drainage and moisture retention.
Expert Tip: While any homeowner can use this test to identify soil texture, Enroth notes that experience or training helps with accurate classification.
See Related: How to Test Soil Moisture
5. The Visual Observation Test (Structure and Health)
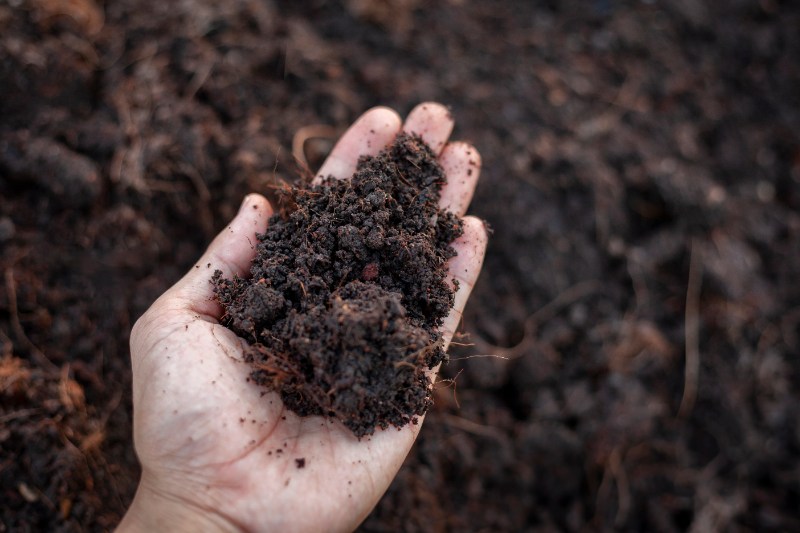
The visual observation test is the simplest way to check soil structure and health — no special tools needed. It’s as simple as taking a close look at your soil for a quick visual check.
What you’ll need:
- Garden trowel
- Clean tray or bucket
- Magnifying glass
How to Do the Visual Test
- Using your garden trowel, dig up a small section of soil about 6 inches deep.
- Place the soil sample on a clean tray or bucket, then gently break it apart to observe the color and texture.
- With a magnifying glass, look for earthworms, bugs, roots, and bits of decomposed material.
- Check for any signs of crusting, compact layers, or poor root growth.
Reading the Results
- If your soil is pale or grayish and feels hard or dusty, it’s a clear sign of poor structure or nutrient depletion.
- Healthy, fertile soil has a rich, earthy smell. It has a lot of organic matter and living organisms.
- Well-aerated soil has a crumbly texture with visible roots and worms.
See Related: How Earthworms Help Your Lawn, Grass and Soil
FAQ About Tests to Identify Your Soil Type
Yes, soil type can change over time due to erosion, organic matter buildup, or soil amendments, but the major components (like texture) remain the same in most cases.
Yes, it’s completely normal. Soil composition often varies because of past landscaping work, fill dirt, or natural drainage patterns.
Compacted soil slows down drainage, which can make clay levels seem higher than they really are. So, aerate your lawn before testing for more accurate results.
Let LawnStarter Handle Your Soil Care
Understanding your soil type is the first step toward a healthier, greener lawn. Once you know whether you have clay soil, sandy soil, loam, or a combination, you can make better decisions about what your lawn needs.
But if soil testing and figuring out amendments sounds like too much work, a LawnStarter pro can help take them off your to-do list.
Get a free landscaping quote today, and enjoy a beautiful lawn without the guesswork.
Sources:
- Christopher Enroth, horticulture educator. University of Illinois Extension. Personal interview.
- “Don’t Guess – Soil Test!” By Rebecca Finneran, horticulture educator. Michigan State University Extension.
- “Geochemical and Mineralogical Maps, with Interpretation, for Soils of the Conterminous United States.” By David Smith, Federico Solano, Laurel Woodruff, William Cannon, and Karl Ellefsen. United States Geological Survey.
- “Soil Investigations.” By Hailey Haslam, Neicca Butts, and Mark Larese-Casanova. Utah State University.
- “Soil Testing.” University of Illinois Extension.
- “Soil Testing, The Right First Step Toward Proper Care of Your Lawn and Garden.” By Department of Plant and Soil Science, Soil, Water and Forage Analytical Laboratory. Oklahoma State University.
- “Soil Texture Analysis ’The Jar Test’.” By Andrew Jeffers, Extension agent. Clemson University.
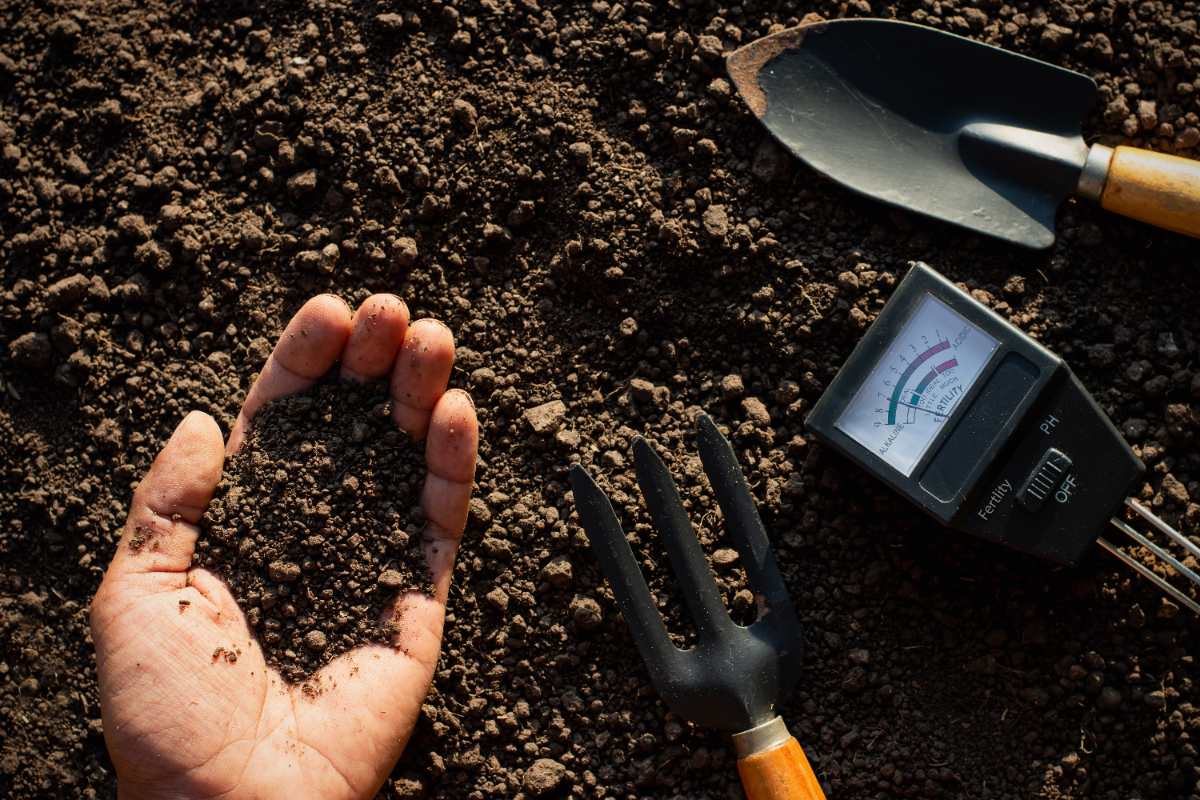
Main Image: Soil testing with pH meter and tools. Image Credit: 994yellow / Adobe Stock