| Key Takeaways |
|---|
| • A rain garden captures and filters stormwater runoff, protecting local waterways while easing yard drainage problems. • Success comes down to smart placement (at least 10 feet from your foundation), good drainage, and the right depth and plants. • Native perennials, grasses, and sedges arranged by moisture zone keep a rain garden low-maintenance once established. |
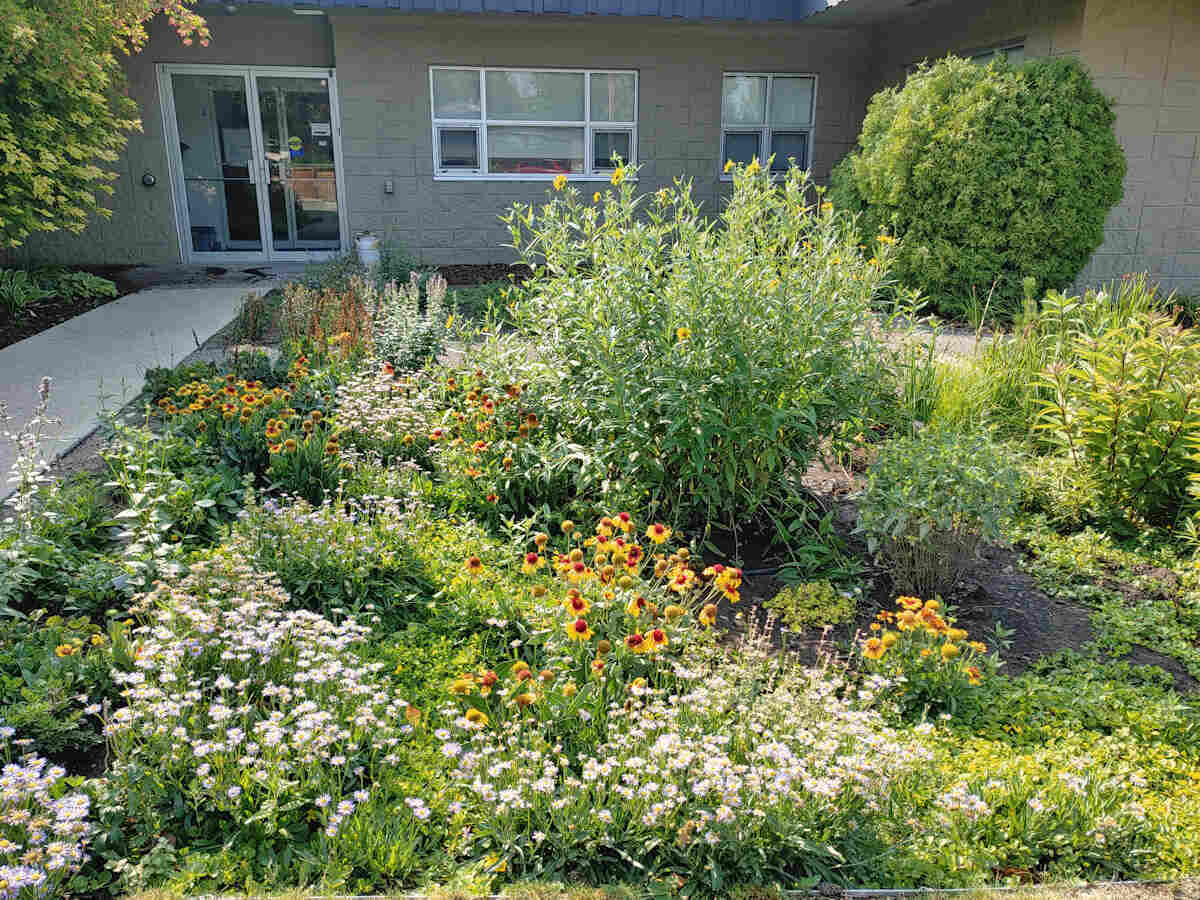
Rain gardens are landscaped areas that reduce runoff and filter contaminants, protecting nearby lakes and streams. As a bonus, they require less maintenance than a lawn and need few or no chemicals.
They could be the answer if repeated rains have turned your lawn into patches of puddles or small wading pools. In this article, we’ll teach you how to build a rain garden in 6 steps, with expert insights.
If you would rather skip the digging, a LawnStarter landscaping pro can design and install one for you.
What a Rain Garden Does
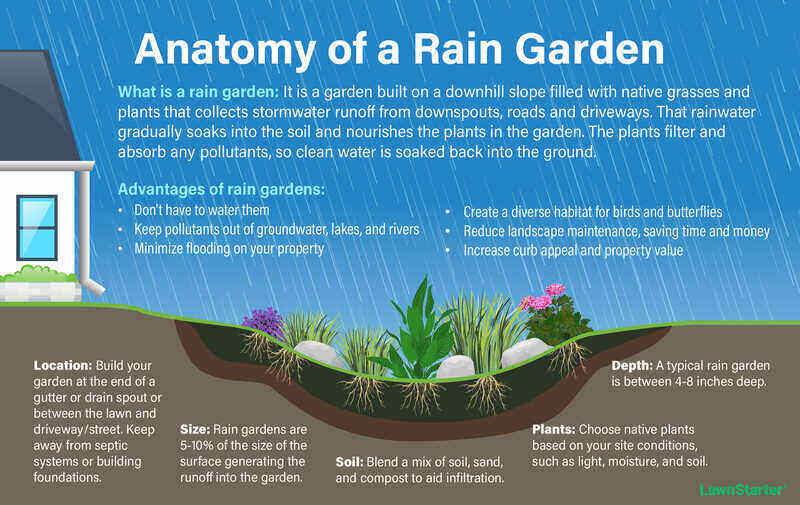
Also called a bioretention area or stormwater garden, a rain garden is a landscaped area that catches and filters stormwater runoff from impervious surfaces such as driveways, parking lots, and patios.
Capturing and filtering that runoff, rather than sending it through the stormwater system, improves water quality in several ways.
Rain gardens:
Provide environmental protection for local waterways by filtering toxins such as pesticides, fertilizer, and motor oil.
Establish a habitat for valuable pollinators.
Alleviate flooding and drainage issues.
Add a layer of stormwater management that protects local aquifers from overflowing.
“A rain garden solves a landscape problem,” says Paula Gross, former adjunct professor of horticulture at Central Piedmont Community College, in Charlotte, North Carolina. “It’s not just pretty; it is part of an ecosystem that can have a positive impact on the environment.”
See Related: How to Manage Stormwater Runoff
How to Build a Rain Garden in 6 Steps
Note: Check with your local water conservation district for how far to place a rain garden from the foundation, since guidance varies by location.
When designing your rain garden, keep your end goals in mind. Pay attention to how it looks from the street and your home, and how it fits your current landscape and future projects.
Follow these 6 steps to establish a rain garden in your landscape:
1. Select a Location
The ideal spot is close enough to catch water running off the roof but not so close it risks foundation damage from hydrostatic pressure. Gross suggests staying at least 10 feet from any foundation so saturated soil does not threaten the structure.
You can also pick a spot farther out and direct downspouts toward it. The best locations are low-lying or natural depressions where rainwater already flows.
“If the rain gardens are put in an area that does not drain water well, then the rain garden will likely not drain well,” says Jane Legrand Maginot, a University of Arkansas county Extension agent specializing in urban stormwater.
Here’s what to look for and what to avoid.
| Feature | Recommended range |
| Distance from foundation | At least 10 feet |
| Distance from septic | At least 50 feet |
| Typical size | 100 to 300 square feet |
| Depth | 4 to 8 inches |
| Drainage | Should soak in within 24 hours |
What to Look For:
Distance: A minimum of 10 feet from foundations and 50 feet from septic systems.
Utilities: Call 811. They’ll mark where underground utilities are for free.
Drainage: Good drainage is critical. Perform a simple percolation or infiltration test to see if your soil suits a rain garden. Sandy soils are best, while clay soils don’t drain well.
Sun: Pick a spot with at least partial, and preferably full, sun.
- Size: Consider the roof and other impervious surfaces draining to the downspout. The garden’s longest side should run perpendicular to the slope and curve gently. The size is up to you, but a typical residential rain garden runs 100 to 300 square feet. According to Maginot, “Rain gardens are often undersized for the amount of runoff that they will need to intercept and have blowouts on their berms.”
Depth: A typical rain garden runs 4 to 8 inches deep. Deeper than 8 inches can drain too slowly or become a tripping hazard when dry; shallower than 4 inches must cover a large area to handle heavy rain.
What to Avoid:
Pooling: If an area turns into a slow-draining pond after every rain, pick a better spot. Consider leveling your yard or making that area a koi pond instead.
Trees: Roots from nearby trees can make digging harder, and damage to the roots could kill the tree.
Overflow: If your garden catches overflow from the neighbor’s yard, it may drain less quickly.
Pro Tip: Rain gardens will not work when the seasonal high water table is less than 24 inches below the soil surface because it will prevent absorption.
2. Prepare the Site
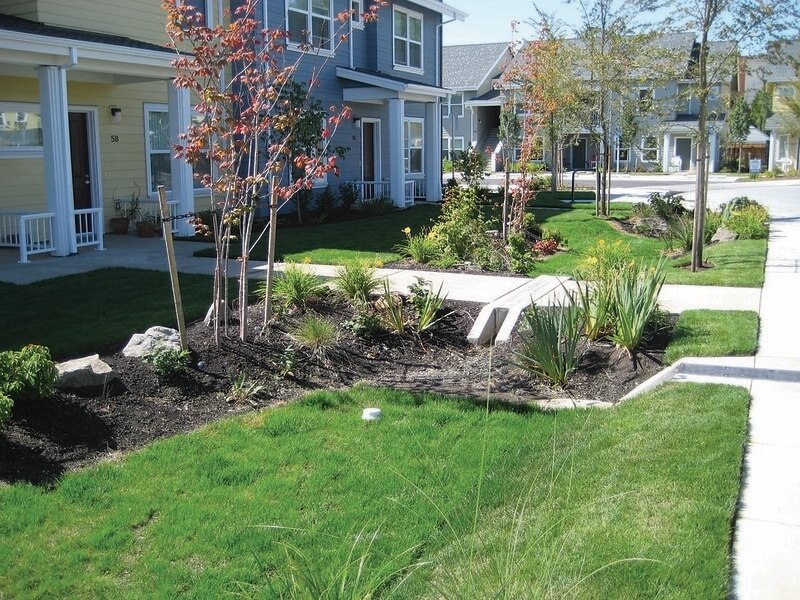
A well-designed rain garden can filter up to 1 inch of rainfall in just 4 hours. Here’s how to prepare your site.
Outline your rain garden area with rope, landscaping flags, or marking spray paint. The berm around the perimeter creates walls that hold water when it rains.
Remove all of the grass. Your options include cutting the sod to replant elsewhere or killing the grass first to make digging easier. Avoid chemical herbicides, which can damage your new plants.
Dig out the area until the center is the lowest point and the sides slope gently toward the middle.
- Remove soil until the bottom portion is 12 inches deep, and make it level.
- Use the extra dirt to build up the berm on the downhill side. The berm’s top should not be higher than the rain garden’s uphill border.
- Spread 2 to 4 inches of compost over the surface, then mix it into the rain garden soil.
Pro Tip: “The results of your percolation test can help guide you on how to amend the soil that is used as backfill,” Maginot says. Here’s what she recommends:
- “For rapid infiltration, mix removed soil with equal mixture of an organic amendment such as compost or peat moss.”
- “For moderate percolation, you may not need to amend for water movement. However, adding 25% to 40% compost or peat moss may be advantageous for long-term soil fertility and plant life.”
- “For slow percolating soils, remove and use the soil collected from the additional digging for the berm. Mix equal parts sand, organic material, and original topsoil (4 to 6 inches) and backfill to desired garden depth.”
3. Direct Downspouts
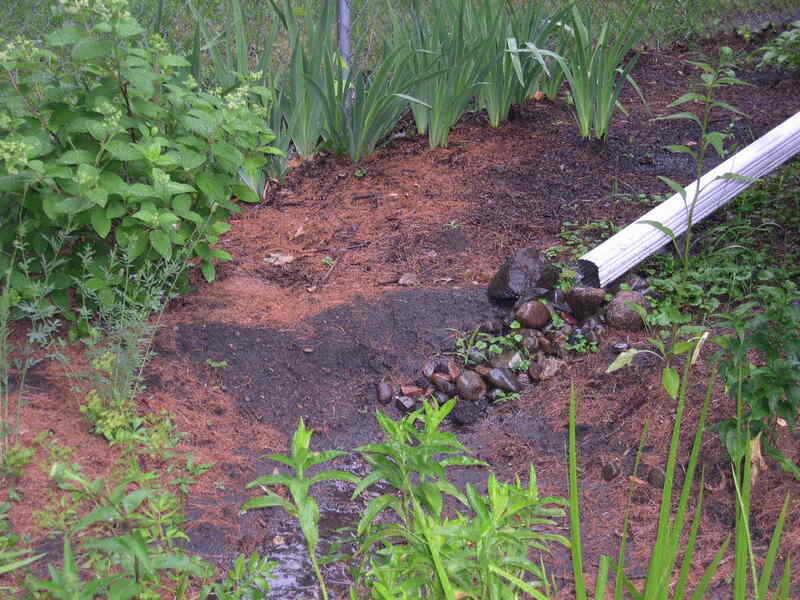
Guide water from gutters and downspouts toward your planting site. “You want to purposely direct rainwater into the garden, not just have it capture the rain that falls,” Gross says.
Here are a few ways to direct your water toward a rain garden and improve drainage in your yard:
Attach extenders: To guide water away from your home, connect a vinyl extender to downspouts.
- Build a French drain: Trenches, also known as channel drains, are dug up to 2 feet deep and lined with gravel. A perforated pipe is laid on the rock, and the trench is backfilled with dirt or stones.
Create a swale: Swales, common along highways, are drainage ditches or sloped, marshy strips of land. Adding inexpensive pea gravel improves a swale.
Dig a dry creek bed: An arroyo, or dry creek bed, is a shallow trench filled with stone, like river rock.
4. Choose the Right Plants

When choosing plants for your rain garden design, think about height, texture, color, and bloom time to create a focal point that’s attractive year-round. “Finding the right plants does make a big difference for the success of a rain garden,” Maginot says. To help prevent erosion, surround the edges with landscape rocks.
Divide your rain garden into three sections:
Top: Because the top is rarely wet for long, choose plants that thrive in drier spots, like low-growing shrubs and perennials. Wildflowers and ornamental grasses also work well.
Sides: Plants with strong roots that tolerate occasional puddles suit the sidewalls, stabilizing soil and stopping erosion. Perennials are a good choice, and ferns work where there is some shade.
Bottom: Since the bottom captures the most rainwater, choose species that handle both deluges and droughts, like native grasses and sedges.
Plant Suggestions
We list a few rain garden plants below, but there are many benefits to native species: wildflowers and native plants have evolved to handle these alternating wet and dry conditions.
“Natives are recommended because they tend to tolerate the wet and dry conditions that exist in a well-drained rain garden,” Maginot says. “I have seen rain gardens planted with shallow rooted annuals, and these will not do as well since they are not as tolerant.”
Perennials: Native perennials come back every year without replanting and bring bright colors, textures, and scents to your landscape.
Black-eyed-Susan (Rudbeckia hirta)
Cardinal flower (Lobelia cardinalis)
Asters (Aster)
Grasses and sedges: Some native grasses and sedges are especially well suited to rainwater runoff. Designs with sedges and grasses tend to look a little unkempt and less formal, Gross adds.
Switchgrass (Panicum virgatum)
Fox sedge (Carex vulpinoide)
Sedge (Carex spp.)
Horsetail (Equisetum spp.)
Sweet flag (Acorus spp.)
Bushy beard (Andropogon glomeratus)
Swamp milkweed (Asclepias incarnata)
Trees and bushes: Place bigger plants, such as flowering shrubs and trees, first, then fill in around them with smaller plants. Evergreens or winter-blooming trees add four seasons of color.
Pacific ninebark or Common ninebark (Physocarpus capitatus or Physocarpus opulifolius)
Redbud (Cercis canadensis)
Winterberry (Ilex verticillata)
5. Maximize Mulch
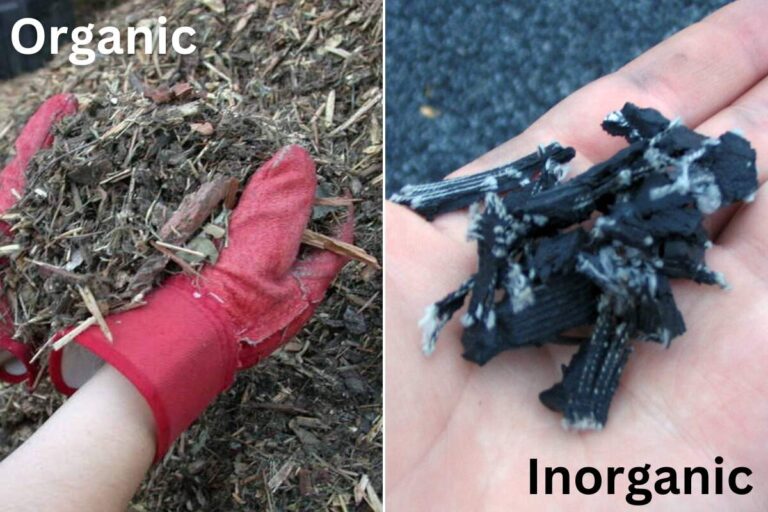
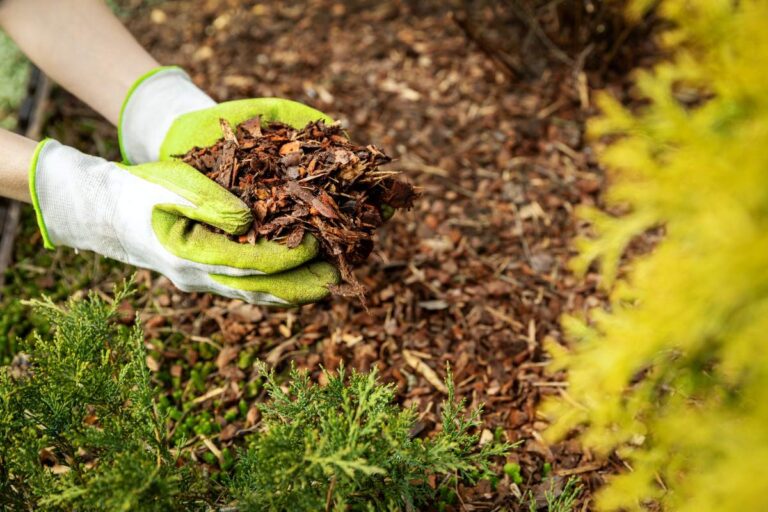
A layer of organic mulch over the topsoil helps the soil hold moisture and keeps weeds down. Apply 2 to 3 inches, and top it up over time as needed.
Mulch costs range from $3.25 to $6.50 a bag, but many cities offer free mulch. Good choices for rain garden mulch include:
Pine straw
Wood chips
Shredded wood
Pro Tip: Pine bark and straw are too light for rain gardens and will float away.
6. Maintain
Like any landscape feature, a rain garden needs care to thrive early on, but upkeep drops as the plants mature. “Most often, the biggest failures that come to rain gardens are from not being irrigated during plant establishment or weeded once established,” Maginot says.
Weeding: In the first year or two, you’ll need to pull up any weeds that snuck into your garden.
- Watering: Water once a week for the first three weeks, then deeply, as needed, in dry spells. “In long periods of dry weather, even the longest rooted natives will get thirsty and need watering,” Maginot says. Once established, rain gardens need little or no watering.
Pruning: Prune to remove dead limbs or tattered-looking plants in the spring.
Fertilizing: If you use native plants, your rain garden won’t usually need fertilizer.
Pro Tip: Install your rain garden just before the rainy season to let Mother Nature do the first couple months of watering for you.
Local Support, Cost-Saving Incentives
A few cities offer grants or cost-share programs to encourage homeowners to establish rain gardens.
In Northfield, Minnesota, homeowners can apply for a rain garden rebate of 50% of the cost, up to $250.
Lincoln, Nebraska offers homeowners a rainscaping rebate of up to $2,000 for projects that include rain gardens.
Even without rebates, your community may run a pilot program or offer advice on local plants.
Cities with informational support include Austin, Charlotte, Chicago, Detroit, Los Angeles, Nashville, New York City, Phoenix, San Antonio, San Diego, and San Jose. Check your own city or county stormwater department for a local rain garden program.
See Related: Rainwater Harvesting Restrictions and Incentives by State
FAQs
No, not if the garden drains properly. Mosquitoes need about 24 hours of standing water to breed, and a well-designed rain garden soaks in within that window. If water lingers longer than a day, your soil needs better drainage or a shallower basin.
Yes, but clay drains slowly, so help it along. Dig the basin and mix in 2 to 4 inches of compost, and sometimes coarse sand, to improve infiltration. Run a percolation test first: if water still sits after 24 hours, pick a better-draining spot or amend the soil more heavily.
Plant in groups of 3 to 7 similar plants close together, which looks better than scattered individuals. Picture each plant’s mature height and width, and space them so the garden fills in without crowding. Grouping also helps pollinators find the flowers.
When to Call a Professional
A rain garden is an affordable, environmentally-friendly solution to stormwater runoff and erosion issues on your property, whether you do it yourself or hire one of LawnStarter’s local landscaping pros. Call a pro today to see if a rain garden is the right fit for your yard.
Sources:
- Paula Gross, former adjunct professor of horticulture at Central Piedmont Community College. Charlotte, NC. Personal interview.
- Jane Legrand Maginot, Extension Agent at the University of Arkansas Division of Agriculture Extension. Fayetteville, AR. Personal interview.
Main Image: Rain garden in full bloom with native wildflowers and pollinator plants. Photo Credit: Maureen Flynn-Burhoe / Wikimedia Commons / CC BY-SA
Related Posts: