| Key Takeaways |
|---|
| • Time your trimming based on whether your bushes bloom in spring, summer, or not at all, since cutting at the wrong time can remove next year's flowers. • Never remove more than one-third of a bush's total foliage in a single trimming session to help prevent plant stress. • Always remove dead, diseased, or damaged branches whenever you see them. |
Staring at overgrown, shaggy bushes in your yard? Most homeowners know their bushes need trimming, but don’t know where to start: what tools to use, when to cut, or how much to remove.
This guide shows you exactly how to trim bushes, hedges, and shrubs so they look neat and healthy, with expert tips.
Rather let a pro handle it? LawnStarter offers bush trimming as a standalone service, so you can save yourself the time and effort.
Why Trim Your Bushes?
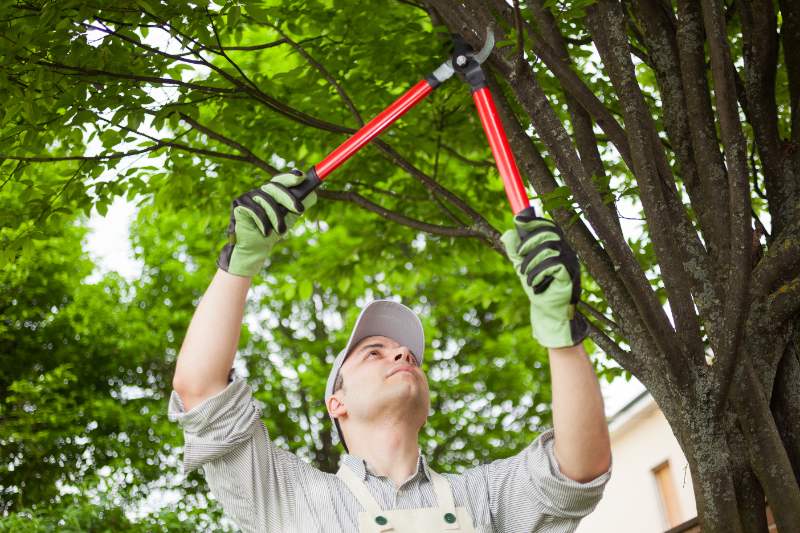
Your bushes need regular trimming to look good and stay healthy. Untrimmed shrubs grow dense and woody on the outside, blocking light and airflow from reaching inner branches. That leads to bare patches, disease problems, and decline.
Thinning out dense plants promotes air circulation and lowers the risk of disease.
There are many reasons to trim a bush, says Patrick O’Malley, horticulture specialist with the Iowa State Extension in Van Buren County. “One is to shape the plant so it’s better-looking,” he says.
Sometimes trimming keeps a formal hedge looking sharp and professional, O’Malley says, and sometimes it’s needed to prevent shrubs from blocking windows, encroaching on walkways, or crowding out other nearby plants.
Before You Start: Things to Know
There are a few things you need to know before giving your overgrown shrubs a haircut.
When to Trim Your Bushes
Trim during the active growing season (May through July), so plants recover quickly and fill in evenly. Avoid heavy trimming after August, since late-season cuts stimulate tender growth that fails to harden before the cold, leading to winter injury.
| Bush Type | Best Timing |
| Non-flowering bushes | May through July |
| Spring-flowering (azaleas, lilacs) | Immediately after flowering. These plants set next year’s blooms on old wood right after they flower. |
| Summer-flowering (hydrangeas, roses) | Late winter before bud break. These bloom on new growth each year, so trimming in late winter gives them a fresh start. |
Not sure what you have? Look at when it flowers and follow its pruning schedule: Spring bloomers should be pruned right after flowering, while summer or fall bloomers should be pruned in winter or early spring.
Have the Right Tools
“Bush size determines your tool choice,” says Carlos Garza, LawnStarter pro and owner of NC Dip and Clip in San Antonio, Texas. “For small bushes under 3 feet tall, you can use hand shears.”
Here’s what you need:
| Tool | Best For |
| Hand pruning shears | Touching up stray branches on small ornamental bushes |
| Manual hedge shears | Small hedges, detail work, or if you prefer quiet, precise control |
| Electric or battery hedge trimmer | Most hedges and medium-to-large bushes; fast, even cuts |
| Gas-powered hedge trimmer | Large hedges or all-day jobs; more power, heavier |
| Pole hedge trimmer | Tall hedges you can’t reach from the ground |
Tool blade style:
Beyond selecting the right tool for the job, blade design matters.
Bypass pruners and loppers: Work like scissors, making clean cuts on living branches.
Anvil-style tools: Have a single blade that crushes against a flat edge, ideal for dead wood but can damage green stems.
Keep tools sharp and clean:
Sharp, clean tools prevent disease. Successful trimming depends on using the right tool for the job, kept clean and sharp. “It’s good to have sharp tools, whether a pruning saw, loppers, or pruners,” O’Malley says.
Tool maintenance:
Sharpen blades before each season.
Disinfect with rubbing alcohol or diluted bleach before starting, between plants, and after cutting diseased wood.
What Are the 3 D’s — and Why Do They Matter?
While trimming for shape, you might spot dead, diseased, or damaged branches, also known as the 3 D’s. Dead branches feel hollow or snap without resistance. Diseased branches may show discoloration, cankers, or unusual spots.
Damaged branches are visibly cracked, split, or broken. While they fall more under the definition of pruning, it’s crucial to remove them whenever you see them using hand pruners or loppers.
See Related: What is Pruning?
How to Trim Bushes and Hedges
The key principle: Proper trimming enhances the plant’s natural shape without obvious cuts. If you constantly trim the same shrub, it’s likely too large for that space.
Basic Touch-Up Trimming
For most yards, this is all you’ll ever need to do. Trim back branches that stick out, keep the bush within its space, and step back — done.
Best for: Informal landscape shrubs like azaleas, spireas, viburnums, and other flowering shrubs planted around your foundation, in beds, or as accent plants.
Best tool: Hand pruning shears for small shrubs; hedge trimmer for larger informal plantings
When to trim: When the plant starts looking “shaggy,” with branches poking out in random directions, or when it’s growing beyond its space.
Technique:
Step back and assess: “Always walk completely around the bush first,” Garza says. Identify branches that disrupt the overall shape.
Follow the natural form: Work with what the plant wants to be. Don’t force a naturally loose, open shrub into a tight ball.
Trim lightly around the perimeter: Remove just the tips of wayward branches to bring them back in line with the plant’s overall shape.
Maintain proportion: If you trim one side, cut the opposite side similarly to keep the shrub balanced.
Check your work often: Step back every few cuts to maintain symmetry. When in doubt, it’s better to trim less than too much.
For naturally rounded shrubs:
Imagine a soft dome or mound over the plant (not a hard geometric shape).
Work around the plant in a circular pattern, trimming high spots.
Turn frequently to view from all angles.
Avoid creating flat surfaces and keep the shape soft and natural.
Basic Hedge Trimming Technique
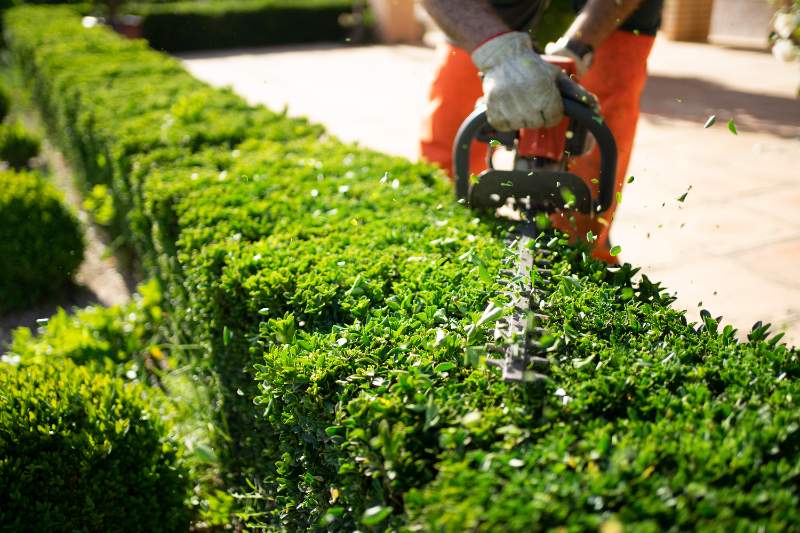
Medium to large bushes are often used as formal hedges, privacy hedges, or foundation plantings.
Best tool: Electric or battery hedge trimmer. According to a Lawn & Landscape survey, nearly 64% of homeowners own battery-powered lawn equipment.
Technique:
Work from bottom to top in smooth, sweeping motions.
Keep the blade parallel to the hedge surface.
Let the blade do the work (steady pressure, not force).
Step back every few passes to check evenness.
Clear clippings as you go with a scything motion.
For straight, level cuts:
Use a taut string line between two stakes as a guide for the top.
Work along the string line, keeping your cuts just below it.
Use a plumb line or level board as a visual reference for vertical sides.
Frequently check from different angles.
Critical shaping rule: Make the hedge slightly wider at the bottom than at the top. Think of a slight A-frame lean. This lets sunlight reach lower branches, preventing bare spots at the base.
Trimming Evergreens
Evergreen shrubs (such as arborvitae, boxwood, and juniper) keep their foliage year-round. They come with one non-negotiable rule: Never cut into old, brown wood. It won’t grow back.
This is exactly why going slow matters. Scott Culala of The Lawn Cypress in Gardner, Kansas, says, “If you cut off too much of it, it could cause it to die.”
Unlike flowering shrubs that regenerate from bare stems, evergreens regrow only from sections that still have green, living needles or leaves.
Best tool: Hedge trimmers for formal shapes; hand pruners for natural, loose forms
Trimming technique:
Make multiple light passes rather than one heavy cut. You can always take more off, but you can’t put it back.
Work with the plant’s natural shape.
Trim conservatively. Evergreens fill in slowly, so mistakes take years to correct.
For naturally rounded or mounded evergreens, follow the plant’s existing curve.
Step back frequently to check for symmetry and balance.
How to avoid flat-top syndrome: Shearing the top flat creates dense surface growth that shades out lower branches, causing bare spots below. If you want a flat top, maintain a taper (wider at the bottom) on the sides.
Want a Decorative Shape? Here’s How
If you want your boxwoods or yews to look like they belong in a formal garden, it’s doable — just expect more maintenance:
Use a wire frame or string line as a guide.
Trim lightly and frequently to encourage fill-in.
Expect significantly more maintenance than natural forms.
Special Situations
How to Trim Overgrown Bushes
Severely overgrown bushes need rejuvenation pruning spread over three years. Standard trimming won’t work.
Three-year rejuvenation plan:
Year 1: Cut the oldest, thickest branches to ground level. Remove no more than one-third of total foliage.
Year 2: Follow the rejuvenation plan by removing one-half of the remaining old stems.
Year 3: Final trim brings the shrub to desired size.
Trimming Near Your House
Key rules:
Use foundation planting guidelines that leave at least 3 feet between shorter shrubs and walls, and at least 5 feet for shrubs that mature over 6 feet tall.
Trim walkway bushes so they don’t brush people passing by.
Check for electrical boxes, AC units, or utilities before cutting.
Common Mistakes to Avoid
Most trimming disasters come down to cutting too much or cutting at the wrong time. Here’s what to watch for.
Don‘t cut too much at once: Never remove more than one-third of total foliage in one session. This stresses the plant and creates permanent gaps.
Don‘t create flat tops on naturally rounded plants: Shearing a dome-shaped shrub flat looks unnatural and causes dense surface growth that shades lower branches, creating bare spots.
Don‘t use dull blades: Dull trimmer blades tear rather than cut cleanly, leaving ragged edges that brown and invite disease.
Don‘t trim unevenly: Staying in one spot and over-trimming one side creates lopsided shapes. Step back frequently and walk around the plant.
Don‘t cut into old wood on evergreens: Evergreens won’t regrow from bare, brown, woody stems. Once you cut past the green growth, that section stays bare permanently.
Don‘t trim too late in fall: Avoid late-season pruning after August, because it can push tender new growth that may not harden off before winter damage.
Don‘t force unnatural shapes: Trying to trim a naturally loose shrub into a tight geometric ball fights the plant’s growth habit and requires constant maintenance.
Don’t leave clippings piled at the base: Rake or blow clippings away after each session. Piled debris traps moisture and invites disease. Bag or compost the material; don’t leave it in beds.
FAQs
A practical default for most foundation shrubs is twice per year: Once in late spring after the first flush of growth, and again in midsummer.
Fast-growing types like privet may need two to three trims per season; slow growers like yew need only one annual trim in early summer. If it’s starting to look shaggy, it’s time.
Light fertilizing after a spring or early summer trim can support new growth. Use a balanced, slow-release fertilizer and water it in well. Avoid fertilizing after late-summer trims, since new growth triggered late in the season may not harden before winter cold arrives.
No. Hedge trimmers work best on formal hedges and dense plantings. For flowering shrubs like azaleas or loosely branched plants, hand pruners give better results. Hedge trimmers can remove too much at once and create an unnatural, boxy look on plants that should keep a natural form.
Let a LawnStarter Pro Handle It
Trimming a few small shrubs is manageable. Large, overgrown bushes and dense hedges take significant time and effort.
Still not sure about DIY trimming? Ditch the snips and let a LawnStarter pro handle it. LawnStarter’s bush trimming service handles the job for you.
Read More:
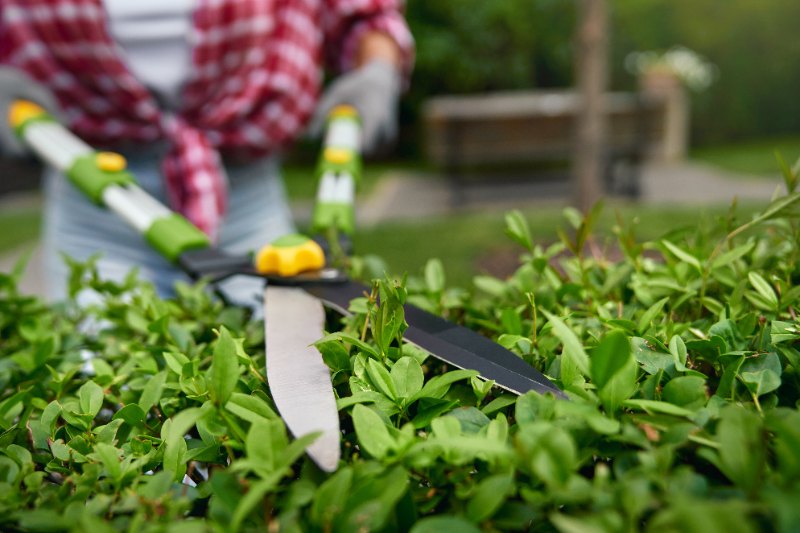
Main Image: Gloved worker trimming green hedge. Image Credit: serhiibobyk / Adobe Stock
Related Posts: