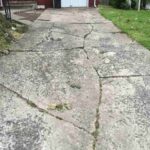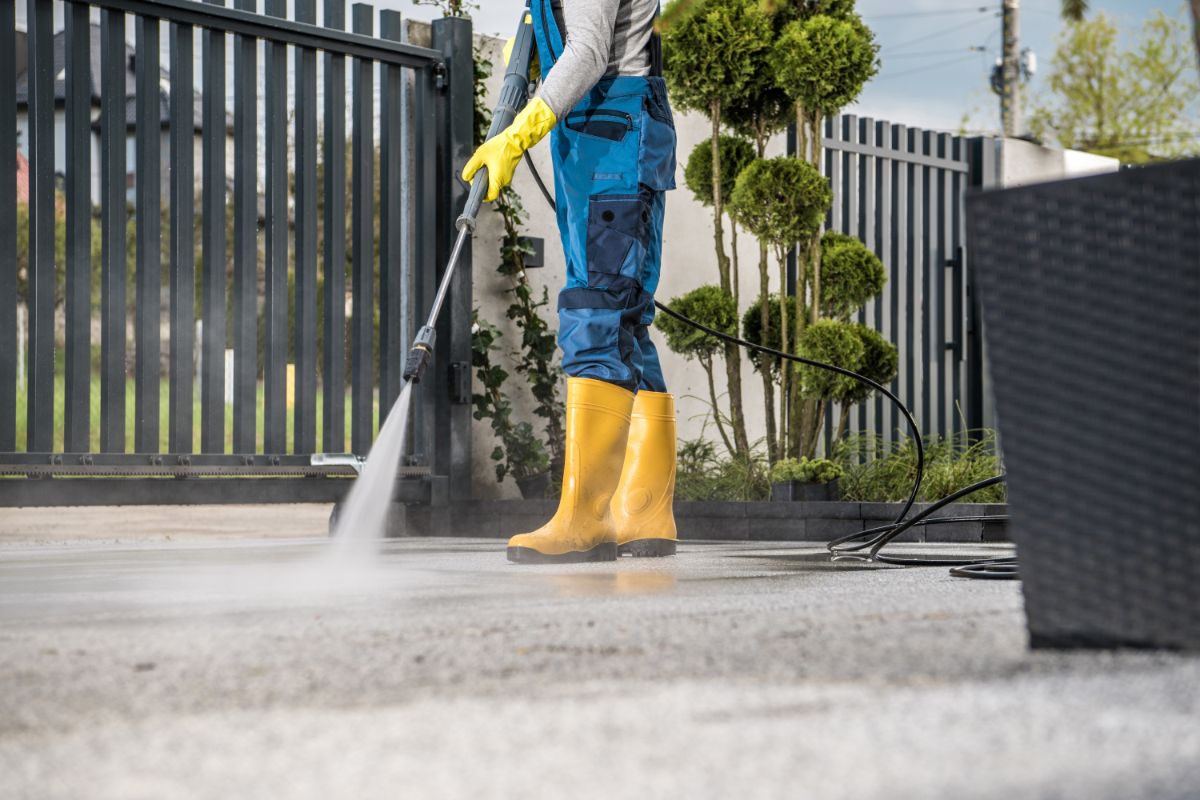
Driveways get a lot of use and can get pretty dirty, and a grimy driveway can detract from the overall appeal of your home. But pressure washing your driveway is easy and almost magically restores its luster. Let’s take a look at how to pressure wash your driveway.
5 Reasons You Should Power Wash Your Driveway
If you’re unsure if it’s the right time to wash your driveway, read on to learn why a clean driveway matters:
1. It’s Fast, Effective, and Long-Lasting
There’s no simpler way to clean a driveway than power washing. The process is easy, especially when you hire a professional, and leaves your driveway looking great in a very short time.
2. Prevents Harmful Growth
A dirty driveway is not only unsightly but unhealthy. It can breed moss, mold, algae, and mildew — all of which can cost thousands to repair. For instance, mold remediation costs between $1,373 and $3,325.
3. Helps Manage Cracks
Including power washing as a regular part of your driveway maintenance routine will help prevent the surface from cracking by removing oils and chemicals that weaken the compounds in concrete and asphalt.
But let’s say dirt and chemicals are already taking a toll on your driveway. The best way to halt the spread of cracks is to eliminate elements that cause them to expand.
4. Improves Property Value
First impressions are important, and if you plan on selling your house in the future, you will want to increase your home’s curb appeal as much as possible. There’s no easier way than to keep your home and driveway clean.
Power washing removes those nasty stains, and greasy buildups, and reduces the appearance of cracks.
5. Prolongs Life and Enhances Safety
Mold, mildew, oil residue, and other buildup reduce friction on the surface of your driveway. And a slippery driveway can be very dangerous for vehicles and people. Pressure washers are typically powerful enough to restore the rough surface of your driveway.
Stains and dirt can weaken your driveway’s surface more than you might think. Pressure washing the driveway helps to increase its life by keeping harmful contaminants out.
Tools and Materials You Need
Here’s a quick list of everything you’ll need:
Tools and Equipment:
- Broom
- Pressure washer
- Stiff brush
- Paint tray
- Garden hose
- Extension pole
- Roller
Supplies:
- Pressure washer detergent
- Waterproof sealer
- Spray degreaser
- Painter’s tape
Safety Items:
- Safety gloves
- Safety shoes
- Safety goggles
- Face mask
- Safety Manual
How To Pressure Wash a Driveway – A Step-By-Step Guide
Here are a few easy steps to pressure wash your dirty driveway and get it sparkling like new again:
1. Prepare the Area
Clean your driveway’s surface and protect the surrounding spaces. To do that:
- Remove all loose materials such as dirt, stones, leaves, and other debris with a broom or leaf blower. Make sure you also move any outdoor furniture, potted plants, bikes, and toys from the area.
- Cover nearby walls or doors with plastic or a tarp to protect them from accidental spills or flying debris. The same goes for in-ground plants close to the driveway; cover them completely with a tarp because the pressure washer detergent can be toxic to them.
- Every driveway has some amount of greasy buildup from vehicles, no matter how clean it seems. Spray the surface with a degreaser from a distance of 6 inches. Use a stiff brush to scrub the surface a bit before pressure washing.
- Make sure you’re properly dressed for the job and have the appropriate safety gear on. This includes closed-toe shoes, safety goggles, and a face mask.
- Lastly, carefully examine the high and low points of your driveway to figure out the direction the water will flow. You want to start pressure washing at the highest end of the driveway so the water can run off with gravity and flow away from your work area.
2. Assemble the Pressure Washer
If your pressure washer comes with an instruction manual, follow the manual closely. If you’re renting or buying a used washer, you can follow these general guidelines to prepare it for safe use.
First, connect the spray wand to the pressure washer’s hose. Then, connect the garden hose to it. Lastly, choose the appropriate pressure washer nozzle for the task at hand. Some nozzles create a stronger, more concentrated stream, and some fan out more for general cleaning.
It might be easier to work with a small nozzle, but the wrong size can damage the surface. Here’s what you need to know about picking the right pressure washer nozzle:
- Low-pressure nozzle for applying soap to your driveway surface. Or, pick the one that’s specifically labeled for applying cleaning solutions.
- High-pressure nozzle for rinsing the surface. A high-pressure, or 25-degree nozzle, is suitable for concrete and most masonry surfaces but might not be ideal for brick driveways as it’s a bit harsh and can damage the mortar holding the bricks in place.
Find the detergent siphon tube, which typically comes attached to the pressure washer. It goes directly into the detergent container. When you start the pressure washer, this tube will draw out detergent and mix it with the water stream of your spray wand.
3. Spray the Detergent
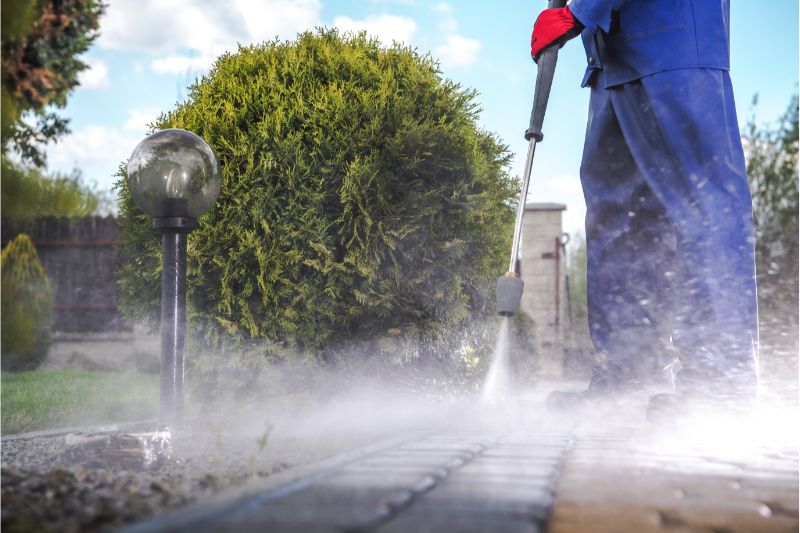
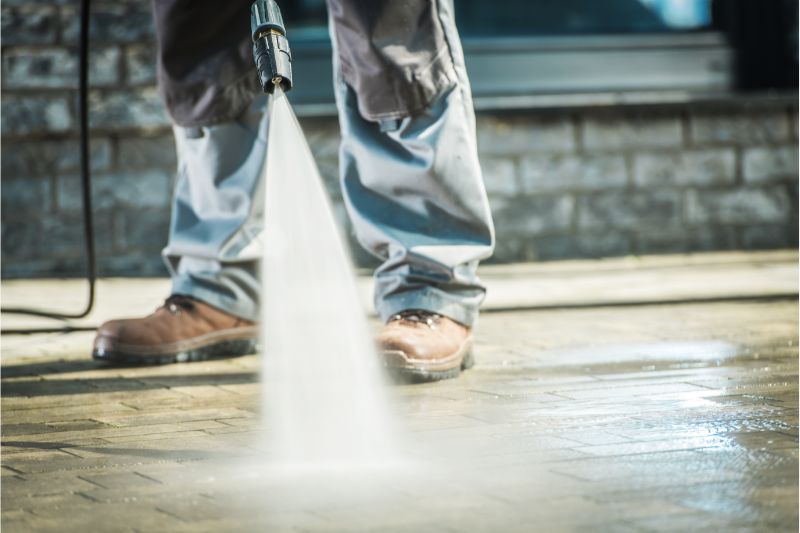
Start spraying at the highest end of your driveway and work your way down. Point the spray wand at the surface while maintaining a consistent distance of 8 to 18 inches from the surface, and press the trigger. Sweep it back and forth steadily across the entire surface. Overlap your strokes by several inches.
Apply it all over the surface of your driveway, and let it stand for at least 5 to 15 minutes. This will allow the detergent to break down oil stains, mildew, and tough grime.
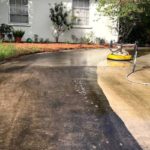
4. Pressure Wash and Clean the Surface
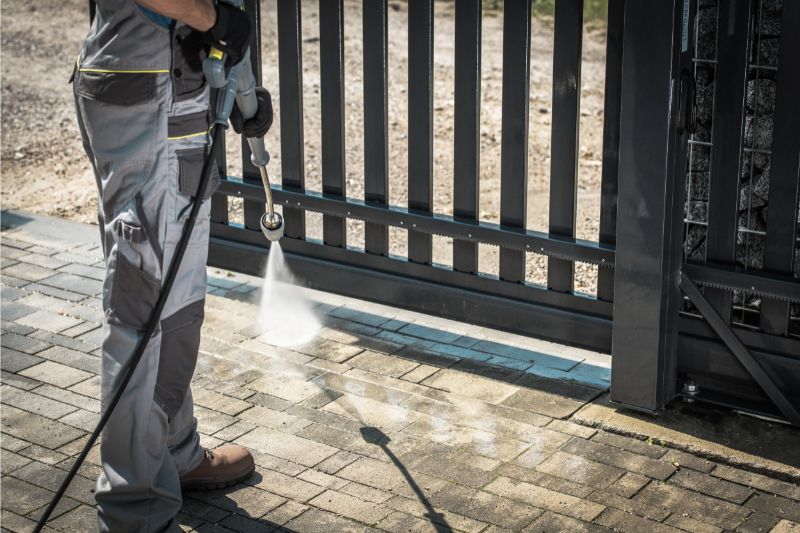
Change the tip on your pressure washer from “soap” to the tip labeled “25 degrees” or “rinse” mode. Pressure wash the driveway by working your way back and forth from side to side. Again, overlap each of your strokes by 6 to 8 inches to make sure all the area is cleaned.
For stains on the surface, hold the tip closer – perhaps 3 to 4 inches from the surface – and move slowly to ensure removal. Make sure you remove all the detergent from the surface and leave the driveway to dry.
5. Seal it
After the driveway has dried completely, you can seal the concrete surface to prevent future stains. Pour a waterproof sealer into a paint pan, and use a roller with an extension pole to coat the entire driveway.
Start from the middle, and work your way to all edges of the driveway. Let it dry for at least 24 hours before you park or walk on the surface.
Pro Tips
Make sure you take note of a few things when pressure washing the driveway:
- Do your homework: Take precautions before starting the cleaning process. Do some research on the type of power washer you will be using. Power washers come in different sizes and power outputs. You can get everything from a small electric one for light-duty cleaning to a gas-powered commercial-grade washer for heavy projects.
- Time it right: Leave yourself time for prep work and cleaning, which can all take an hour or more depending on the size of your driveway, the extent of the grime, and the type of pressure washer you’re using.
- Be environmentally safe: Make sure you’re being mindful when directing the runoff water from your driveway. Mostly, water from your drain ends in your local stream. The runoff contains oil build-up and a surface cleaner containing harmful chemicals that can pollute the stream it enters. The best way to avoid these issues is to use environmentally friendly cleaning products. Avoid getting products with hydrofluoric acid, sodium hydroxide, bleach, and muriatic acid in their ingredients list.
- Safety: High-pressure streams carry risks. Make sure you follow all the warnings and cautions listed on the machine. Pressure washers can do a lot of damage to property, pets, and people. Do not point the stream at anyone, even as a joke, or try to rinse your car or windows with it. You may end up with costly repairs. Hold the sprayer at a distance recommended by the manufacturer, or 12 to 18 inches to get the most pressure without causing damage.
- Consult a Professional: Many power washing horrors could have been avoided if homeowners had called in a professional instead of DIY-ing it. Common accidental damages include ripping shingles and sidings, stripping paint off a wall or car, damaging wood decks and walkways, and so on.
Frequently Asked Questions
Most professionals recommend power washing your driveway at least once a year to prevent cracks and grime build-up.
Use a power washer with a pressure rating of at least 3000 psi and a flow rate of 4 gallons per minute at least for effective cleaning.
To make sure your sealant lasts longer, wait for 24 to 48 hours for the driveway to dry after cleaning. If you apply a sealant and some moisture is trapped underneath, it could cause lifting and a myriad of other problems later on.
Not Sure About Driveway Cleaning? Call for Help!
If you’re not too handy with equipment, don’t have the time, or simply don’t wish to pressure wash an entire driveway by yourself, hire one of our home improvement experts. They will help you at each step of the process so you don’t have to worry.
Main Image Credit: welcomia / Canva Pro / License