Building a rock garden is simple and perfect for first-time gardeners. Once you know how to make a rock garden, you can forget about fertilizing, weeding, and mowing, and get ready to relax in your new, low-maintenance landscape.
A rock garden, also known as a rockery or alpine garden, features and accentuates various carefully arranged rocks, stones, and boulders. This drought-tolerant garden can be the solution to sprucing up those lone boulders on the front lawn, landscaping around the front porch, or fixing up an eyesore of a flower bed.
Let’s go over the basics, what you’ll need, where to start, and how to make that garden rock:
What is the Goal of Your Rock Garden?
Before getting started, you’ll want to figure out how you plan to use your rock garden. Will it be a space for self-reflection and meditative thought, or will it be a spot for afternoon tea and reading? Or perhaps you only want a rock garden to add aesthetic value to your lawn, and it doesn’t need to take up space.
In this how-to guide, we will cover how to make a sprawling rock garden and a raised bed garden. If you have plenty of ground to work with, you can spread your rocks over the yard to make a large, expansive rock garden. But if you have a small space, a raised rock garden bed creates beautiful layers of rocks while saving room.
Rock Garden Ideas
The creative part is entirely in your hands. We’re here to help you build the basics, but how will you design around the space? Here are a few rock garden ideas to get you started.
Japanese Rock Garden
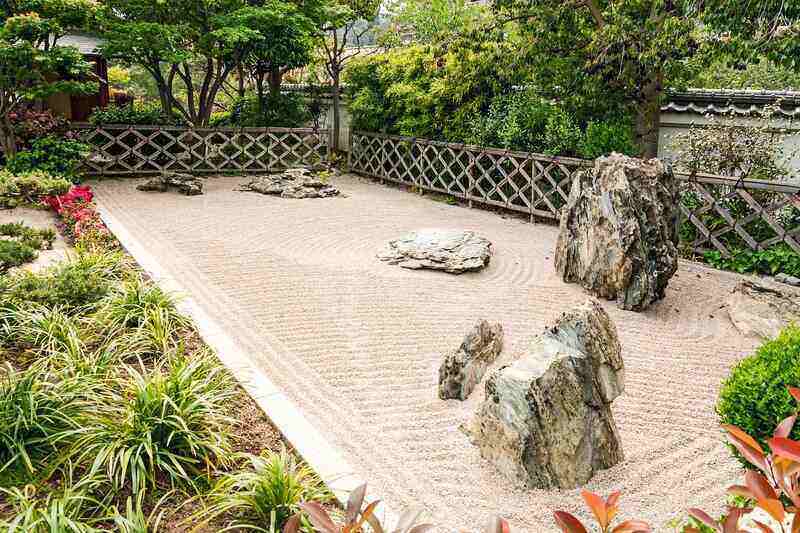
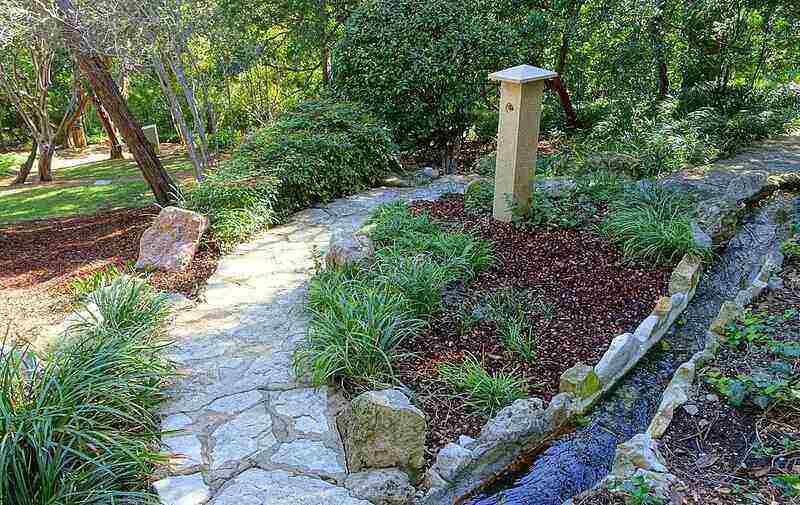
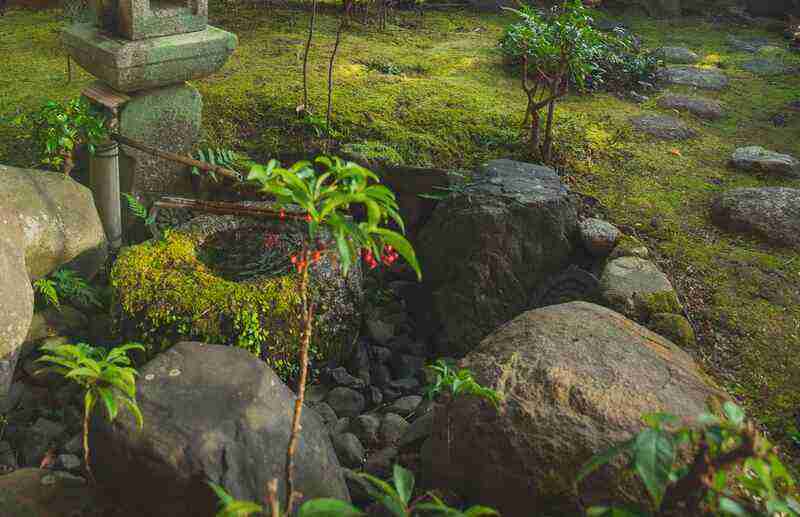
A Japanese rock garden, often called a zen garden, is a carefully stylized landscape of rock arrangements, water features, moss, and gravel or sand that is raked to resemble rippling water.
Zen rock gardens are intended to imitate or symbolize parts of nature (such as the sand imitating water) and inspire deep meditative thought on the nature of existence.
Before building a Japanese rock garden, it’s crucial to understand the meanings and intentions behind this landscaping style and to appreciate the meaning of its culture.
Xeriscaping
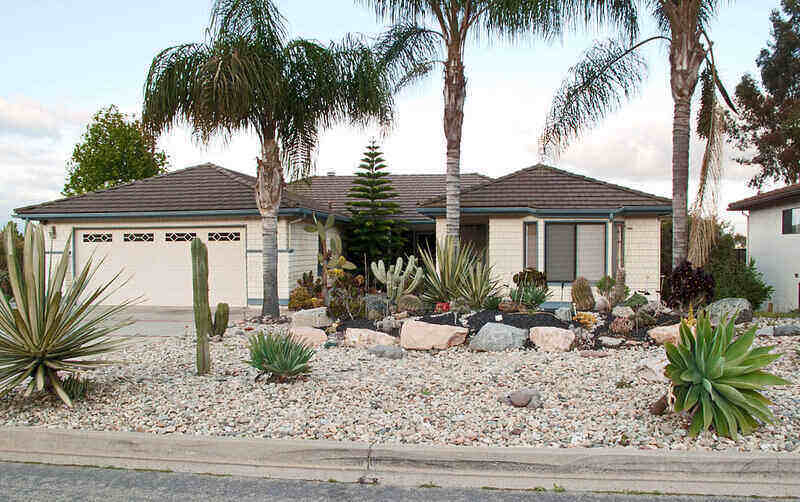
Want to save water and make your rock garden even more low-maintenance? Xeriscaping is the designing of landscapes to reduce or eliminate the need for irrigation. With xeriscaping, you would need to design your rock garden so that it requires little or no water beyond what it would naturally receive from the climate.
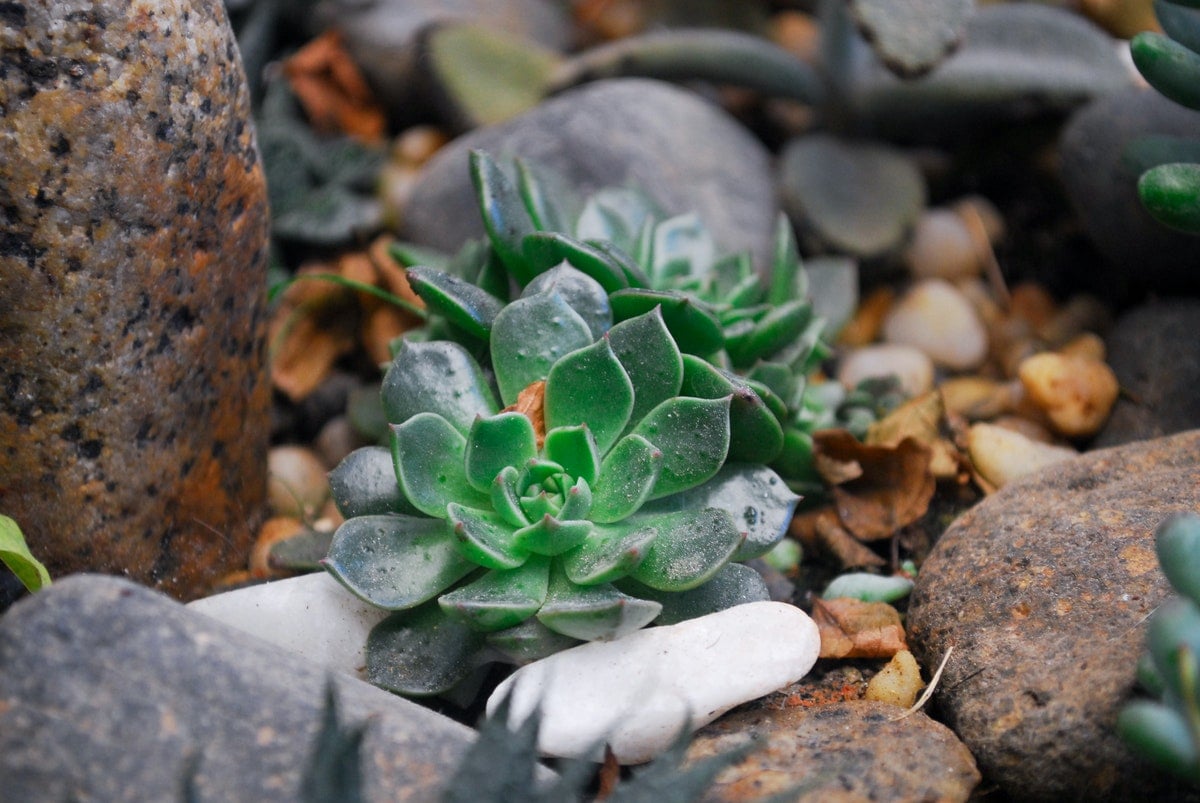
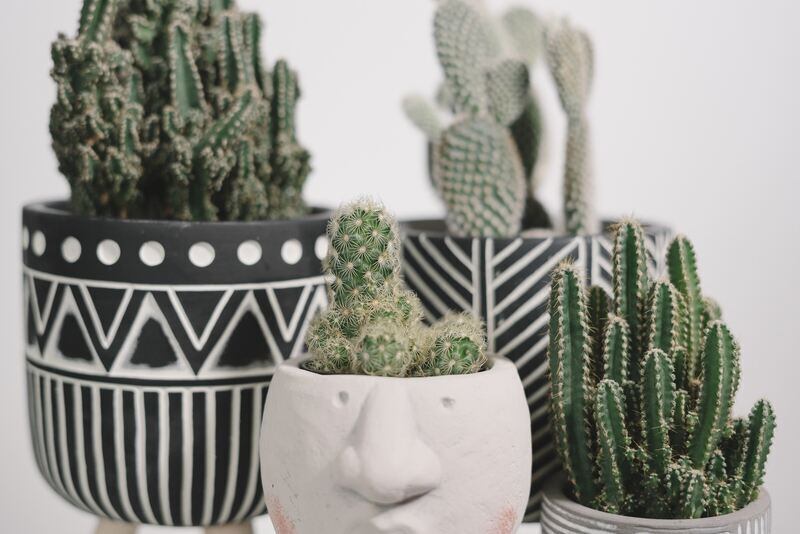
This means having limited plants, or only plants that can survive without much water, such as cactuses and succulents.
Calming Water Features
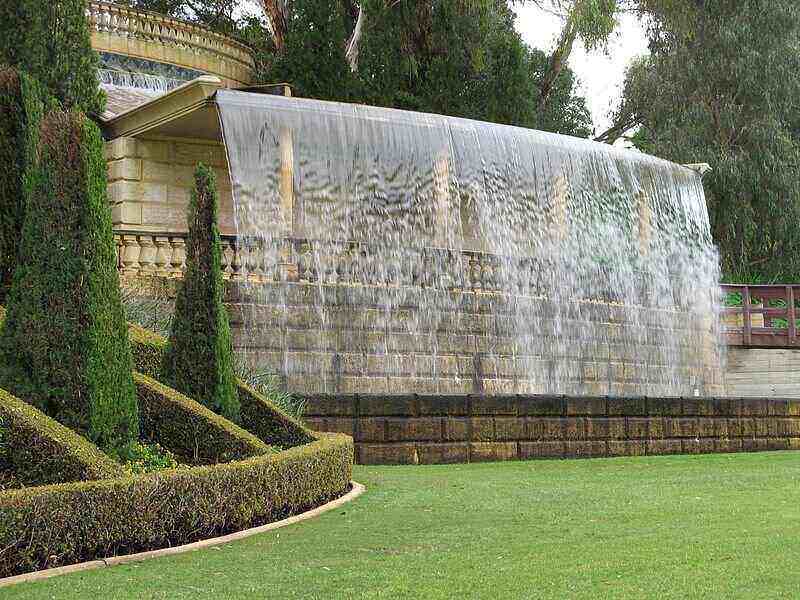
If you want a space that lets you relax the afternoon away, turning your rock garden into an aquatic oasis may be the perfect landscape design for you. A koi pond can add entertainment and tranquility to your garden, and a beautiful fountain can add elegant charm.
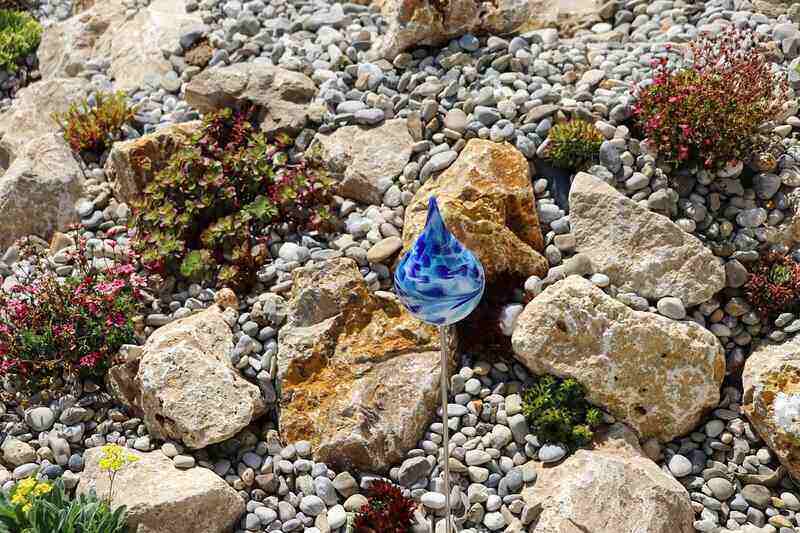
You could also look to water features, such as bird baths or flower pot fountains, for an extra bit of creativity among the stones and rocks.
Wildlife-Friendly
If you love animals, a rock garden can be an excellent way to invite wildlife to your yard. A rock garden pond may invite turtles, frogs, and zipping dragonflies.
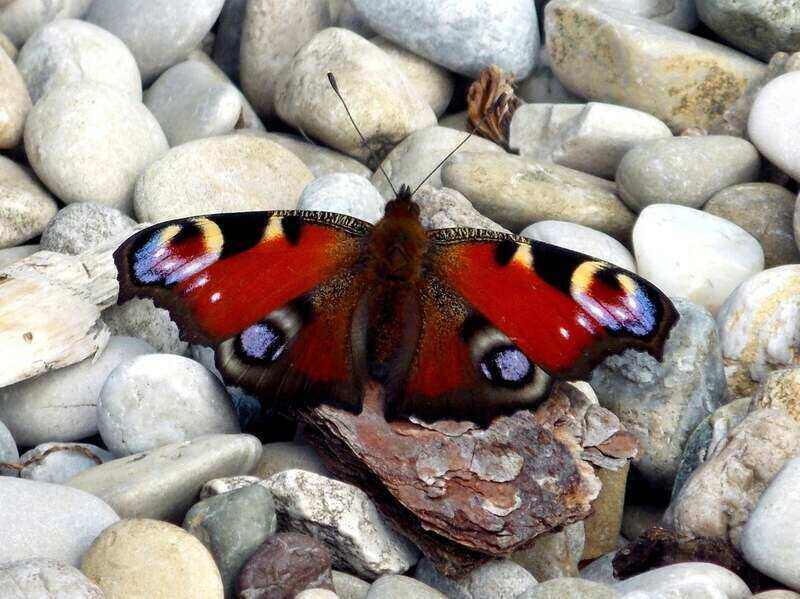
Want to invite over birds and small mammals? Consider including shrubs in your rock garden design plan to give these animals a place to nest and hide. If you enjoy butterflies and hummingbirds, drought-tolerant rock garden plants like hummingbird mints or hyssop will be irresistible to them.
Materials for Your Rock Garden
Rocks
A rock garden features a variety of giant boulders, large rocks, and small pebbles. Have your favorites picked out yet? Pea gravel can look great between flagstones, beach pebbles make excellent textured mulch, and mossy rocks provide delicate cushions. Not to mention the variety of choices that river rocks bring to your landscaping.
And colors? Rock gardens can be gray, tan, or shades of blue or other colors. Check out the Best Landscaping Rocks for Your Yard Project to learn more.
Plants
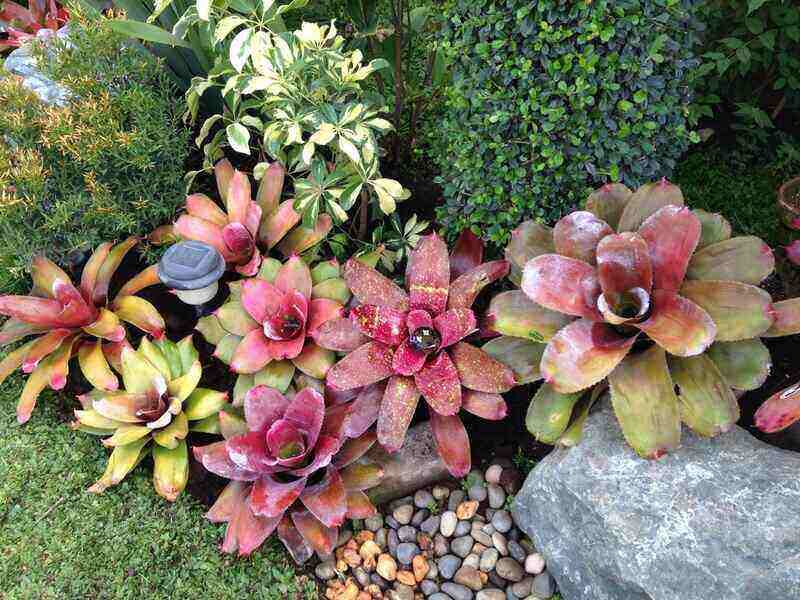
The right plants can help accentuate the rocks in your garden, including flower beds, alpine plants, shrubs, and succulents.
When choosing your plants, there are a few essential factors to remember. Your rock garden will need good drainage, so it’s crucial to avoid plants that prefer poor drainage.
Since rock gardens are low-maintenance and don’t require lots of watering (that’s why you’re making one, right?), you’ll want to choose drought-tolerant plants. Consider how much sunlight your plants will need and if your rock garden’s location is suitable. Here are some plant options to add to your rock garden:
- Cactus is one type of plant that will always fit in a rock garden. These prickly plants offer a touch of green against the stones and thrive in the dry rocky conditions necessary for a rock garden.
- Sedum, commonly known as stonecrop, is a type of succulent that works great in rock gardens. These perennials love well-drained soil and prefer full sun to partial shade.
- Creeping phlox (Phlox subulata) is a low-growing, “creeping” (as the name suggests) perennial. These pink/purple flowers are a welcome addition to any rock garden where a touch of color is needed.
Trowel
We may be rock gardening, but we still need our mini-hand shovel to do some digging. Have a trowel close at hand so you can plant any flowers you need or bury any rocks you want to hide in the soil.
Shovel
You’ll need this tool to lay down your garden’s soil and handle any digging your trowel can’t manage.
Tape Measure
A tape measure is a must when it comes to the planning stage of your rock garden. The last thing you want is to buy an expensive boulder and then find out it’s too big for the design — or to get through your backyard gate.
Garden Hose
While designing your rock garden, you may want to use a garden hose to outline your rock garden’s shape. This outline will help you get a visual perspective of the rock garden and make any necessary design changes.
Wheelbarrow
Rocks are not pillows. We don’t want you to drop any massive rocks on your toes and visit the ER. A wheelbarrow will help you with the heavy lifting and help you transport bags of mulch and small stones.
Newspaper
Unless you plan to remove the grass by hand, you’ll need to lay down newspaper over the grass where you wish to build your rock garden. By using newspaper to cover the grass and weeds that your rocks will go on top of, you prevent grass from poking through the spaces between rocks.
Sandy Soil
Your rock garden will need plenty of drainage, and a sandy soil mix will give it just that. Not only does sandy soil have good drainage, but it is also a good choice for many plants that you may want in your garden. Both succulents and cactuses do well in sandy soils.
Edging (Optional)
You’ll want something to keep the wind and rain from knocking your small pebbles or mulch out of place. Edging materials include wood, metal, plastic, stone, brick, or concrete.
Edging also can outline intricate designs in your rock garden. Consider gathering different sets of stone colors and filling the edged design’s open portions with the chosen pebble color. Designing a groundcover with spirals, curves, and shapes can add instant curb appeal and help evoke the tone of your rock garden.
Decorative Feature (Optional)
You may decide to add an ornamental feature to create a focal point and attract attention. Sculptures, water fountains, and park benches can help add visual interest to your rock garden.
Mulch (Optional)
Mulch isn’t necessary for a rock garden, but it sure is helpful. It helps control any sprouting weeds, enriches the soil (if organic), adds texture, and makes your rocks and plants pop. There are many types of mulches, including wood chips, grass clippings, pine needles, and gravel.
To really stay on theme with your rock garden, smaller stones like beach pebbles or pea gravel can make excellent decorative mulches.
Landscaping Fabric or Tarp (Optional)
Adding landscape fabric or black plastic tarp to your garden before laying down any small stone mulches (like beach pebbles, lava rock, or pea gravel) will make removing these mulches much easier.
A disadvantage of stone mulch is that the stones tend to mix into the soil, making removal a real nuisance. But install the landscape fabric or tarp, and removing any stone mulches will be smooth sailing. If you’re planning to use an organic mulch that decomposes into the soil, like shredded bark, you may not need landscape fabric or tarp.
How to Build Build a Rock Garden
1. Find a Section of Land
Find the perfect spot for your new rock garden. Want to build it in the backyard to create a cozy space to sit and relax, or do you want it front and center as the neighborhood’s best rock garden?
Keep in mind that large spaces are more suitable for sprawling rock gardens, while small yards work well with raised rock garden beds that help save space. Once you know where you’ll be building your garden, you’re ready for the next step.
2. Create Your Design Plan
Before picking out your plants, stones, and other rock garden features, you need a design plan. Having a plan will help you estimate what items can fit in your yard and avoid costly mistakes. You don’t want to buy 20 cacti and come to realize only 10 will fit in the rock garden. Have your design ready to go before shopping around for the necessities.
Your plan should entail preparations for physical labor or heavy lifting. How will you get your rocks from Point A to Point B? Ensure you have a safe path of travel. Your plan should also include color schemes, desired textures, and measurements of the space.
3. Remove the Grass
Your rock garden won’t be very low-maintenance if it has grass sprouting out of every crack and crevice. And you won’t be able to run your lawn mower over it either. So it’s time to say goodbye to the green turf you’ll be replacing with the new rock garden.
Here’s how to remove grass with a method known as sheet mulching (aka the lasagna method):
- Outline your garden’s shape using a hose or similar tool so you know how much grass to remove. You can either remove the grass by hand or go a more leisurely route and sheet mulch.
- Lay down your newspapers in the designated space, making sure they overlap and leave no gaps in between.
- Cover the newspapers with a light layer of soil to ensure the wind doesn’t blow them away. This lasagna method kills weeds and grass by blocking out sunlight and enabling decomposition.
Pro Tip: Cardboard can be used instead of newspaper, but it takes longer to break down. Keep in mind that some cardboard contains glues that may not be safe for gardens where edibles are grown.
4. First Layer: Lay Down the Largest Rocks
Ready to put your rocks down? Let’s grab your biggest and least attractive rocks first.
- If you’re designing a rock garden that stretches and spills over a large area, use your most massive rocks as a starting point. Place them around the designated area, and their positions will help guide you along.
- If you’re working with a smaller space and want to build a raised rock garden bed, lay rocks down in a circle or other preferred garden bed shape. You’ll want to use your biggest stones here.
Starting your first layer with the larger rocks helps give your rock garden support for the following layers. You can also keep your least favorite rocks at the bottom since they’ll be mostly hidden by plants, soil, and other rocks.
5. Fill in With Soil
Now add 1 cup of soil to the cake batter and — sorry, had to make sure you were still paying attention!
Sandy soils are best for rock gardens because they need plenty of drainage. If you’re making a raised rock garden bed, use your shovel to fill in the entire circular bed with soil. Otherwise, fill the spaces in between your sprawling rock garden.
Pro Tip: Walk on the soil to pack it down and help it settle.
6. Install Landscaping Fabric
This step is optional, but it goes a long way to prevent weeds in your rock garden and keep smaller stones from sinking into the soil. Install landscape fabric over the soil in the areas where you’ll add plants or small stones. When you’re ready to plant, simply cut an “x” in the fabric to place your plants.
7. Second Layer: Build With Smaller Rocks
Here’s where you really get to experiment. The second layer typically features smaller rocks than the first and can be among the best ways to feature your favorite stones.
If building a raised rock garden bed, you’ll begin by making a second circle within the first circle. Again, feel free to be creative with this second layer. It doesn’t have to be a circle, and it doesn’t have to be in the exact center of the first circle. Just make sure it’s a small shape inside a bigger shape.
For more texture and room for plants, make sure to leave enough space between the two circles (or shapes) to grow plants inside this area and enough plant room within your second circle. This extra visible soil creates plenty of layers for your plants and gives you more space for gardening.
If building a sprawling rock garden, set your second rock layer on top of the soil in spaces you feel best show off their beauty.
8. Place Your Plants
It’s finally time to dig holes for your plants. When placing them in the soil, consider elements like color, texture, size, and height. Which plants look better closer together than others? Do the small plants look better on the first or second layers?
You likely answered many of these questions in your design plan, but sometimes design plans change when we finally see how the plants look in the rock garden. So, grab that trowel, and start to place those plants.
9. Optional Features and Additions
Remember those optional items we mentioned earlier? Here’s where you get to use them.
If you laid down landscape fabric or tarp in the previous step for plants, top it off with a layer of topsoil or mulch. You won’t need this if you’re doing a plant-free rock garden.
Remember, the landscape fabric helps prevent gravel from mixing with the soil and makes removing old stones easier in the future. If you’re using organic mulch, you may not need the fabric.
Picked out a decorative feature such as a fountain or sculpture? Here’s your moment to set it in place and bring the whole garden together.
10. Viola!
Your very own rock garden is open for relaxation — bravo, and well done.
Advantages of a Rock Garden
Low-Maintenance
If we haven’t said it enough already, these gardens are great for anyone who misplaces their watering can. They don’t need mowing, weeds are limited, and they don’t require much irrigation.
Diversify Your Yard
Large boulders, stunning stocks, and intricate pebble mosaics can add variety and aesthetic to your yard. If your lawn already features shrubs, boxwoods, or flowering plants, an earthy rock garden will create a beautiful contrast from the greenery and accentuate your lawn areas.
May Increase Home Value
When designed right, landscaping projects may increase your home’s resale value. Design a beautiful rock garden, and you may be glad you made the investment.
Harsh Environments
These gardens have great tolerance for harsh winds, intense sunlight, long droughts, and inclement weather. If you’ve been struggling to sustain a garden due to your location’s severe climate, a rock garden may be just what you need.
Calming
Due to their mindfully arranged stones, rock gardens typically offer a calming atmosphere. These gardens usually have minimalistic designs that create an uncluttered, simple space for the mind to rest.
Disadvantages of a Rock Garden
Heavy Lifting
Moving large boulders can be difficult and can deter many people from building a rock garden with heavy stones. Keep in mind that if you wish to create a large rock garden but don’t have the equipment to handle the movement yourself, a professional landscaper is just one click away.
Snakes
Yikes! Someone get pest control on the phone. According to the Utah State University Extension, mulch and large rocks may provide a breeding or overwintering habitat for snakes. If you’re concerned about snakes slithering into your rock garden, the extension recommends landscaping with smaller, tight-fitting rocks and avoiding water gardens and koi ponds.
Upfront Cost
You may find building a rock garden requires some budgeting. Rocks can be expensive, and their prices will vary depending on the type, number, and size of the rock(s) you choose. Landscaping rock projects cost an average of $600 to $700. Homeowners may pay between $460 and $1,000 to buy and install rocks, stones, and boulders.
Worried about costs? Pea gravel, mulch, and crushed gravel are some of the most cost-effective materials available for your rock garden.
- Pea gravel: For 200 square feet (the average size for home projects), you’re likely to pay $310 on average.
- Mulch: The average cost of mulch ranges from $17 to $68 per cubic yard or $2 to $5.50 per bag.
- Crushed gravel: The average cost for a 2,200-pound bag is $884.
FAQ About Rock Gardens
When landscaping with rocks, especially small decorative stones, you’ll want to consider how deep your layers should be. For instance, if you’re going to add a layer of beach pebbles to your rock garden, you don’t want to spread them too thin, but you also don’t want to create poor drainage by having too many.
Here are a few depth suggestions when laying down rock layers:
• If the stone’s size is 1/2-inch or less, create a 2-inch layer.
• Create a 3-inch layer if the stone’s size is 3/4-inch to 1-inch,
• If the stone’s size is 1-inch or more, create a layer of 4-inches.
Building a rock garden on a natural slope is more challenging compared to building on a flat surface. Depending on the slope’s height, you may need help from a professional landscaper as drainage, soil retention, and plant support will be affected. A rock garden built on a slope will also require much bigger rocks than rocks used on flat ground.
Despite a rock garden’s upfront cost, you can find some rocks for free to help stay within budget. You may find free stones where they’re a nuisance to someone else, like on a farm or construction site, and are bound to be thrown away. Talk to a local farmer or construction worker, and you may have a new rock to bring home.
Rock hunting in your yard is also an excellent solution to finding small stones and pebbles for free. Grab a bag or container and make a day out of finding the most exciting small rocks for your rock garden.
You sure can! A small outdoor space shouldn’t have to stop you from creating a serene and inviting rock garden. Grab a container, trough, or pot and build a small rock garden with mini succulents, cacti, and pretty pebbles.
When to Call a Landscaping Professional
Call a landscaping professional near you if you need assistance with rock garden installation, maintenance, or other landscaping ideas. Rocks can be massive, and you’ll likely need help bringing them onto your front yard and arranging them in just the right place.
Call a professional to handle the challenging work, so you don’t have to break a nail.
And you shouldn’t be worried about aesthetics either. Can’t decide between boulders? Let a landscape designer help you choose which kind of rocks (big, round, square, smooth, bumpy) will match your dream design.
Main image credit: Mã Minh / Pexels