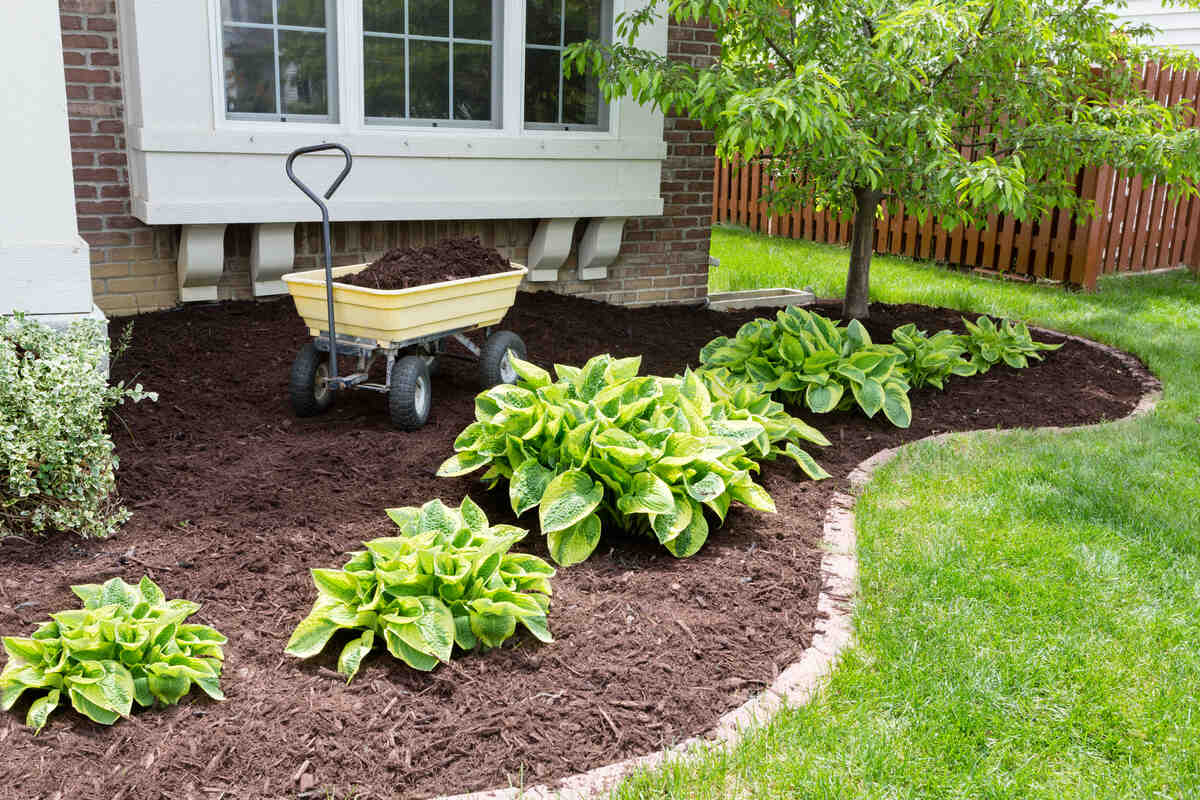
Mulching your garden beds is the easiest way to make your yard look polished, and it’s simpler than most people expect. A good mulching job comes down to 4 easy steps: clear the bed, figure out how much mulch you need, spread 2-4 inches evenly (keeping it a few inches from stems and trunks), and water it in.
A few hours of work buys you fewer weeds, steadier soil moisture, healthier plants, and that satisfying look of a landscape that has been tended.
Rather hand this one off? LawnStarter connects you with our local landscaping pros who can handle everything from bed prep to final cleanup.
| Key Takeaways |
|---|
| • Apply mulch 2-4 inches deep, keeping it 2-3 inches away from plant stems and 6 inches from tree trunks. • Remove weeds and edge beds before mulching for best results. • Water the soil before mulching and after installation to help it settle. |
| Project Difficulty: Beginner Estimated Time to Complete: 2-6 hours, depending on the area’s size Project Cost: For DIY projects, mulch costs $30 to $135 per cubic yard, depending on the type. If you hire someone, mulch installation costs range from $77 to $94 per cubic yard. |
Tools You’ll Need for Mulching
The right tools make this job so much easier on your back. Here’s what you’ll need:
Essential tools:
- Work gloves, long sleeves, and sturdy boots
- Edging tool for creating clean borders
- Wheelbarrow for transporting mulch
- Large shovel or pitchfork for loading
- Garden rake for spreading and leveling
- Garden hose for watering
Optional but helpful:
- Hand weeder or weed fork for prep work
- Hoe to dig out stubborn weed roots
- Measuring tape for calculating areas
Pro Tip: Wear old “yard clothes” you don’t mind getting dirty, shares Harley Grandone, a landscape designer with 20+ years of experience. “Moist mulch sticks to everything (especially triple-ground) and can be prickly on your skin.” Dyed mulch may also stain your clothes when wet.
Step 1: Prepare Your Beds
A little prep work goes a long way here. Skip these steps, and you’ll fight weeds through the mulch layer all season.
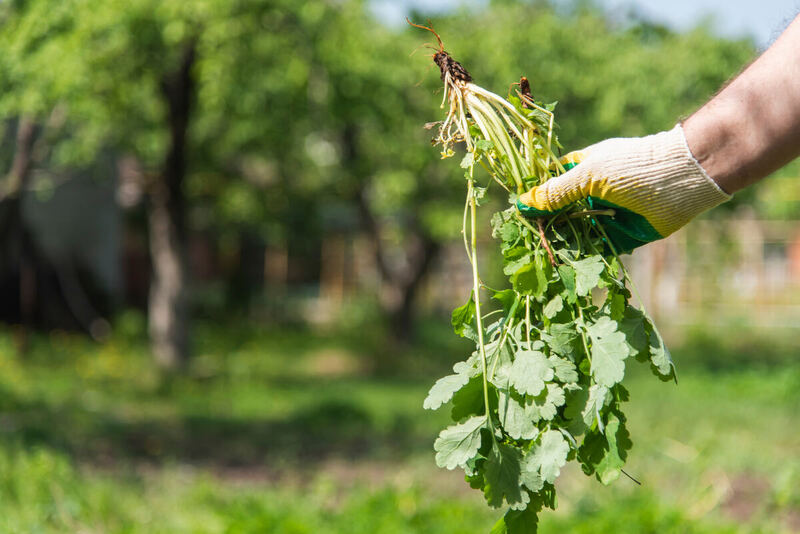
Remove All Weeds
Get rid of existing weeds before mulching. Don’t try to smother them under mulch; it doesn’t work. Hand-pull weeds or use a post-emergent herbicide to knock them out first.
If using herbicides, wait 24-48 hours between the application and mulching. Better yet, plan the mulching 1-2 weeks after the post-emergent, when all the weeds are dead.
See Related:
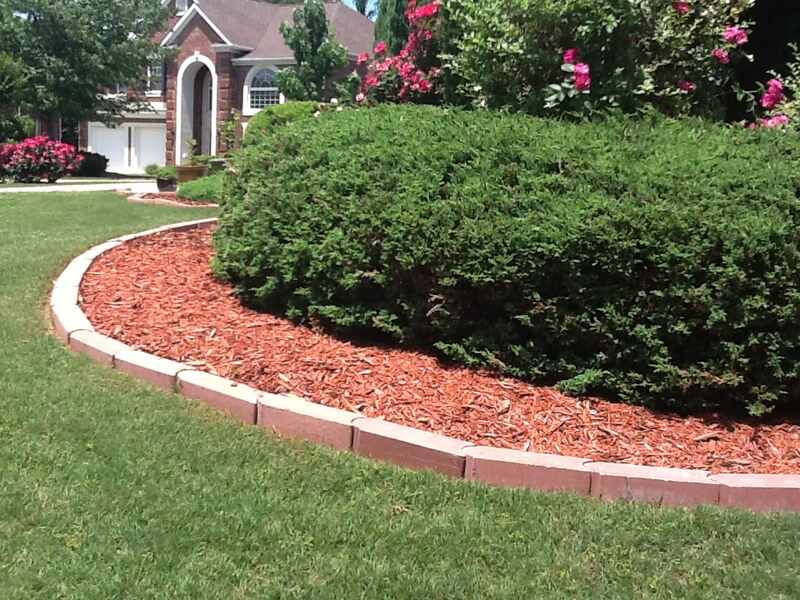
Edge Your Beds
A clean border between your garden beds and lawn keeps mulch where it belongs and stops grass from creeping in. You can use a manual edging tool (such as a half-moon edger), a powered edger, or install physical garden edging made of metal, stone, or plastic.
That crisp edge will make your mulched areas look sharp and well-maintained.
See Related:
Water the Soil
Moisten the soil before mulching so water reaches plant roots directly rather than slowly filtering through dry mulch. Thoroughly soak the area until the top 2-3 inches of soil feels damp.
If you used a post-emergent herbicide, wait 24 hours before watering.
Apply Pre-Emergent Herbicide
Apply a pre-emergent herbicide in spring and fall to prevent weed seeds from germinating. You can apply it either directly on the soil before adding mulch or on top of existing mulch.
Pre-emergents that break down easily, such as those containing pendimethalin, trifluralin, or oryzalin, are best applied under the mulch layer. If you’re not sure how fast yours breaks down, better to apply before mulching.
See Related: Why Pre-Emergent Didn’t Work (And What to Do Now)
Step 2: Calculate How Much Mulch You Need
Whether buying bagged mulch or ordering bulk, you’ll want to know how much you actually need to avoid wasting time or money.
“Ordering too little means you have to order again, which means more delivery fees or another trip to the store. Ordering too much means you have excessive mulch that you didn’t have to spend money on,” says Ciondre Pinnock, owner of Full Cycle YDM, a landscaping business in New Jersey.
Here’s a handy rule of thumb: One cubic yard of mulch covers about 100 square feet at 3 inches deep.
To find out how much mulch you need for your garden bed size, use the mulch calculator below.
[Mulch Calculator]
Mulch Calculator
Quick Mulching Tips
DON’T
- ❌ Pile mulch against tree trunks. This can cause bark rot and invite pests.
- ❌ Pile mulch against your house foundation
- ❌ Till carbon-rich mulch (e.g. sawdust) into the soil, it can tie up nitrogen.
DO
- ✓ Remove weeds before applying mulch
- ✓ Keep mulch 2-3 inches away from plant stems and 3-4 inches away from tree trunks
- ✓ Refresh mulch when it starts to decompose, usually annually.
Results for ${selectedMulch.name}
Material Needed:
| Volume (cubic feet): | ${document.getElementById('mc-cubic-feet').textContent} |
| Volume (cubic yards): | ${document.getElementById('mc-cubic-yards').textContent} |
| Weight (tons): | ${document.getElementById('mc-tons').textContent} |
| Bags needed: | ${document.getElementById('mc-bags').textContent} (${document.getElementById('mc-bag-size').textContent} cu ft) |
Work Information:
| Wheelbarrow loads: | ${document.getElementById('mc-wheelbarrow').textContent} |
| Total weight: | ${document.getElementById('mc-total-weight').textContent} lbs |
| Durability: | ${document.getElementById('mc-durability').textContent} |
Estimated Cost:
$${document.getElementById('mc-total-price').textContent}
Quick Mulching Tips
DON'T
- ❌ Pile mulch against tree trunks. This can cause bark rot and invite pests.
- ❌ Pile mulch against your house foundation
- ❌ Till carbon-rich mulch (e.g. sawdust) into the soil, it can tie up nitrogen.
DO
- ✓ Remove weeds before applying mulch
- ✓ Keep mulch 2-3 inches away from plant stems and 3-4 inches away from tree trunks
- ✓ Refresh mulch when it starts to decompose, usually annually.