That dying center in your ornamental grass isn’t bad news — it’s an opportunity to rejuvenate the clump and multiply your favorite grass for free. It’s time to divide.
How to divide ornamental grasses correctly comes down to timing, muscle, and a few smart moves. Wait for the right time, water before digging, split large roots in the ground, and replant within 2-3 days. We’ll walk you through the process with practical tips and expert advice.
Although dividing ornamental grasses is an approachable project for most beginners, you may lack the tools (or time) to get the job done. If so, consider hiring a landscaping pro to care for your ornamental grasses at the start of this growing year.
| Project Difficulty: Beginner to Intermediate Estimated Time to Complete: 1 to 2 hours, depending on the plant size Project Cost: $150 to $225 to buy safety equipment and tools (gloves, goggles, hedge trimmer, shovel, mattock, saw, tarp) |
Safety First: Grass blades and stems have sharp edges. Wear gloves, protective goggles, and long sleeves when cutting and dividing.
Step 1: Wait for the Right Time
The secret to successful division is catching your grass just as it wakes up — when you spot those first signs of new green growth poking around.
That’s your window. Here’s what it looks like in practice by type of ornamental grass:
| Type of Ornamental Grass | Best Time to Divide |
| Warm-season grasses(e.g., bluestem, switchgrass) | From mid-spring through early summer |
| Cool-season grasses (e.g., blue fescue, tufted hair grass) | In early spring or early fall |
| Evergreen grasses (e.g., mondo grass, Japanese Sedge ‘Evergold’) | From late winter through early spring |
When is it necessary to divide ornamental grasses? Most grasses need dividing every 3-4 years — sometimes sooner if you’re paying attention to what they’re telling you.
- A dead or dying center? That hollow spot in the middle of the clump? Time to divide.
- The same goes for grasses that look overcrowded, packed so tightly they’re practically elbowing each other out of the bed.
“Grasses don’t like tight spaces,” says Bala Dommeti, owner of Pixies Gardens in Conyers, Georgia. Think of it like housing, he suggests: One person per room beats cramming five people into the same space. “It’s always good for the roots to be nice and comfortable.”
Step 2: Cut the Grass
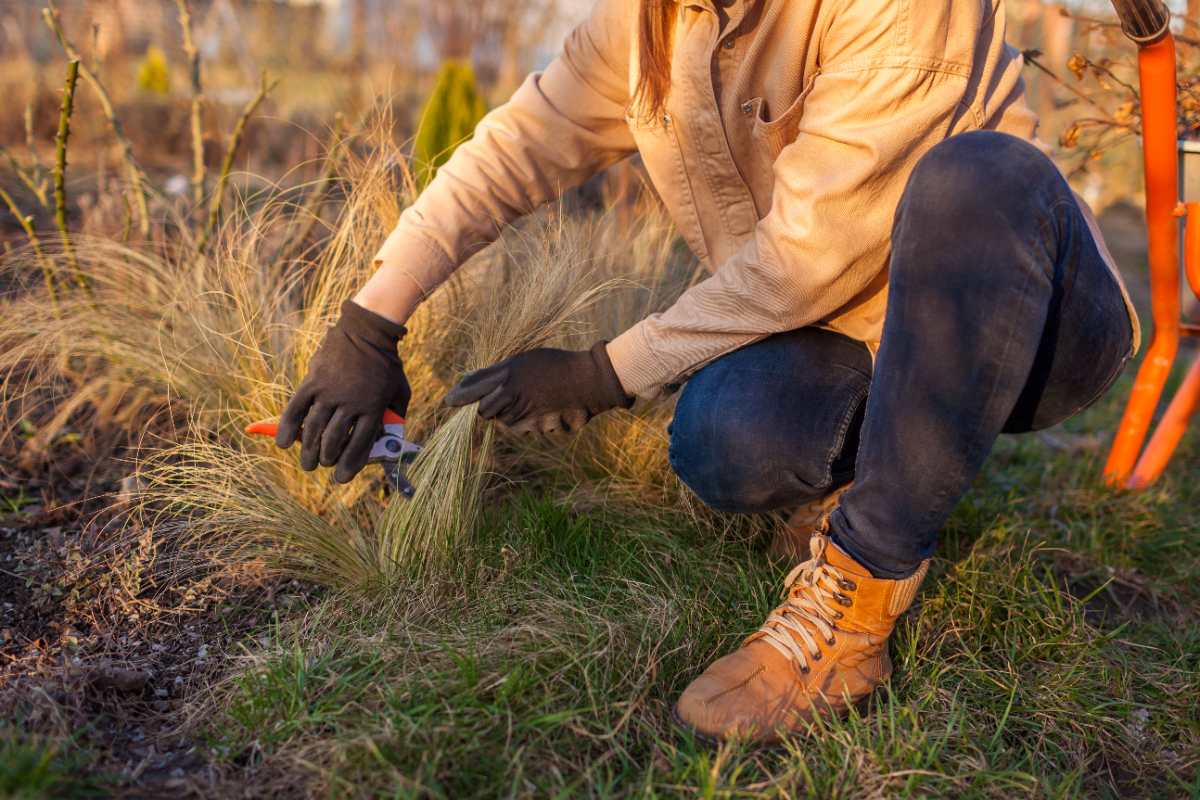
If you didn’t cut back the ornamental grass in the fall or winter, now is the time to do it. Those old blades will only get in your way, so cut them back to about 3-6 inches above ground level.
- Before you start cutting, tie twine around the clump to bundle everything together. It makes cleanup easier.
- Lay a tarp nearby and pile the stems directly on it for quick disposal.
For small clumps, pruning shears work just fine. Larger, tougher grasses — say, a 4-foot-wide giant Miscanthus — call for a hedge trimmer or even a chainsaw.
See Related:
Step 3: Water Ahead of Time
Before you even think about digging, do yourself a favor: Water the clump thoroughly a day or two ahead.
Dommeti insists on this step, and for good reason. The moisture softens the soil for digging and keeps the roots from drying out once you expose them.
Step 4: Dig Out the Clump (or Chunks of It)
Some grasses have deep roots, so you’ll need to cut through them to free the root ball. Use a sharp-edged spade or a shovel and don’t worry about slicing roots — the grass can take it. Here’s how to proceed:
- Place your blade a few inches outside the clump’s edge.
- Push down as far as it will go (aim for 6-8 inches).
- Pull it out and repeat as you work around the plant.
- Once you’ve gone full circle, slide the shovel underneath and try popping the clump up.
Won’t budge? You’ve probably got some stubborn roots still hanging on. Use your shovel’s edge to slice through them, then try again. Still stuck? Stick a garden fork into the root ball for leverage, or grab a mattock to pry it loose.
Alternative strategy: Divide the clump right there in the ground — the best choice for massive clumps.
- Split the clump with an axe, a shovel, or a small reciprocating saw.
- Extract the root ball in manageable chunks.
Here’s a video demonstrating this approach:
Step 4: Split the Roots
If digging out the root ball felt like work, splitting it might feel like wrestling a bowling ball. You’ll need a sharp, quality tool and real muscle.
“Use a clean, sharp saw. It will be easier to divide,” advises Dommeti. Here’s how to divide an ornamental grass with a hand saw:
- Flip the plant upside down so the root ball faces up
- Then cut along the bottom: Halve it, then cut it into quarters.
- Divide into smaller pieces if necessary.
How small can you go? Dommeti recommends keeping each division at least 3-4 inches across. “If you have a 1-gallon plant, you’d generally divide it in two,” he explains. That’s your minimum — go bigger if you want fuller clumps in their first year.
Ensure every division has healthy roots. Old plants may have dead material in the center. Toss that straight into the compost pile and transplant only the healthy outer divisions.
| Pro Tip: A hand saw might not be enough for massive root balls. Start with a sharp ax — give the root ball a solid whack to split it in half, then into quarters. Switch to the saw for smaller sections. |
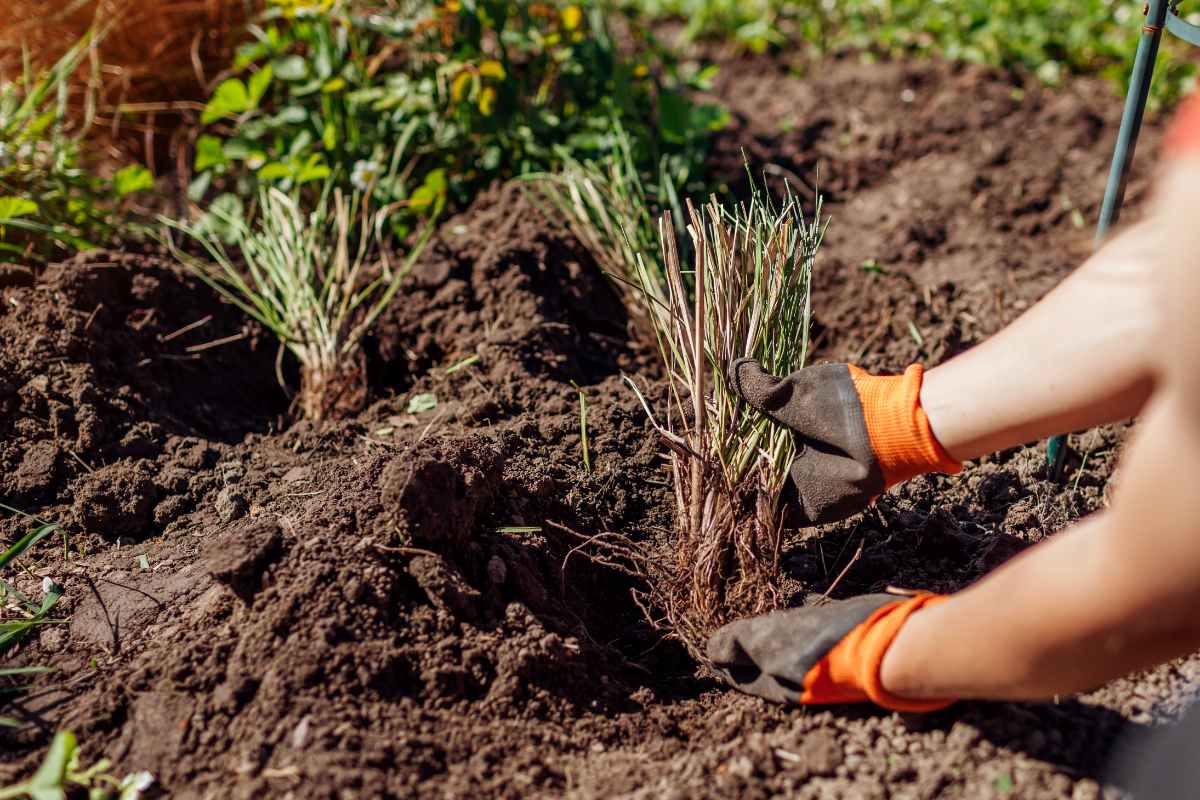
Step 5: Replant Within 2-3 Days
Plant your divisions right away. If you can’t, either wrap their roots in a wet cloth or place the divisions in a bucket with water at the bottom and store the plants in your garage. Make sure to get them into the ground within 2 to 3 days, Dommeti advises.
| Pro Tip: Before you plant, give the division a good soak. “When I take out the root ball, after the division, I soak it nicely, and then I’ll put it in the hole,“ explains Dommeti. |
Here’s how to replant your grass’s divisions:
- Space the plants 2-3 feet away to avoid overcrowding.
- Dig the hole about twice as wide as the root mass and roughly as deep. Grasses don’t need to go deep — 10 inches max. The crucial detail is crown placement: it should sit about an inch above ground level, Dommeti says.
- Drop the division in, backfill with soil, and firm it down gently to eliminate air pockets.
- Done.
| Pro Tip: You can mix in some compost into the planting hole if you like, but skip the fertilizer if you’re doing this in winter, says Dommeti. |
Step 6: Water Wisely
Water the new plants regularly, but don’t overdo it. “Most homeowners kill their grasses by overwatering,” Dommeti warns. The risk is higher in winter and early spring, when grasses are still dormant and need far less moisture.
How much is enough? “For each plant, less than half a gallon every 3-4 days is enough,” says Dommeti. Let that be your guide until active growth resumes later in the spring.
See Related: How to Care for Ornamental Grass
Step 7: Mulch (But Not Too Close)
Spread a 2-3 inch layer of mulch around the plants. It comes with a triple benefit: blocks weeds, locks in moisture so you’re not constantly watering, and moderates soil temperature, protecting roots during winter freezes and summer heat.
| Pro Tip: Leave a small “doughnut hole” around the base: 1-2 inches of bare soil right where the crown sits. Piling mulch against the crown invites rot — exactly what you don’t want after all that work. |
See Related:
Let the Pros Handle It

Ornamental grasses bring year-round beauty to your landscape — including those stunning winter silhouettes. Want to keep them thriving without the heavy lifting? Connect with a LawnStarter landscaping pro near you and let them handle the work.
Read Next: 12 Best Tall Ornamental Grasses for Privacy
Sources:
- Bala Dommeti, owner of Pixies Gardens, in Conyers, Georgia. Personal interview.
- “Dividing Ornamental Grasses.” Plant TALK, Colorado State University Extension.
- “Get More for Your Money: Divide Ornamental Grasses.” By Sarah Browning, Extension educator. Institute of Agriculture and Natural Resources, Nebraska Extension in Lancaster County.
- “Ornamental Grass.” By Master Gardeners Pat Schink and Gail Pothour. University of California.
Main Image: Small, divided ornamental grasses are planted in loose dirt. Photo Credit: maryviolet / Adobe Stock