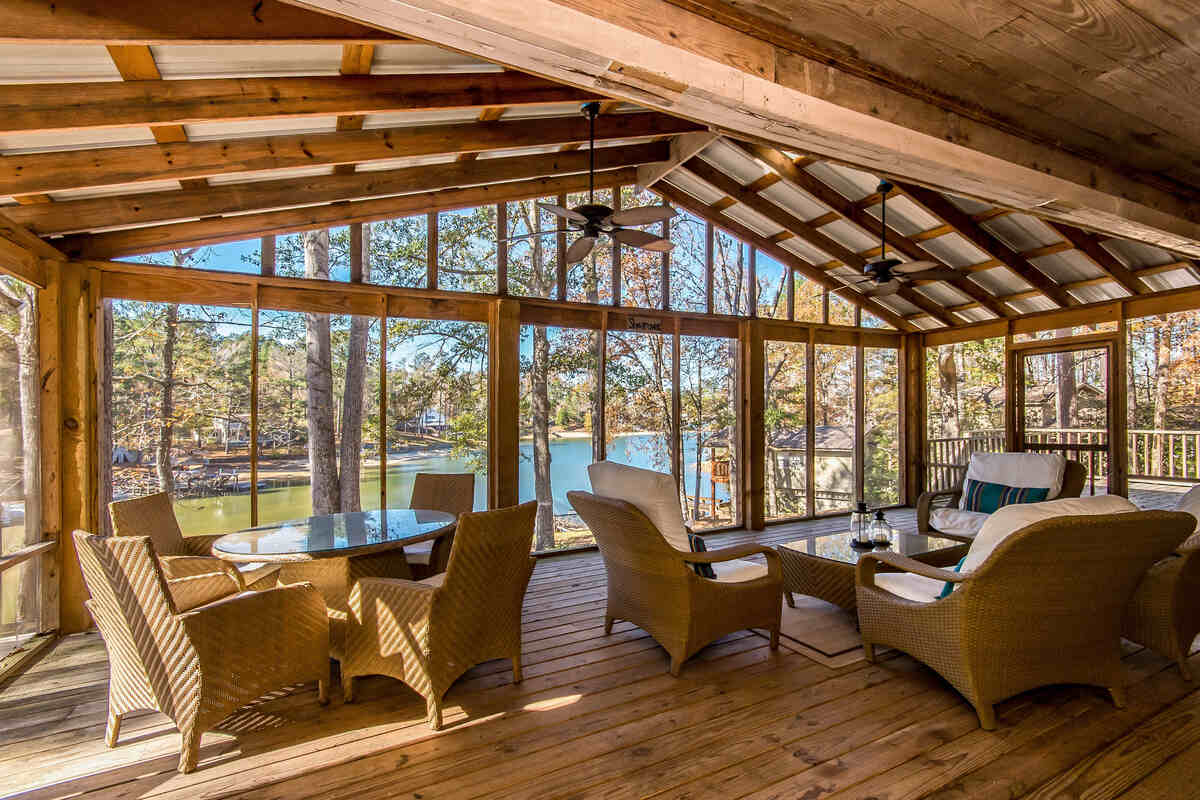
As the weather gets colder, so will your screened-in porch–– unless you step in to keep out the cold air! Luckily, there are several ways to prepare your screened-in porch for use in the winter months, from temporary DIY insulation to larger-scale renovation projects. Read on to learn how to winterize your screened-in porch with five great options.
Before You Winterize Your Porch
Regardless of the way you choose to winterize your screened-in porch, it’s a good idea to take a few simple steps. Check these things off your list before you set to work:
- Measure your screens. Nearly all the methods to prepare your porch for cold weather include measuring the size of the screens you’ll need to insulate. Grab a tape measure and measure the length and width of each screen so you’ll know what size materials you’ll need.
- Clean your porch. A thorough porch clean before you start will give you a clean slate to winterize and prevent the buildup of dust, mold, or mildew.
- Check your lease or HOA rules. For removable DIY options like vinyl sheets or curtains, odds are you won’t need to clear your project. But before you set about more permanent renovations, make sure you’re following any applicable guidelines.
- Get a permit. Again, small projects probably won’t need building permits, but if you’re installing a fireplace or transforming your porch into a sunroom, look into getting a permit before you start.
5 Ways to Winterize Your Screened-In Porch
Once you’re ready to get started, it’s time to get your screened-in porch ready for winter nights. From quick fixes to full-fledged projects, here are five ways to winterize your screened-in porch.
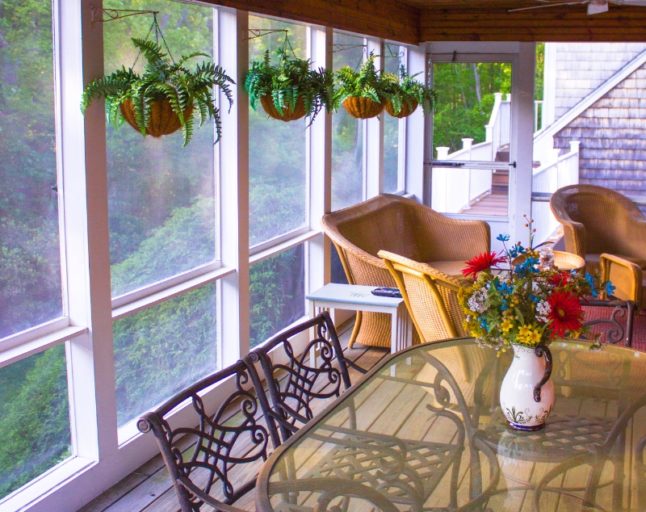
Method 1: Vinyl Curtains
Adding clear vinyl curtains to your screened-in porch is the cheapest and easiest way to prepare it for year-round use. These will let in the light while keeping out the wind and the leaves, and they’re quick to install with a few simple steps. They’re also renter-friendly, and easy to roll back and let in the fresh air. However, vinyl curtains won’t seal out cold air completely, and their casual aesthetic may not be for everyone.
To install vinyl curtains, you’ll need a few tension rods and the curtains themselves, as well as grommets and curtain rings depending on the model you buy. Here are the steps:
Step 1: Purchase Materials
Head online or to your local hardware store and buy the appropriate sized tension rods for your windows, as well as the vinyl curtains and grommets if you buy curtains without sleeves. If you need to purchase grommets, install them on the curtains according to the instructions.
Step 2: Install
Attach the tension rods to your curtains using the curtain rings or sleeves, and install them in your windows according to the instructions on the tension rods. There you have it–– a quick and easy way to winterize your screened-in porch!
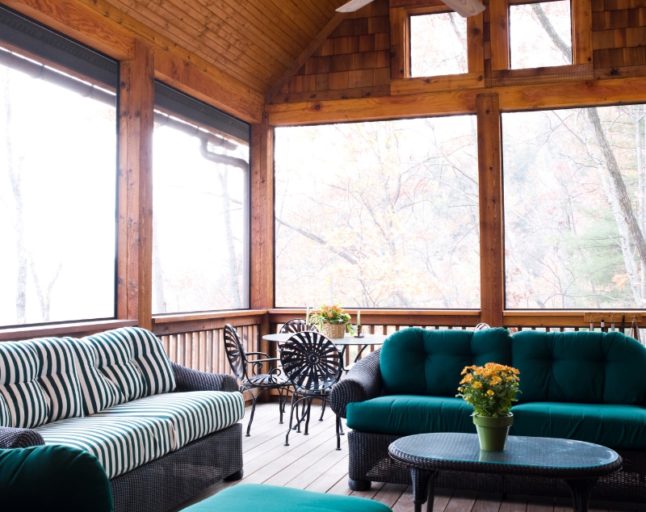
Method 2: Sheeting
If you’re looking to balance ease and affordability with efficiency, setting up plastic sheeting made of clear vinyl in your screened-in porch will offer more protection in colder months and a more chic appearance than curtains. This solution will completely seal off the screens, making them a very effective winterizing solution that’s still easy to install.
All you’ll need is the vinyl sheets, a razor knife, and Velcro. Here’s how to install them:
Step 1: Cut Sheets to Size
Cut your vinyl sheets to the size of your screens, using the measurements you took with the tape measure.
Step 2: Apply Velcro
Adding Velcro, particularly removable wall strips for hanging, is a great way to protect your porch while making it easy to apply vinyl sheets. Affix the Velcro to the wall, frame, or post near the screens, then follow the instructions on the packet to make sure it lines up with the vinyl sheets.
Step 3: Attach Sheets
Once you’ve matched up the Velcro to the wall and the vinyl sheets, hang up the sheets and enjoy your newly winterized screened-in porch!
Method 3: Panels
Vinyl or acrylic panels are the most effective way to winterize your porch without investing in a full renovation, but they’re also particularly time-consuming to set up. If you’re willing to put in a little elbow grease, panels will blend seamlessly into your porch design for a polished look that still avoids the hassle of setting a major renovation. As a plus, they can double as storm windows!
To install vinyl or acrylic panels, you’ll need to purchase appropriately-sized panels, then slide them against your screens so that they’re flush with the metal. This sounds like a simple process, but it can take a while–– especially if you’ve got a big porch.
Pro tip: You can make it a little easier to install your vinyl panels by affixing them to wooden frames, Velcro, or grommets. Wooden frames and Velcro will allow you to pop the panels onto your windows with ease, while grommets will require attaching the panels to the wall with screws each time you winterize.
Method 4: Install an Outdoor Fireplace
If you’re sick of chilly air in your screened-in porch and ready to renovate, installing a fireplace can help to keep things cozy. This full porch makeover lends your screened-in porch a classic, refined appearance while warming your space like nothing else.
To install an outdoor fireplace for your screened-in porch, research models you like and think about the materials and appearance you want. Then, contact a landscape design professional and contractor to work with on the project.
Looking for an easier option? An electric fireplace can lend the same effect without all the cost and smoke. With the ability to plug it in and kick back with a roaring fire, you’ll have a comfortable screened-in porch at the push of a button.
Method 5: Renovate Your Porch
To fully transform your screened-in porch into a winter-proof wonderland, consider a long-term renovation to turn it into a sunroom or a three- or four-season room. By replacing the screens with glass windows and adding insulation, your porch will go from chilly to cozy without the need to go back and winterize each year.
You likely won’t be able to renovate your porch on your own, so contact a professional for help.
FAQ About Your Screened-In Porch
Labor and materials generally cost between $8.40 and $12.45 per square foot to screen a porch. On average, screening a 200-square-foot porch costs between $1,680 to $2,490. However, if you need to build a new 200-square-foot porch, expect to pay between $4,800 and $24,000 for its installation. Combine the new porch cost with the screening cost, and you can expect to pay between $6,480 to $26,490 for the entire project.
Yes, a screened-in porch can increase your home’s resale value.
Screened-in porch flooring should be weather-resistant and able to tolerate moisture. Carpeting is the perfect option for a winter-friendly screened-in porch, as it will absorb noise and retain heat with less maintenance involved. Pavers and wooden or porcelain tiles are also great options for screened-in porch flooring.
Kick Back All Year Round
Winterizing a screened-in porch will help you make the most of your space with year-round outdoor living. If you’re looking to design a screened-in porch that you can use no matter the weather, reach out to a professional for hands-on help.
All set up with your outdoor space? Keep your porch looking perfect with outdoor maintenance help from a local lawn care professional.
Main Image Credit: John Coley / Flickr / CC BY 2.0