When you think about lush, green ground covers, you probably think about turfgrasses like St. Augustine, tall fescue, and Bermudagrass. But did you know that moss lawns are also an option? In this article, you’ll learn how to grow a moss lawn. Plus, the pros and cons of installing and maintaining a moss lawn.
A moss lawn is a suitable option for homeowners with heavily shaded yards. If you are looking for a slow-growing, low-maintenance lawn, moss lawns can create a dreamy landscape. However, moss lawns are the goldilocks of ground covers–– they require their environment to be just right. Nonetheless, their unique sun, soil, and moisture requirements allow them to grow where turf grasses cannot. So how do you know if a moss lawn is suitable for you?
How to Grow a Moss Lawn in 5 Steps
Step 1: Check Your Soil’s pH
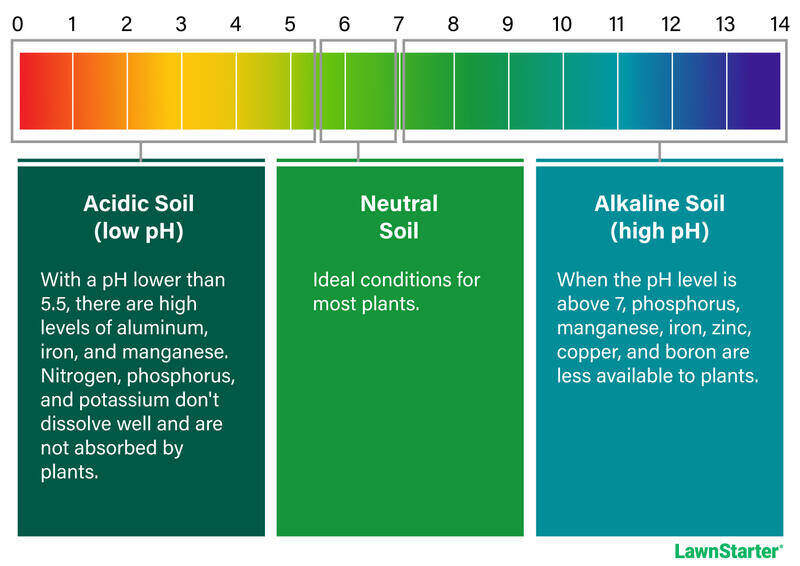
Before you install your moss lawn, it’s a good idea to check your soil’s pH. Mosses thrive in acidic soil. If your soil is too acidic for turfgrass, a new moss lawn might be the groundcover solution.
You can pick up a pH meter or testing strip at your local hardware store. For moss to survive, it needs a pH level between 5.0 and 5.5. Follow the instructions on your testing kit, and take a few soil samples around your lawn. Once you have the average pH for your lawn, you may make any necessary amendments (though this may take some trial and error).
A more reliable option is to submit a soil sample to your local cooperative extension for laboratory soil testing. The lab results produced by your sample will reveal any necessary amendments needed to help your moss lawn thrive. Does your yard need lime or sulfur? If so, how much? Your local cooperative extension has answers.
Step 2: Choose a Moss Type
Be sure to choose a species of moss that won’t be at odds with your climate. There are two types of mosses for lawns: Acrocarps and Pleurocarps.
Acrocarpous mosses prefer warmer, drier climates. These mosses are slightly more drought-tolerant than Pleurocarps and thrive in temperatures between 65 and 80 degrees Fahrenheit. Acrocarpus can tolerate the cold (down to 20 degrees Fahrenheit) but will rot if overwatered.
Examples of Acrocarpous moss:
- Pincushion moss (Leucobryum Glaucum)
- Broomfork moss (Dicranum Scorparium)
- Haircap moss (Polytrichum Commune)
Pleurocarpous mosses enjoy constant moisture. They grow and spread faster than Acrocarpous. So, if you are looking for expansive moss, consider a Pleurocarp. Pleurocarps perform better in colder, wetter climates and won’t rot if overwatered.
Examples of Pleurocarpous moss lawns:
- Sheet moss (Hypnum Imponens)
- Fern moss (Thuidium Delecatulium)
Still unsure which moss is right for you? Your local gardening center can help you learn more about mosses that will thrive in your area and which local markets carry the best moss.
Step 3: Prep the Area
You want to give your moss the best environment for growth and development, so you’ll need to find a suitable location and prep the area. Moss thrives in shaded areas, so try to avoid areas with direct sunlight. Heat and alkaline soil also cannot sustain a moss lawn, so plan your landscape accordingly.
Remove existing grass, clear away large rocks and debris, and pull any weeds in the area.
Step 4: Soak the Soil
After removing grass and testing the soil, give the area a good watering before moving on to the next step.
Step 5: Lay Your Moss
Now it’s time to place your moss. Place the moss directly on the ground to establish your moss lawn. Moss spreads, so you can set your moss sheets a few inches apart if you choose. Allowing your moss to spread between sheets can save you money, as moss lawns can be expensive to establish.
Moss has no roots, so you will need to use garden pins to secure the moss to the ground while you wait for it to attach. It can take four to six weeks for your moss to attach to the soil. While you wait for your moss to attach, keeping your moss lawn moist is essential to aid its growth. After your moss latches to the ground, you may remove the pins and enjoy your new moss lawn.
How to Care for a Moss Lawn
Even though moss lawns are a low-maintenance alternative to turf grasses, they still require some attention.
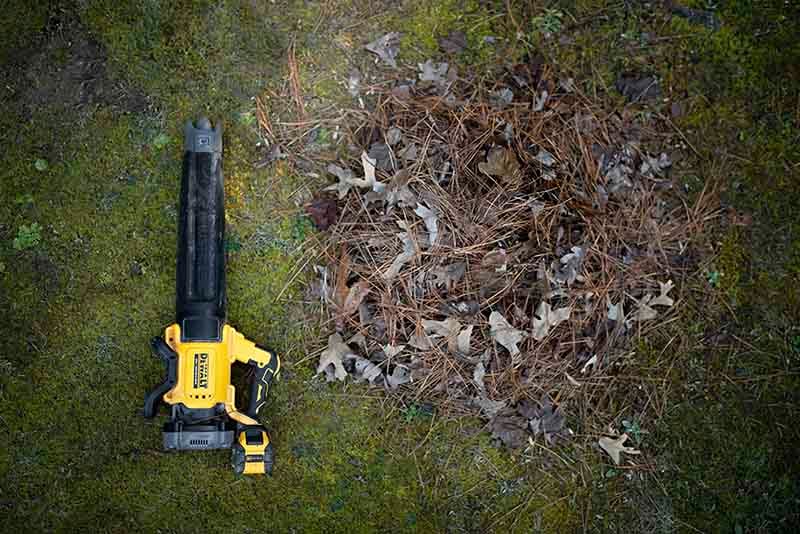
- Clear debris: Moss thrives in the shade. If trees are your primary source of shade for your moss lawn, you will need to keep fallen leaves off your moss. Plus, clearing leaves off your moss lawn staves off rot and mold.
- Blow, don’t rake: The easiest way to remove leaves from your moss lawn is by using a leaf blower. Raking your moss will tear it apart.
- Consistent moisture: Keep the moss lawn consistently moist for the first four to six weeks as the moss establishes. Once the moss has been established, rainfall alone should provide enough water for the moss. If rainfall is absent for three or more weeks, give your moss a nice sip of water.
Pros of a Moss Lawn
Low-Maintenance
The main reason homeowners choose a moss lawn is its low-maintenance nature. Once established, moss lawns require no mowing, weeding, or fertilizing. These lawns require little more than frequent moisture to live.
Eco-Friendly
Moss lawns are more eco-friendly than traditional lawns for a variety of reasons:
- Decreased fossil fuel consumption will reduce your carbon footprint.
- Moss lawns don’t need fertilizer, herbicides, or pesticides, which means fewer chemicals in runoff polluting the water supply.
- Established moss lawns require less water than established turf lawns.
Erosion Control
Speaking of water, did you know that moss is a helpful tool for erosion control? Moss can mimic an erosion control blanket by holding soil in place. Although moss doesn’t have traditional roots, it anchors itself to the ground using rhizoids. Rhizoids differ from roots because they don’t pull moisture from the ground, but similarly to root systems, rhizomes hold terrain in place.
Fewer Pests
Due to moss’s high density, most traditional garden pests can’t infiltrate moss. With nowhere to hide from predators, most insects will continue searching for a more protective habitat. And because moss doesn’t have traditional roots, lawn pests like grubs and chinch bugs won’t be an issue.
Cons of a Moss Lawn
High-Cost Setup
A new moss lawn does not come cheap. Instead of buying an affordable bag of grass seed, you’ll need to pay for each individual moss sheet, which can add up fast. And, of course, the larger the lawn, the more moss you’ll need to buy.
But remember, the price of ownership can even out over time thanks to moss’ low-maintenance qualities.
Specific Environmental Needs
Moss lawns are picky. They need firmly packed acidic soil with plenty of shade and moisture. Moss doesn’t stand up well to heavy foot traffic like turf grasses, so it may not be a good fit for lawns with high foot traffic.
FAQ About Moss Lawns
You should notice your moss spreading around six weeks after placement. Moss takes 12 to 18 months to provide full coverage and up to two years to fully establish and create the appearance of a thick carpet.
Moss lawns are remarkably drought resistant because they draw moisture from the air. You only need to run your sprinkler for two minutes a day for a spreading moss lawn and less water to maintain a mature lawn. Your moss lawn will not benefit from deep soaking.
Moss lawns are resilient. Moss continues to grow in winter and can even photosynthesize through the snow. Some mosses continue to grow in sub-zero temperatures.
No Muss, No Fuss
If you are inspired by the no muss, no fuss moss lifestyle but don’t have the time or interest in DIY, connect with a local landscaping professional for a serene moss lawn of your own. Prepping for a moss lawn can also be a chore, so leave the leaf and debris removal to the pros.
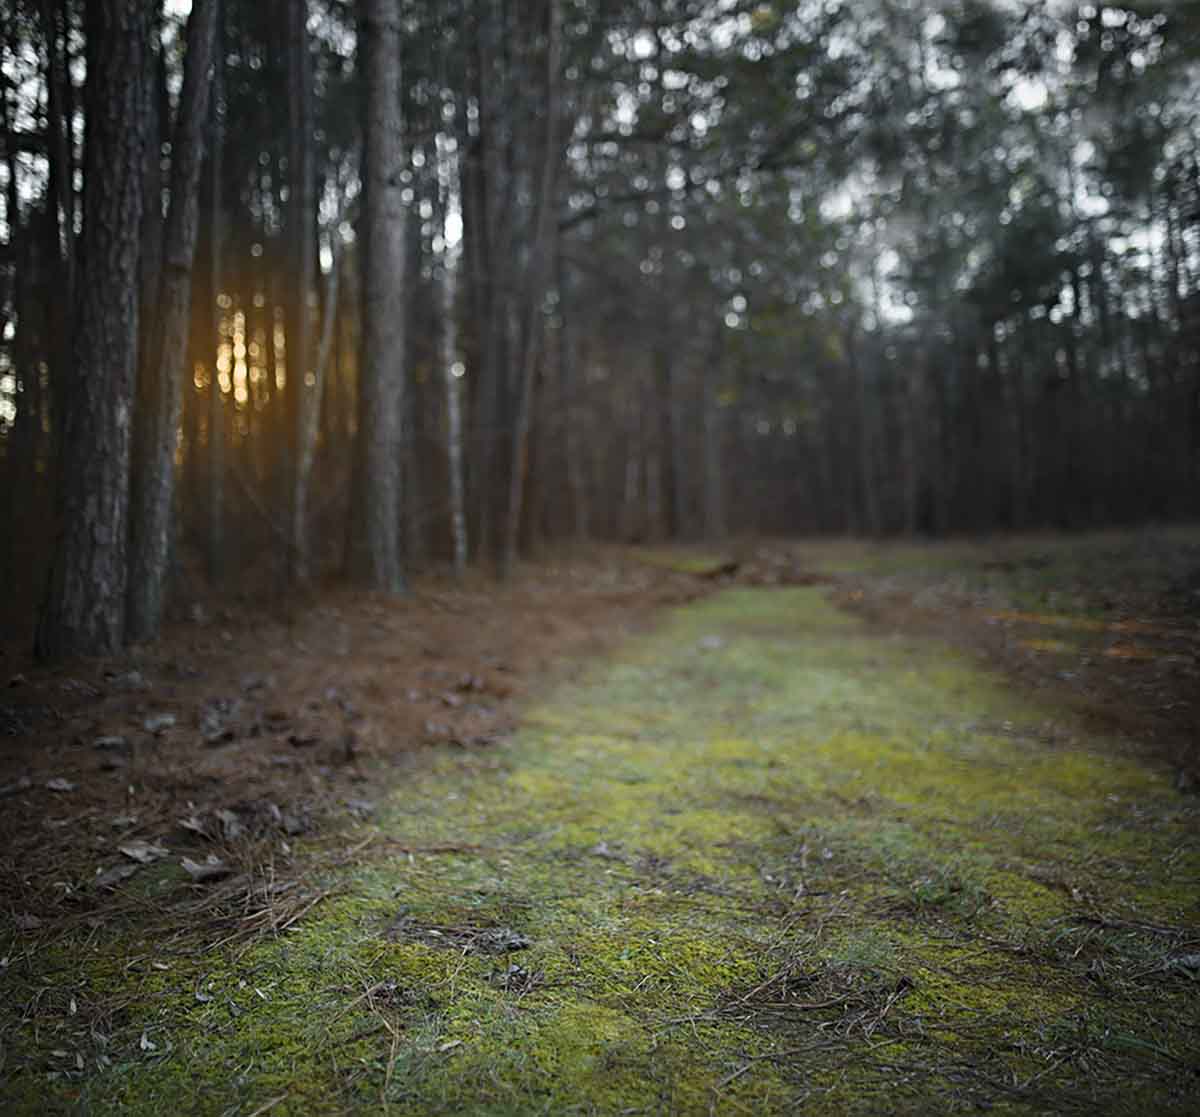
Main Image Credit: Courtesy of Ruth Young / Artist Website