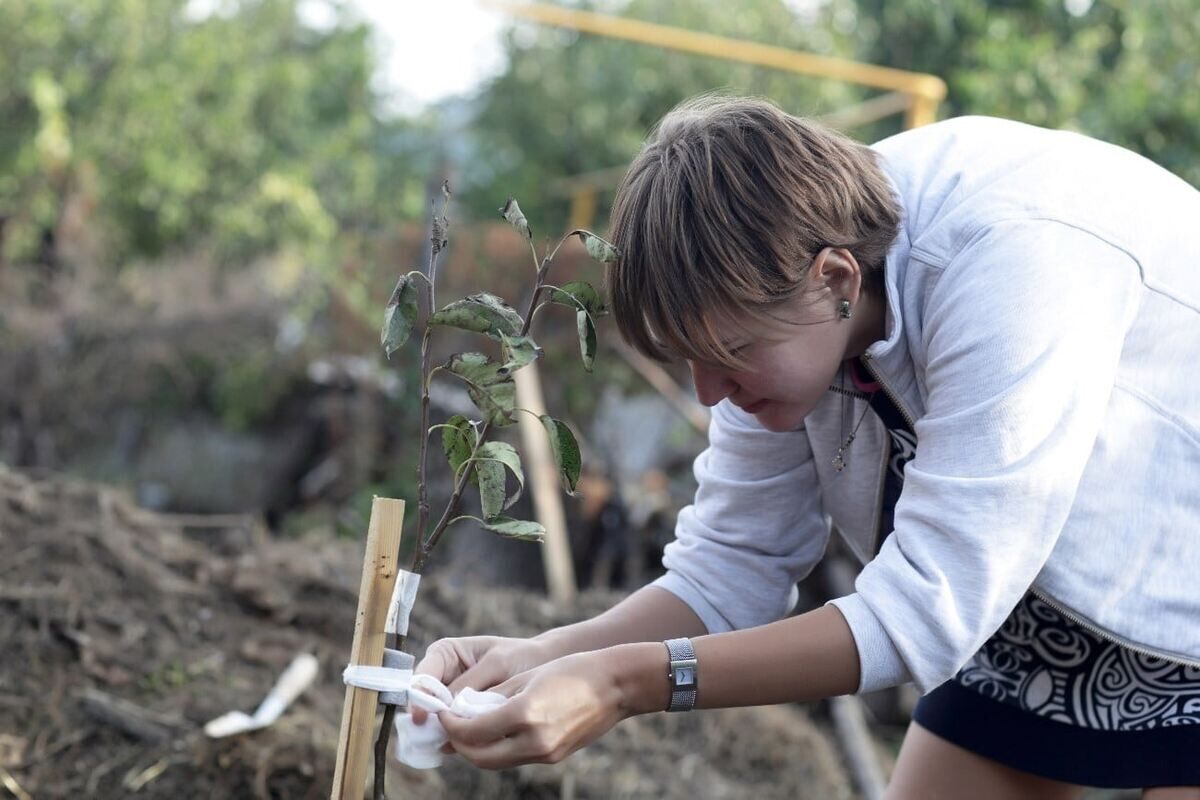
Having fruit trees is a great perk of owning a backyard. And having a guide to planting fruit trees in your backyard is even better. Planting fruit trees requires a little more thought and effort than non-fruit or evergreen trees, but it isn’t difficult if you have the right information.
In this fruit tree planting guide, you will learn when is the best time to plant a fruit tree, how to choose a tree, how to prepare the site, how to plant your fruit tree, and how to grow it to give abundant fruit.
When to Plant Fruit Trees
In the northern U.S., plant fruit trees as soon as the ground thaws in the spring. In the southern U.S., plant fruit trees in early winter.
Northern U.S.: The best time to plant fruit trees in the North is early spring, as early as possible after the frost has left the ground but after it has dried out. Spring planting prevents trees from adversely low temperatures through the winter. Bare-root trees establish well when planted in mid to late spring.
Pro Tip: Dig your shovel into the soil and pull it out. If the soil comes out in clumps that stick to the shovel, wait for the soil to drain further before planting.
Southern U.S.: For those in the South, Texas A&M recommends planting fruit trees in early winter to help fruit trees establish root systems before the end of their dormancy. The golden rule is to try to plant the tree while it is still in its dormant state.
Choosing a Fruit Tree
Regardless of the type of fruit tree you are planting, there are two different buying options: bare-root and container-grown trees. Bare-root trees come with nothing but a bag protecting the roots, while container-grown trees come in a pot. They both have their advantages and disadvantages that should be considered when you’re looking to purchase a tree or trees.
Option 1: Bare-Root
- More economical than container-grown trees
- Widest selection of types of fruit and varieties
- Available to purchase in the late winter, for earlier spring planting
- Not as convenient because they must be planted before they break dormancy and begin growing for the season
Option 2: Container-Grown
- Available later in the spring, so trees may not be able to establish themselves before the hottest part of summer
- More expensive to purchase than bare-root
- Limited varieties are available
- They are often rootbound at the time of purchase, and this can be difficult to ameliorate at the time of transplanting. Container-grown fruit trees have a higher tendency to develop root girdling a decade or two after planting.
- Perform better for fall planting
Select the Best Tree to Purchase
Now that you’ve decided upon bare-root or container-grown, it’s good to know how to look for the best specimen(s) to purchase when you go shopping.
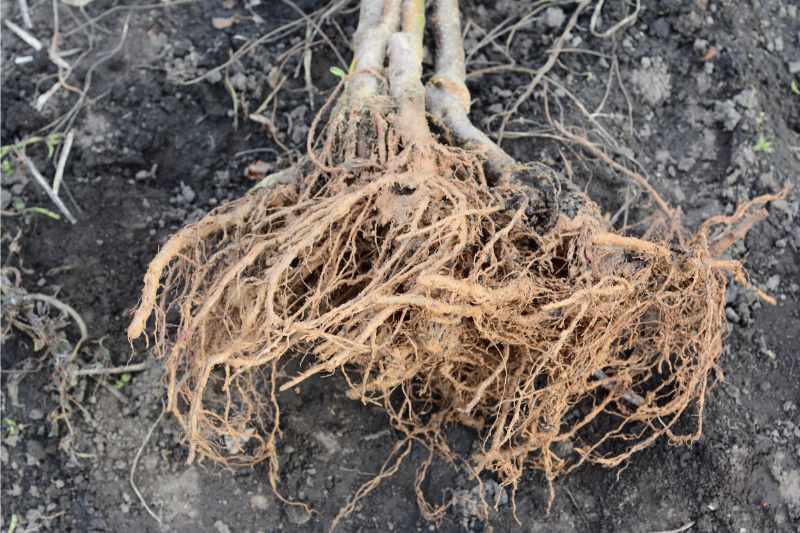
When buying bare-root fruit trees, look for specimens with healthy roots and no major breakage. If purchasing container-grown fruit trees, look for ones that have good leaf color, no damage to the bark, no signs of disease, have spent less than 2 years in the container, and have the lower limb structure you are looking for.
Choose and Prepare a Site
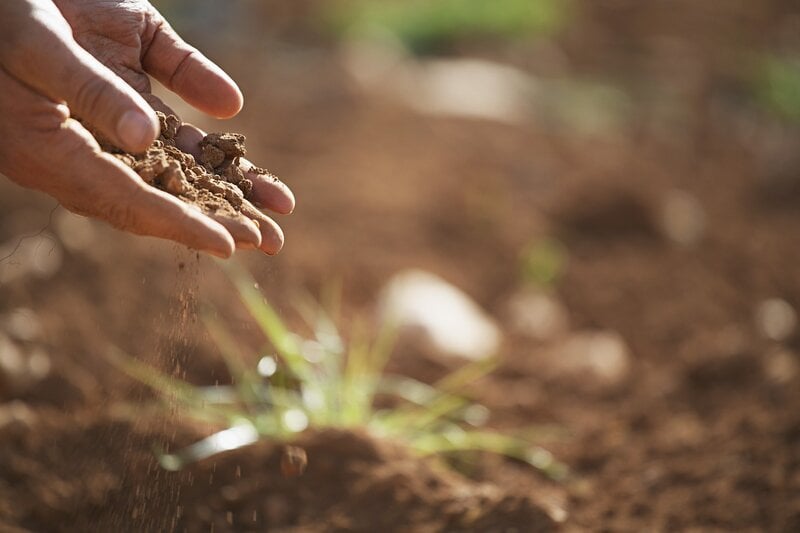
Choose a planting site with the following characteristics:
- Full sun. Trees that grow fruit need a minimum of 8 hours of sunlight daily to produce fruit.
- Well-drained soil
- Soil pH from 6.0 to 7.5
- Protect from strong winds
Dig the Hole
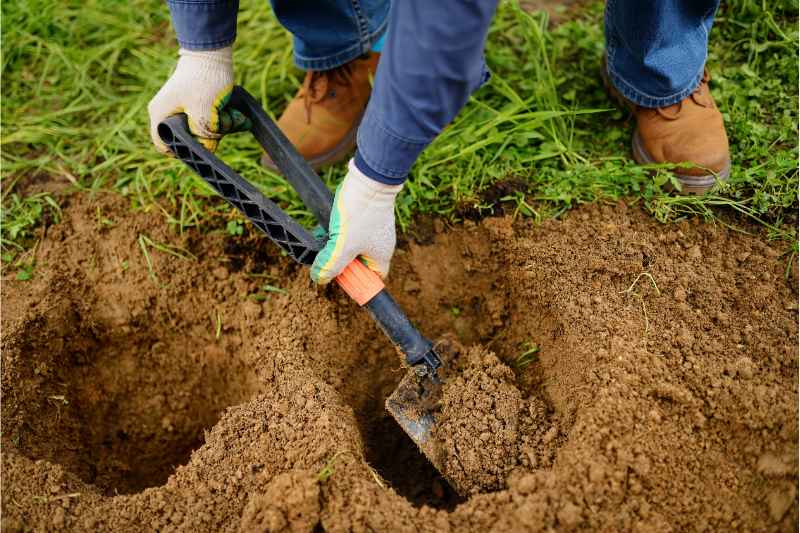
It’s best to dig the hole just before planting to avoid sidewall glazing or the hole filling with water. The most important thing to remember is to dig the hole to fit the roots; don’t force the roots to fit the hole!
Using a sturdy digging shovel (preferably one with a pointed center), dig a hole that is slightly bigger than the root system on your tree. Aim for a hole that is about two to three times as wide as the roots and only 2 to 3 inches deeper, regardless if you are planting a bare-root or a container tree.
Pro tip: If the soil is sandy or has a lot of clay, dig an area much larger than what you will need for the hole, working in a fair amount of rotted manure or finished compost. Do not add fertilizer to the hole, as this encourages the tree roots to stay in this nutrient-rich zone instead of branching out in the surrounding soil to “look” for food.
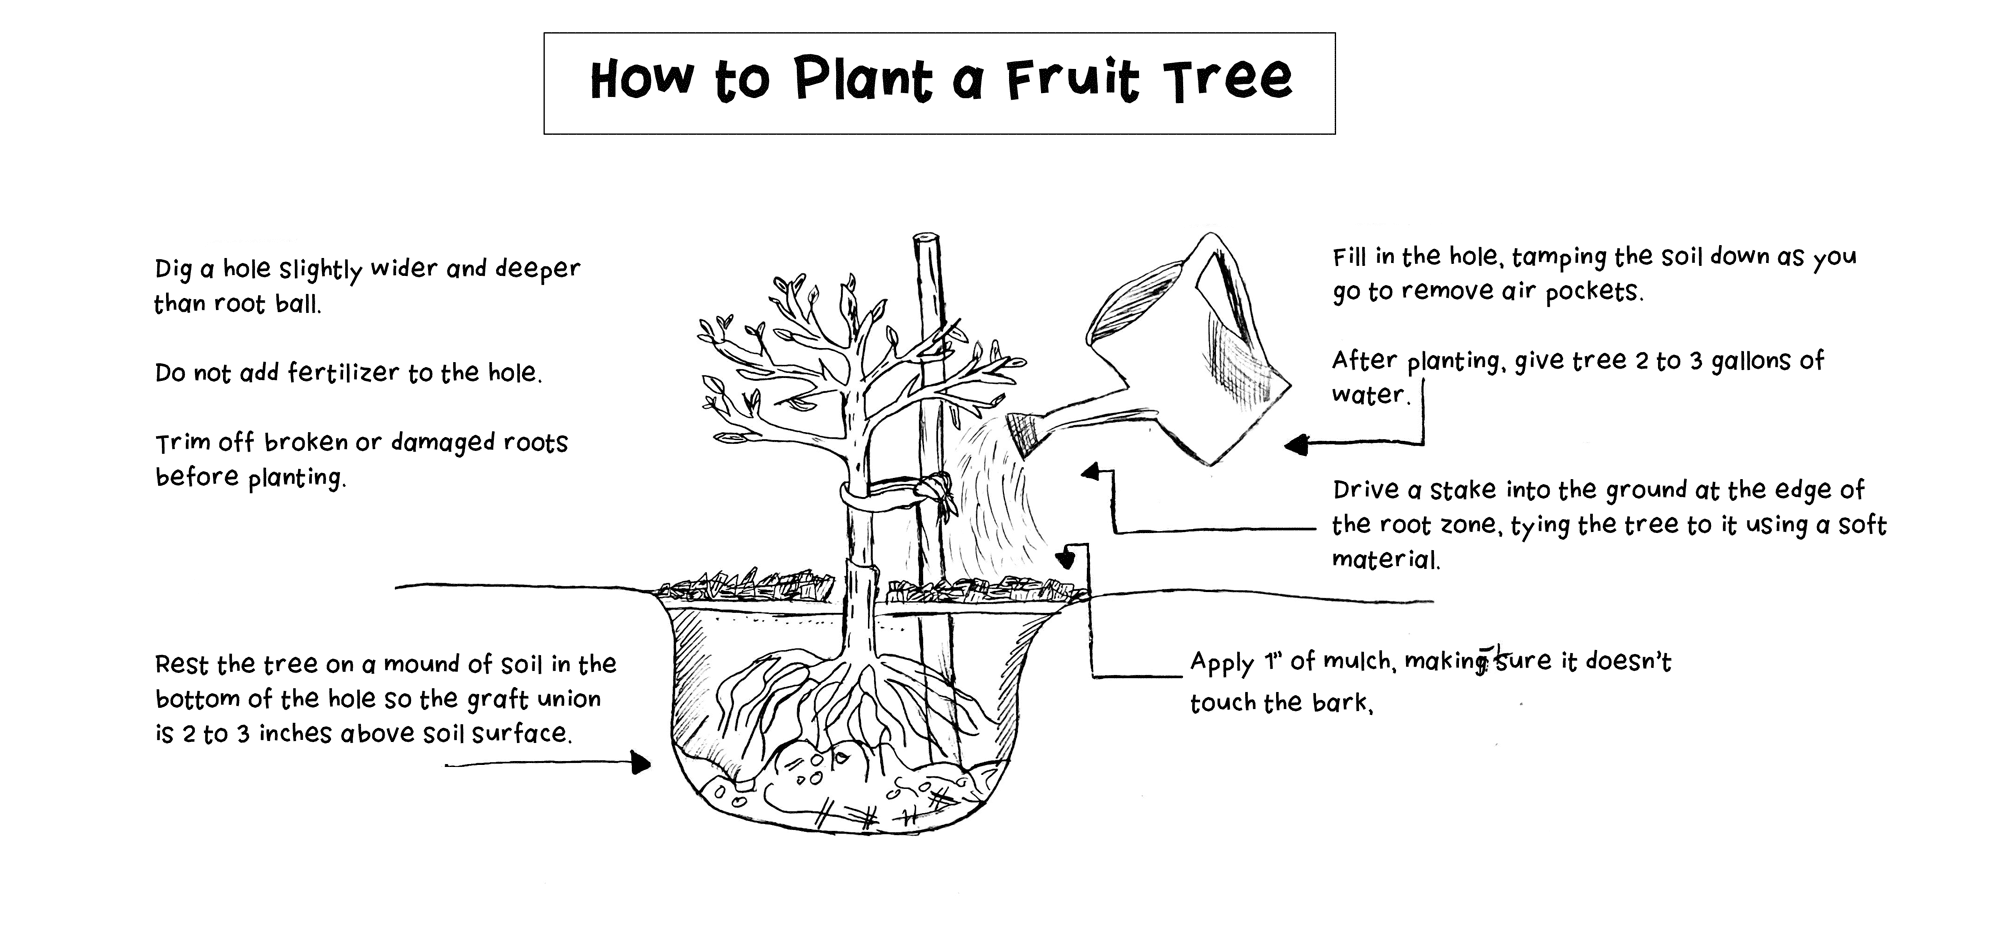
How to Plant a Fruit Tree
The drawing below summarizes the major steps, with many additional details added below.
Supplies you will Need
- Shovel/garden fork
- Tree support & ties
- Hammer
- Fencing if you have deer or rabbits in the area
First, a heads-up: Planting is easier if you have help from someone else, but it can be accomplished with only one person.
Bare-root trees: Put the roots in a bucket of water in a shaded location for 1 to 2 hours prior to planting. Trim off any broken or damaged roots.
Container-grown trees: Carefully remove them from the pot. Shake out as much of the growing media as you can, and splay the roots out as much as possible.
1. Loosen the Sidewalls of the Hole
This can be done by slashing the side of the hole with a spade or shovel, or sticking the garden fork into the sides like you would tenderize meat. Loosening the sidewalls allows the roots to easily penetrate the soil surrounding the hole as the tree grows.
2. Plant Your Tree at the Correct Depth
The depth at which you plant your new fruit tree is critical! Many people plant their trees too deeply, and it severely hinders proper growth. Apple trees have been grafted onto a special rootstock, meaning two different trees (the fruiting portion and the rooting portion) have been carefully joined together to create a hybrid tree.
If this graft is placed below the soil line, the upper fruiting part of the tree will generate roots, a process known as scion rooting, negating the grafting process to result in a tree with a weaker root system.
Before you plant, remove any labels to prevent trunk girdling as it grows larger. Now grab a friend, and let’s start planting:
- Place the root ball in the planting hole so the graft union — the visible spot where the rootstock was grafted to the fruit tree — is slightly above the soil surface line. A good way to ensure this is to lay a piece of lumber, a bamboo cane, or a fence post across the top of the hole to give you a visual indicator of ground level when the hole is filled in.
- Have a friend hold the tree at the appropriate height in the hole while you begin filling in under the roots until it can rest, unassisted, in the bottom of the hole. Once the tree can rest in the hole, spread the roots out evenly and begin the process of filling in the rest of the hole.
3. Fill in the Hole
Gently tamp the soil down with your foot as you fill the hole in, trying to remove all air pockets without compacting the soil around the roots. Create a slight bowl or depression as you reach the top of the hole to allow water to settle naturally around the tree. Make sure you do not mound soil up around the trunk.
4. Provide Support
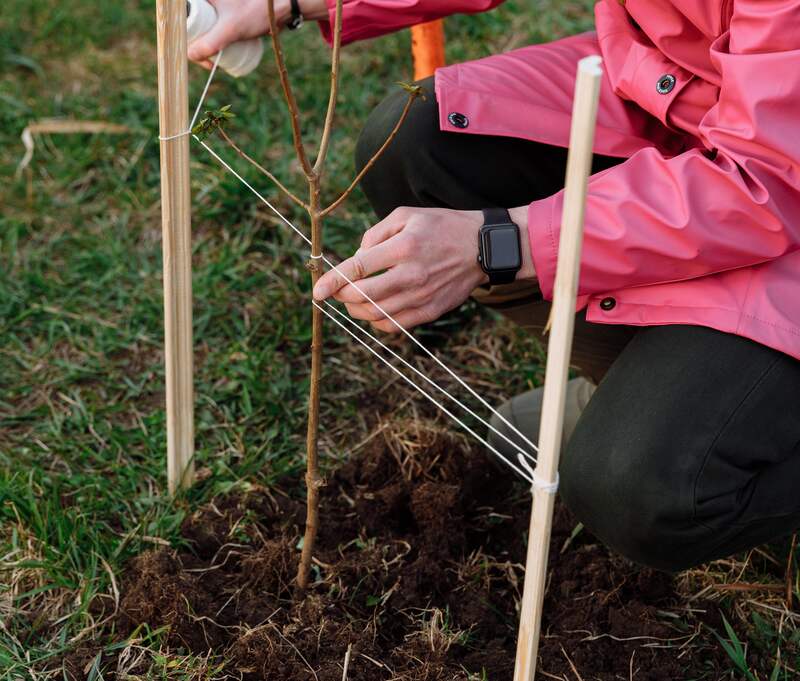
Now that you have successfully planted your tree, let’s talk about how to grow fruit trees into healthy specimens. The first step is to provide support: A newly planted tree needs staking for the first years (two to four) after planting until the trunk is strong enough to support itself, especially if the tree is planted in a site prone to heavy winds.
Here’s how you install a tree support:
- Using your hammer, drive the tree support into the edge of the hole (trying to avoid as many of the roots as possible) either perpendicular to the ground or angled slightly away from the tree trunk.
- Secure the tree to the support along the bottom 3 feet of the trunk. Use ties made from a soft material such as rubber or old nylon stockings.
5. Water the Newly Planted Tree
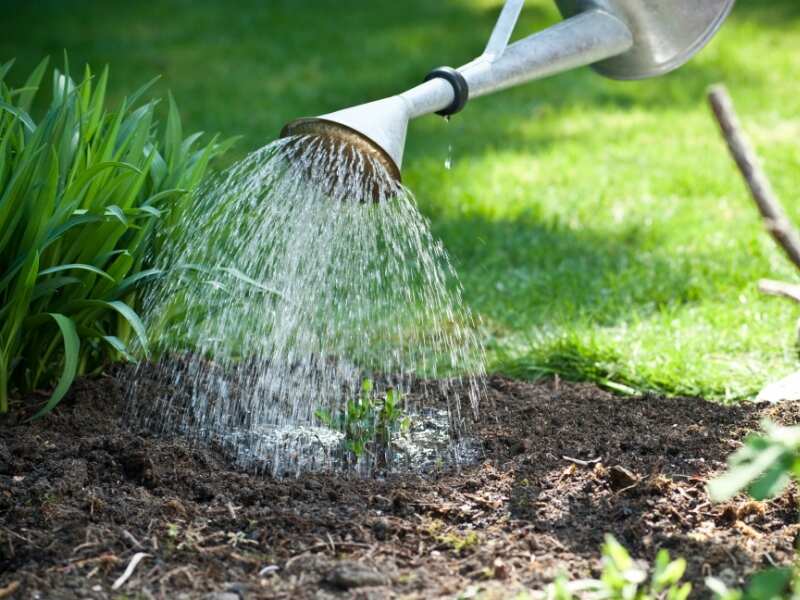
Even if you soaked your bare-root tree prior to planting, all trees need water immediately. Give it 2-5 gallons of water. Here are some tips:
- Go slowly: Let the water absorb before adding more. The water helps settle the soil around the roots, getting rid of any air pockets that may have formed when you were filling the hole.
- Add soil: You may need to add more soil or firm it down again after watering.
6. Mulch Around the Base of the Tree
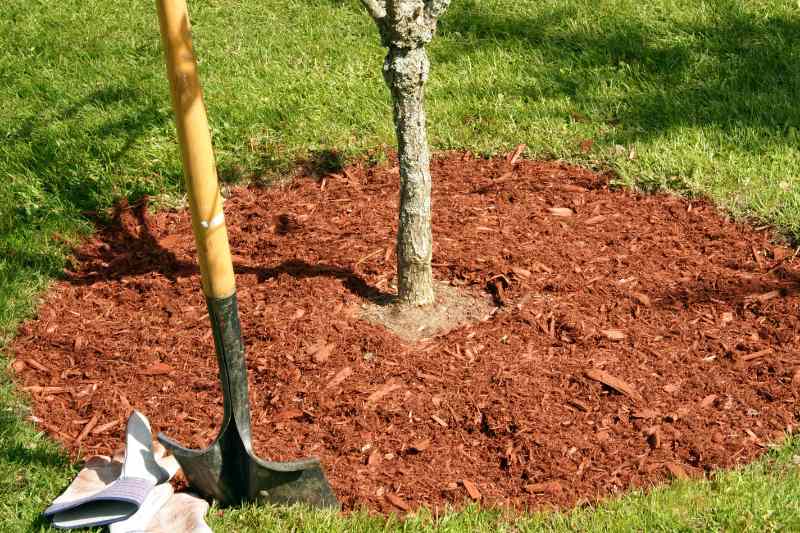
Mulching retains soil moisture in the root zone and minimizes weeds, reducing competition that can slow a new tree’s growth. Use well-rotted manure or finished compost as mulch to a depth of about 1 inch, fanning out to a distance of about 3 feet from the bottom of the trunk.
Pro tip: Always keep the mulch at least 3 inches away from the tree’s trunk, and never let the mulch touch the bark on the tree.
7. Protect your Young Tree from Deer and Rabbits
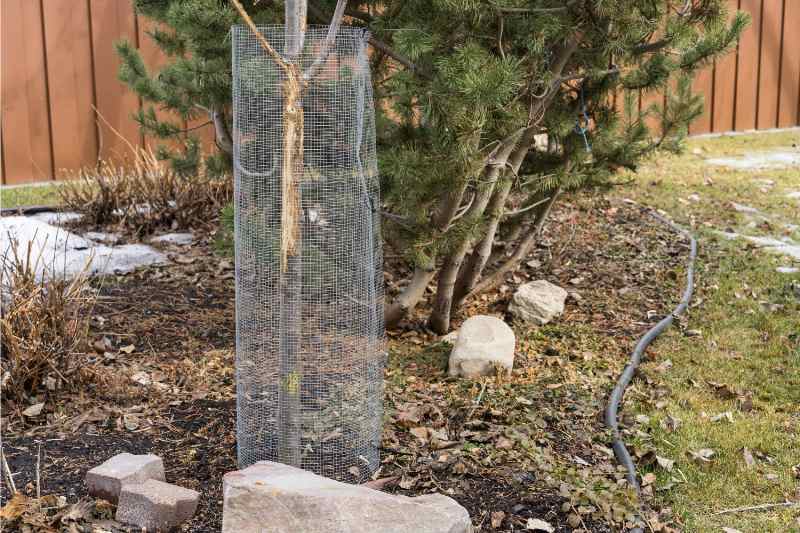
Until its bark toughens, your tree risks being snacked on by deer and Peter Cottontail. If they eat the bark, it will damage your tree, potentially killing it. Chicken wire and other types of fencing provide the best option to keep animals away.
If only rabbits drop by for a meal, a shorter fence close to the trunk will do; deer require taller fencing spaced a couple of feet from the tree to keep them from reaching the higher branches as the tree grows.
Note: You can also check other ways to keep deer out of your yard.
8. Prune your Newly Planted Fruit Tree
Pruning encourages root growth and also side-branching the following spring. A good rule of thumb is to prune the tree to a height of 30 to 36 inches; many apple and pear trees are pruned to create a single, central leader as they grow. Pruning at the right time can also make a difference.
The top bud will grow over time to form the central leader or main trunk of the tree. Remove any branches from the bottom 18 inches of the tree.
Pro Tip: Short on space? Learn how to espalier your fruit tree. Espalier is a space-saving technique that works well against a wall or fence.
9. Water it Well Again the Following Day
The next day, water it well again, giving it another 2-5 gallons. After this point, basic tree care takes over, although pruning apple trees requires some special care. Then begin a schedule where the tree is watered weekly if you are in an area that doesn’t receive at least 1 inch of water weekly through rainfall.
FAQ About Fruit Trees
Now that you know how to plant a fruit tree, here are a few basic questions people have about growing fruit trees:
Can Fruit Trees be Grown from Seed?
Unfortunately, no, for some types of trees, you shouldn’t try to plant them from seeds, although you or your kids may be tempted to try it. This is true for apples and pears especially; there is too much variability in the seeds because of pollination.
Stone fruits such as peaches, apricots, and nectarines are less variable, and you can try to grow one from seed. Your chances of being successful are lower than buying a young tree, but the cost is obviously reduced.
Can Fruit Trees Be Planted in Containers?
Yes, you can plant fruit trees in containers. Cherries, peaches, apples, tangerines, figs, lemons, limes, and fig trees are among the many other fruit trees that thrive in containers. While it opens up the possibility of growing trees in a small space, there are some drawbacks.
If you plant a fruit tree in a container, the overall size of the tree will be much smaller because the root system doesn’t have the space to grow outward, and you won’t see the same amount of fruit production. Trees in containers also have a much shorter lifespan unless you opt for a dwarf variety.
Do You Have to Plant Fruit Trees in Pairs?
Although you often have to plant fruit trees in pairs, you don’t always need to. Most fruit trees need to be pollinated with at least two or three compatible trees. This means, if possible, you should plant a couple of trees to encourage pollination, giving them about 50 feet of space between the trees.
However, if you are in an urban area and there are neighboring yards with apple or crabapple trees, you should be OK to plant only one. If your neighborhood is filled with apple trees, for example, it won’t be an issue for you to have a single tree in your backyard.
The chance of neighboring trees of other fruiting varieties (peach, plum, cherry trees) may not be so high, so either check with neighbors or err on the side of caution and plant a couple.
Fruit Trees: How Many Years to Fruit?
This is one of the biggest drawbacks of planting fruit trees. Fruit trees purchased from a nursery, online retailer, or garden center are typically 1-2 years old at the time of purchase. They take additional years after planting to grow and mature enough before they bear fruit.
The typical time from planting to fruit is:
• Citrus 1-2 years
• Fig: 2-4 years
• Peach 2-4 years
• Plum 3-5 years
• Sour or tart cherry 3-5 years
• Apple trees 4-5 years
• Pear 4-6 years
• Mulberry: 10 years, sorry!
Apples and pear trees grown on dwarf or semi-dwarf rootstock will fruit much earlier, notes Iowa State University Extension and Outreach.
Call the Tree Experts
Fruit trees are a lovely addition to any yard, and they don’t have to be challenging. If you’re worried about your newly planted fruit trees, call a local landscape professional for any assistance, tips, or services.
Main Image Credit: Chubykin Arkady / Shutterstock