| Key Takeaways |
|---|
| • Only cut down a tree yourself if it is healthy, clear of power lines and buildings, and within your skill and equipment level. • Control the direction of the fall with a notch cut on the fall side, then a back cut that leaves an uncut hinge. • Set up two escape routes, wear full protective gear, and never cut a tree down alone. |
You can cut down a tree yourself by sizing up the hazards, gearing up, cutting a directional notch, and making a controlled felling cut, as long as the tree is small, healthy, and clear of anything it could hit.
No Paul Bunyan required. If you’re comfortable with a chainsaw and you’re trying to decide whether to cut or call a pro, here’s how to cut down a tree safely in 10 steps.
But if tree cutting feels like too much for a weekend DIY project, or you’d rather a pro handle it, you can skip to Step 10 and let LawnStarter connect you with local tree care pros.
1. Decide if It’s Safe
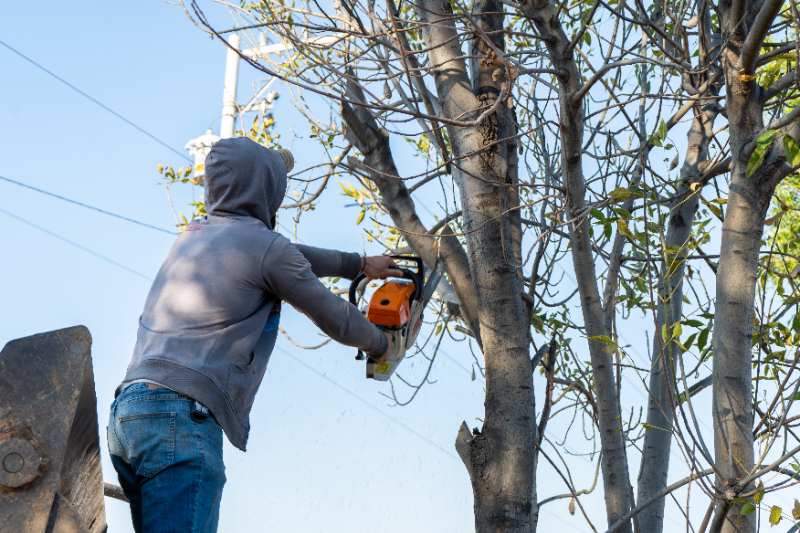
It is safe to cut down a tree yourself only when it is healthy, well clear of power lines and structures, and small enough for your skill and equipment. Anything leaning, rotted, or near a target belongs to a pro.
However, you need to take safety precautions from the start.
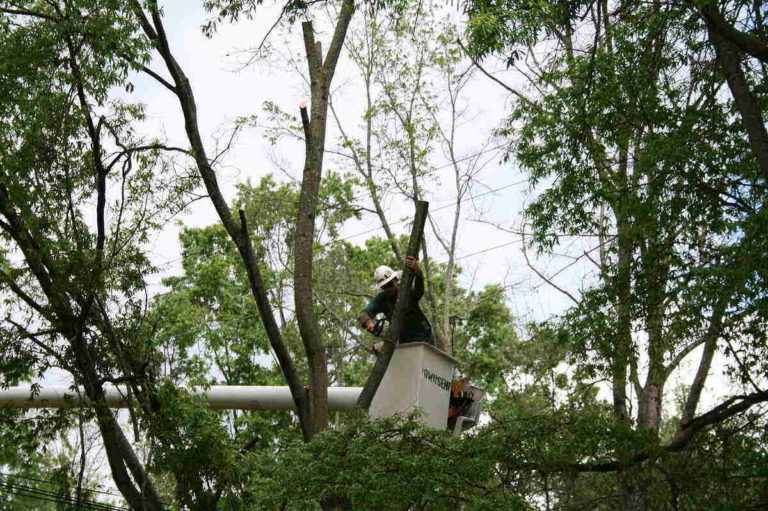
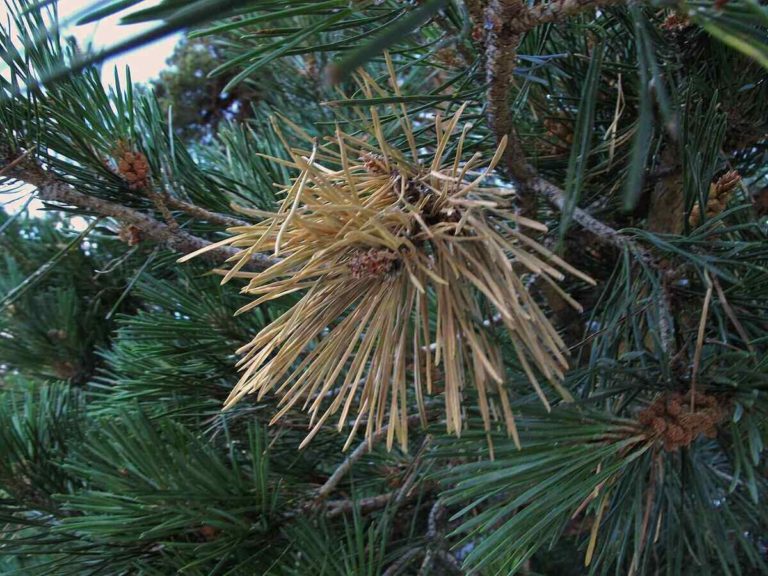
Assess the tree’s condition. You’ve already given the tree a checkup to see if it needs to come down, but take another look. If it has broken, loose, or dead branches, or if your tree is diseased or dying, skip to the final step. A dead tree and its branches can come down on you.
Walk around the tree and your property and look for obstructions, including buildings, electrical boxes, and heavy growth.
Use caution if power lines are nearby. Don’t attempt to cut down a tree if there’s any chance it could fall on the lines, or your equipment could touch them. For dangerous or large trees, call your power company.
Estimate the fall area and determine where the tree will land. If any obstacle is in the way, skip to Step 10.
Know what not to do. Cutting down trees is dangerous work, so never cut a tree that leans hard toward a target, is rotted or hollow, or is tangled in other trees. When in doubt, walk away and hire a pro.
See Related: How to Save a Dying Tree
2. Gather Equipment
Next, assemble the proper safety gear. Here’s what you need:
A hard hat
Safety glasses
Hearing protection
Work gloves
A chainsaw
Felling wedges
Note: You may need a permit from your homeowners association or city, so check local regulations before cutting down a tree with a chainsaw. For safety, enlist a trusted friend or family member. Two sets of eyes are always better than one, and you need someone to yell, “TIMBER.”
See Related: What Tools Do You Need to Trim Trees?
3. Estimate the Fall
It can be hard to measure the exact height of the tree and determine where it may fall. Assess the tree for uneven growth, whether from disease, overcrowding, or another factor. If the tree is heavier on one side, it will fall that way regardless of your attempts to redirect it.
For a better estimate, hold an ax at arm’s length, and close one eye.
Walk until the top and bottom of the tree are aligned with the top and bottom of your ax.
Where you stand is roughly where the top of the tree will fall.
4. Clear Escape Routes
Make sure you have a safe path to retreat from the worksite. It’s best to have two routes away from the direction of the falling tree, set at about a 45-degree angle from each other, and clear of debris. If something goes wrong, you want a direct path to safety.
5. Plan the Notch
To make the tree fall in the desired direction, cut the notch on the “fall side” of the tree, which is typically the heaviest side. This helps the tree fall where you intend rather than the opposite way.
Cut at a comfortable working height. If the stump seems too big, remember you can cut down the base of the tree later.
6. Cut the Notch
For trees 6 inches in diameter or smaller, a single cut through the trunk may be enough. Larger trees need a notch and a back cut, with the notch cut about one-third of the way into the trunk.
Start with the top cut, moving at about a 45-degree angle downward.
Cut about one-third of the way into the trunk.
Below that, make a second cut parallel to the ground. This horizontal cut should come close to meeting the first cut.
7. Insert Wedges
Depending on the tree, wedges may be necessary. If the tree’s diameter is more than 18 inches, wedges help prevent your saw from getting pinched. You can buy them at any home supply store.
Once a notch is cut, begin the felling cut (Step 8).
As soon as you’ve cut enough to insert wedges, stop cutting and pound them in, then complete the cut.
8. Make the Felling Cut
This is what will actually make the tree fall.
Move to the opposite side of the tree, away from the notch.
About an inch or more above the notch, begin an even back cut. Leave about 10% of the trunk’s width uncut to create a hinge, so you will not cut all the way through.
As the tree starts to move, stop the cut and take one of the paths to safety.
9. Remove Branches and Cut Into Firewood
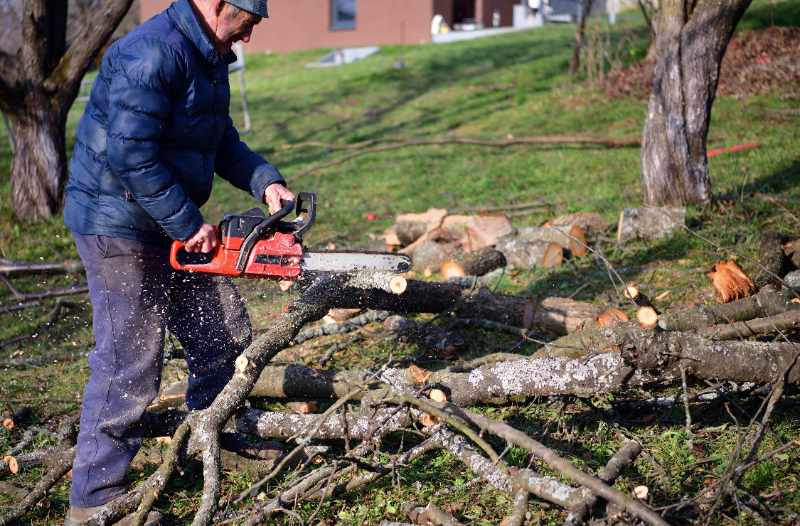
Once the tree is down, it’s time for cleanup, which is a two-step process:
Limbing. Simply put, you remove the branches from the trunk. But take a few precautions:
Evaluate the area. Make sure the tree isn’t hanging from another tree, wedged between trees, or resting on a tree that could spring up and hit you.
Stand on the uphill side of the tree and be sure of your footing.
Start at the bottom and work your way up, cutting branches on the opposite side of the tree.
Bucking. This is where you cut the tree into sections. A few tips:
Measure the size of your fireplace, stove, or fire pit before you start.
Start from the uphill side and be sure of your footing in case the log should roll.
Cut about three-quarters of the way through to avoid touching the ground with your saw. Then roll the trunk and complete the cut.
Don’t rush to bust out the marshmallows when you finish. Green wood doesn’t burn well; in a fireplace, it can cause creosote buildup that can lead to a fire. So give your wood six to 12 months to season properly.
And remember, there are specific rules about transporting firewood to prevent the spread of pests.
10. Get Expert Tree-Cutting Help
Cutting down a large tree is often reason enough to call in a professional. If you’re still on the fence, ask yourself some questions:
Can I ensure my safety and the safety of others when cutting a tree down?
Can I ensure the safety of my property or my neighbors’ property?
Do I have the proper equipment for effectively cutting trees?
Do I feel confident in my skills?
If the answer is “no” to any of those questions, hire a licensed and insured arborist.
Another question to ask yourself is, “How much will this cost?” Professional tree removal costs around $385 to $1,070 for most homeowners. To get an idea of how much professional tree services cost, check out a few of our pricing guides:
Once you’ve made your decision, round up the kids to watch the work, just make sure they keep their distance.
FAQs
Hickory, oak (red or white), black locust, and honeylocust have denser wood and produce more heat when burned, according to the University of Arkansas. Heat value depends on the density and moisture content of the wood. The more dense the wood, the more heat it releases.
Chainsaws are great tools, but operating them can be hazardous. A few chainsaw safety tips from OSHA:
• Check controls, chain tension, and all bolts and handles to make sure everything works properly.
• Never try to fuel a running or hot saw.
• Wear proper personal protective equipment, including closed-toed shoes and hearing and eye protection.
• Check the area for dirt, rocks, and debris before cutting, and look for nails or other metal objects in the tree.
A few tips from Cornell University:
• Stack the wood off the ground so it doesn’t pick up moisture. Build your own rack or buy one.
• Store it away from the house. Firewood is a good hiding place for rodents, bugs, and other critters.
• Cover the top of the pile to keep off snow and rain, but leave the ends open so air can get in.
Call In the Pros
If, after reading this guide, you’ve decided that felling a tree is not a DIY project, then hire one of LawnStarter’s tree care pros. They will have the knowledge and experience to take down that tree cleanly and safely. Then you can plan what to do with that new space in your yard.
Read More: How to Remove a Tree Stump (5 Ways)
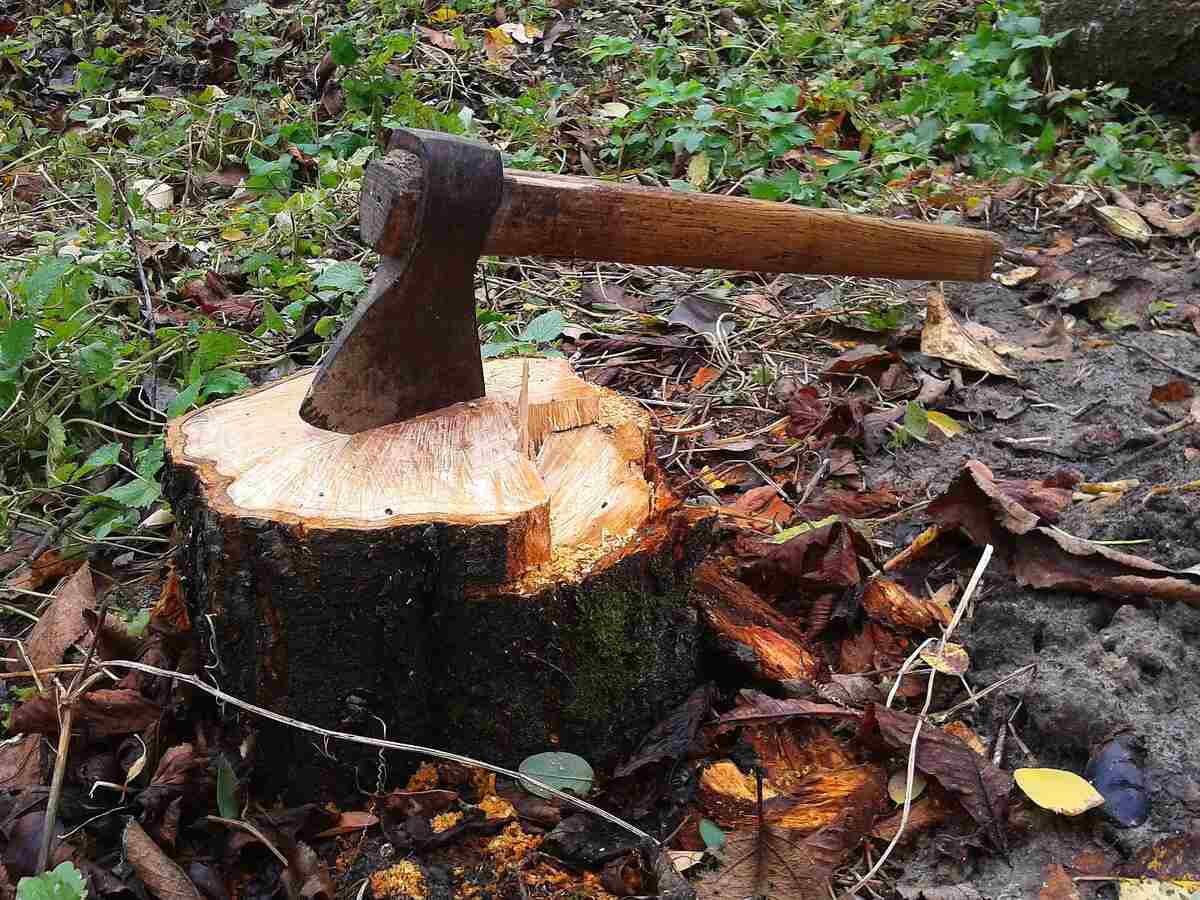
Main Image: Axe in a freshly felled tree. Photo Credit: Pixnio
Related Posts: