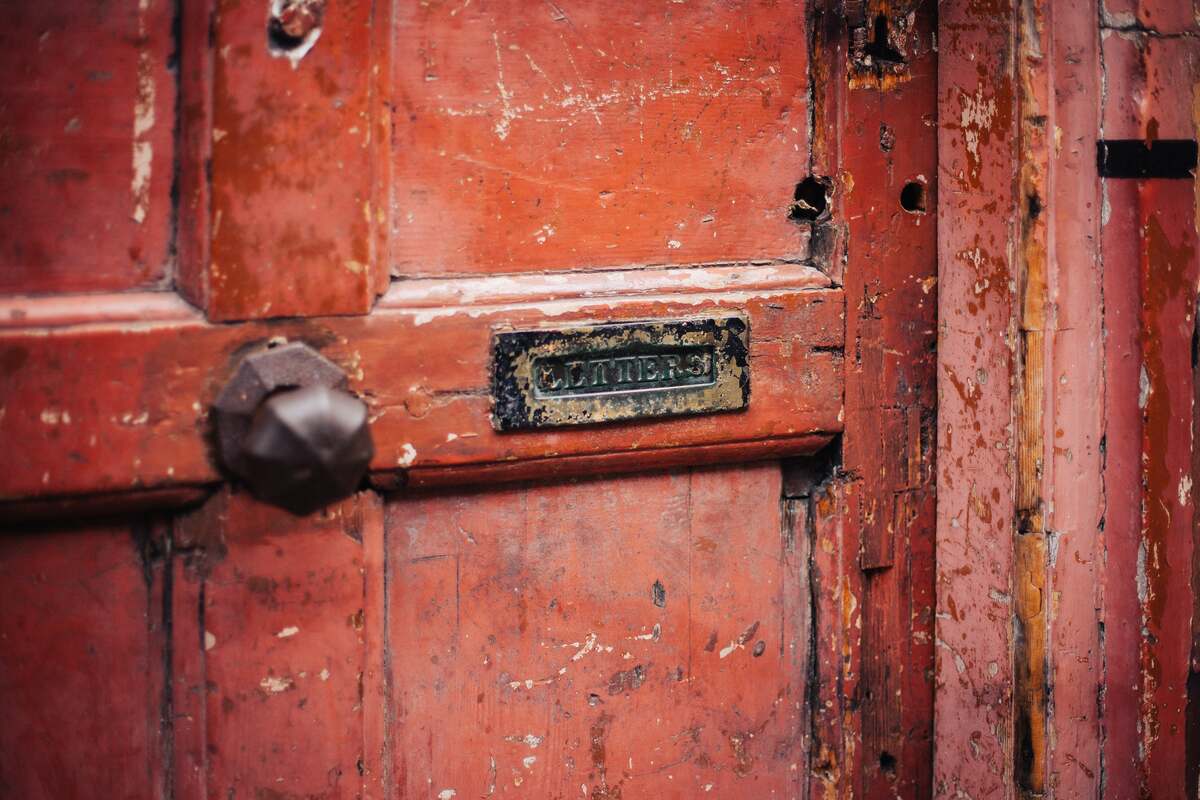
The first thing people notice when they approach your home is your door, and believe me, a weather-damaged entry door in disrepair can create a negative first impression on your guests.
Thankfully, bringing a wooden door back to its full glory is a project you can take on yourself. It’s much cheaper than professional door refinishing and is reasonably straightforward.
Why Wood Doors Deteriorate
Unlike interior doors safely tucked inside your home, exterior doors are battered by the elements daily. Constant exposure to sunlight’s UV rays, wind, snow, and rain wear down a door’s finish over time.
Most homeowners can expect to refinish a wooden exterior door every 4-5 years.
This timeframe is variable and highly dependent on your local conditions. Homes at higher elevations experience more intense sunlight, so doors may need refinishing quicker. Door finishes on coastal homes also deteriorate faster from the saltwater.
How Much Does Refinishing an Exterior Wooden Door Cost?
Refinishing a door is going to be considerably cheaper than replacing it entirely. The exact costs will vary depending on the supplies you have on hand (e.g., sander, sandpapers, hand tools, drop cloths, brushes, etc.) and the type of finish you choose.
For materials alone, expect to pay less than $50 for your chosen finish and polyurethane—you’ll only need a quart of each. Sans a power sander and sawhorses, the other supplies should cost about the same or less.
Should Your Door Be Replaced Instead?
Hold on a minute, though! Before you begin a refinishing project, consider if you need to replace the door instead of repainting or restaining it.
Note: On average, you can expect a pine door to last 20 years, a cedar door to last 40 years, and a mahogany door to last 60 years.
Regardless of age, it’s time for a new exterior door if it shows any of the following signs.
- Moisture damage
- Cracks or chips in the wood.
- Space between the door and frame lets in light, insects, or drafts.
- Air leaks are contributing to higher energy costs.
If you need a new door, check out our pricing guides on installing an exterior wood or steel door.
Choosing a Finish For Your Door
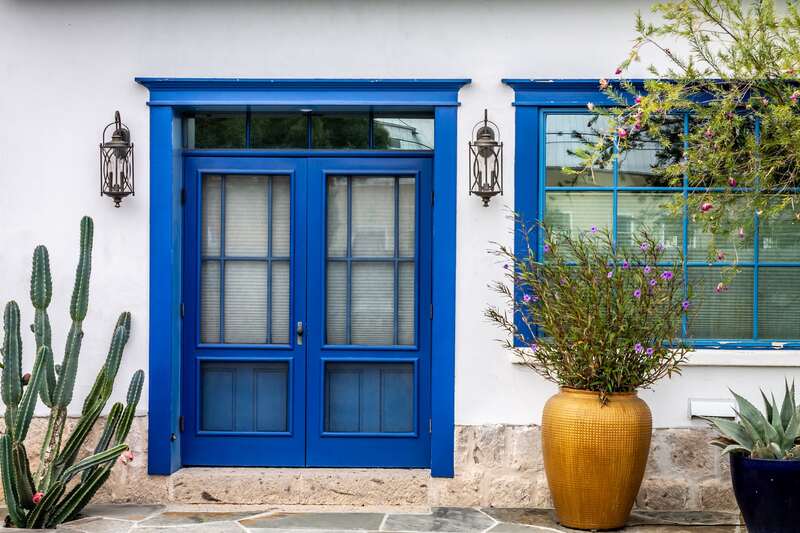
One of the benefits of refinishing your wooden exterior door is the choices you have available. You can stick with a finish like the one you’re removing or give your wood front door a makeover and take its aesthetic in a completely different direction.
Paint, Stain, or Spar Varnish?
There are three options when it comes to finishes for your exterior wooden door: paint, wood stain, and spar varnish. Each has advantages and drawbacks.
Pros and Cons of Painting Your Exterior Door
Exterior paint is practical, durable, and weather-resistant. It can provide excellent protection from the sun, wind, and weather.
Pros:
- Wider selection of colors.
- Inexpensive to purchase.
- Easy to use.
- Clean-up only takes soap and water.
- Less odor since they aren’t solvent-based.
Cons:
- Paint covers the natural grain of the wood.
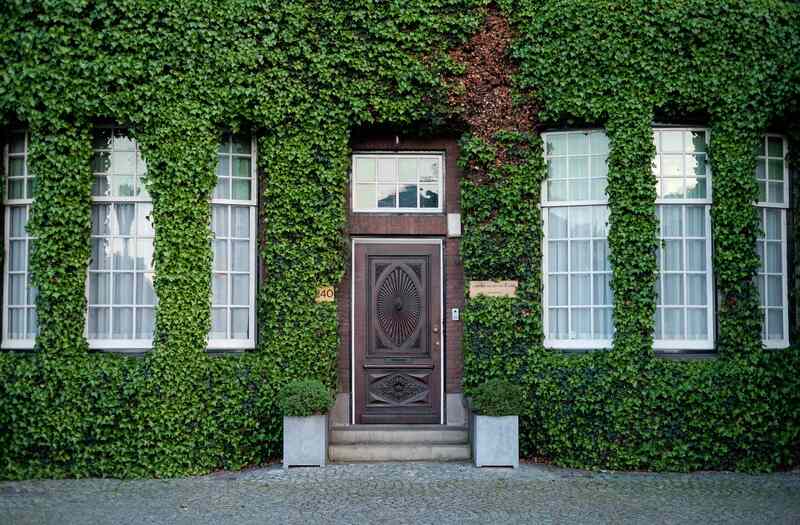
Pros and Cons of Staining Your Exterior Door
Staining your wooden door provides a classic look that adds elegance and formality to your home. When properly applied and sealed, it seals off the wood pores, offering durable protection from the elements.
Pros:
- Shows off the door’s wood grain.
- Available in an expanded range of colors.
- Relatively inexpensive.
Cons:
- Harder to work with than paint.
- Cleaning up is more involved.
- Need more ventilation due to the smell.
Pros and Cons of Using Spar Varnish on Your Exterior Door
Spar varnish is a specialized product used in the marine industry to protect the long wooden poles, or spars, that support a ship’s sails. It dries to a glossy or satin finish and is formulated to withstand outdoor use and UV exposure.
Pros:
- Formulated for outdoor use.
- Has added UV protection.
- Self-leveling.
Cons:
- Most expensive option.
- Oil-based, so you need solvent for cleanup and work in a well-ventilated area.
Materials & Supplies Needed
Save yourself time and hassle by ensuring you have the following on hand before starting your project. It’s never fun to stop what you’re doing to make an emergency trip to the hardware store.
- Phillips head screwdriver
- Nail or punch tool
- Hammer
- Sawhorses
- Plastic sheeting or drop cloth
- Random-orbit sander
- Sandpaper in various grits
- Shop vac
- Paint scraper
- Tack cloth
- Paintbrushes
- Paint, stain, or spar varnish
- Polyurethane topcoat
- Eye protection
- Mask
- Rubber gloves
- Mineral spirits
Step-by-Step Instructions
Refinishing an exterior door has many similar steps to any other painting or staining project. However, a key component to working with doors is taking them off the door frame for part of the work.
It will take you a couple of days to refinish the door completely, but if you start working early in the day, you should be able to rehang it by the afternoon.
Always wear protective eyewear and a mask when working on home DIY projects. Wear rubber gloves when painting or staining, and cover your arms with long sleeves.
- Remove Door From the Opening
The first step in your refinishing project is to take the door off its hinges, so it isn’t on the door frame.
IMPORTANT: This step can be tricky. Use caution to avoid damaging the door or hurting yourself.
To separate the hinges into two pieces, and remove the door, you need to remove the hinge pin. Make sure the door is closed and tightly latched, or you can leave it open and stabilize it with a rolled-up towel under the door.
Place a nail or punch tool on the bottom of the hinge in the center of the pin. Use the hammer on the nail or punch to push the hinge pin up and out. Once out, carefully remove the door.
- Take Off the Door Hardware
It may be tempting to leave the hardware on the door and use painter’s tape to keep it clean, but do yourself a favor. Carefully remove the hardware—door knocker, handle, deadbolt, and peephole. If your door has a metal kick plate, take it off too.
Put everything in a plastic zip-top bag, storing it out of the way.
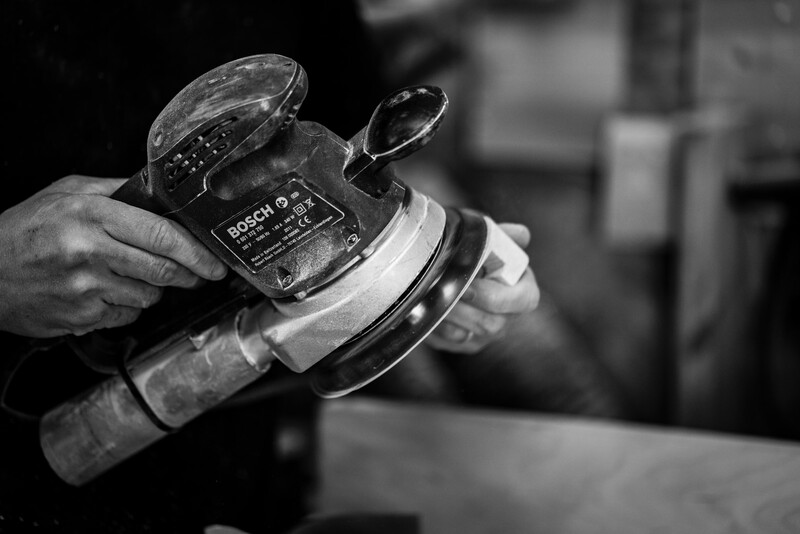
- Sand the Old Finish From the Flats
Fit your orbital sander with 80-grit sandpaper to remove the existing finish from the door’s flat surfaces. Sand down to the bare wood, and don’t forget the edges!
Random-orbit sanders work in a combined movement pattern, so they don’t create swirls or circular marks on your door.
Sand again using 100-grit paper, and then finally, 120-grit.
- Prep the Moldings & Detail Work
If your door has scrolls or detailed designs, use a small, sharp scraper to remove the dirt, debris, and finish between the narrow profiles and the corners of the details. Work carefully, so you avoid gouging the wood or hurting yourself.
Always work with the wood grain, and pull the tool towards you using both hands, so you apply even pressure.
- Hand-Sand Profiles
To sand the profiles and details cut a sheet of 100-grit sandpaper into strips. Fold the paper in half and use it in a back-and-forth motion to sand those grooves and details.
If you’re having trouble getting into places, the edge of a sanding sponge may work better.
- Clean Up Sanding Dust
Vacuum up all the sanding dust from the door and your workspace floor. Knock the dust off yourself, then wipe the door down with a tack cloth. Make sure to get the dust out of the details and tiny grooves.
- Seal Door Edges
Before putting the door back on the hinges, you’ll finish the door’s top, bottom, and side edges. Use long brush strokes, work on one side at a time, applying thin coats.
If you’ve never stained before, following the label directions closely is critical. Use your brush to lay down the stain, let it set for 3 minutes, and then remove the excess with a lint-free rag. If you don’t remove the excess stain, it will turn gummy and make a mess.
When the edges have dried, you can rehang the door without damaging the finish along the top or bottom.
- Rehang Door in the Opening
Rehanging the door is often slightly more challenging than taking it off the hinges. This process is the opposite of removing it. However, you may need an extra set of hands to help lift the door into place.
To rehang the door, lift it to the door jamb and slide the two hinges back together, so they interlocked. Use your hammer and punch tool to reinstall the hinge pin, ensuring the hinge pin cap is at the top.
- Apply the First Coat of Finish
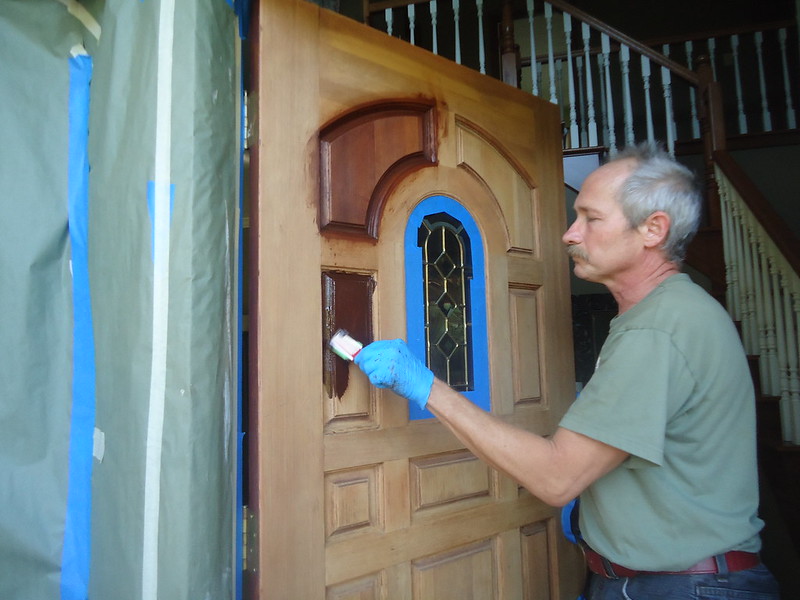
With the door back in the frame, it’s time to put the first coat of finish on it. Before you start working, take a minute to lay a drop cloth or plastic sheeting under the entire door to protect your entryway floors. Tape off glass panels, covering them in plastic or paper.
You always want to paint or stain a door in a specific order.
- Detailed panels or panels created between the vertical and horizontal rails. Coat recessed areas first and then flat surfaces.
- Vertical rails down the center of the door.
- Horizontal rails at the top, middle, and bottom of the door.
- Vertical rails, or stiles, on the outer edge of the flat door panel.
- Apply a Second Coat of Finish
Let the finish dry overnight (or as long as recommended on the product label). Once dried, gently sand it by hand using 220-grit sandpaper. This sanding removes any dust, dirt, or debris that landed on the wet finish and gives the next coat something to grip.
After sanding, follow the same order as the first coat.
- Protect Finish With a Clear Coat
The next day, add a coat of clear polyurethane over the finish to protect your door from scuffs, dings, water, and the sun. Again, follow the order listed above.
A little bit of extra work here will extend the life of your new finish, giving you more time until you tackle this project again.
- Reinstall Hardware
Now that your door is completely refinished, it’s time to reattach the hardware to have a functioning door again!
Reinstall the peep viewer, door knocker, handle, and deadbolt using your screwdrivers. Tighten screws until they are snug but be careful not to strip the heads or splinter the wood by overtightening.
- Step Back and Admire Your Work
Once your project is complete, take a few steps back and congratulate yourself on a job well done! Your newly refinished door is protected from the elements for a few years and improves the look of your entryway.
Tips and Tricks for Refinishing a Door
- When it’s time to remove or rehang the door, you may want a friend or family member to help.
- Preparing the wood properly is critical for achieving a professional-looking finish. Don’t skimp on the prep—you’ll be thankful later for taking the time to prep the door correctly.
- When sanding the flats on your door, there isn’t a need to go any finer than 120-grit sandpaper. A finer grit will close off the wood pores and prevent the finish from adhering to the door’s surface.
- Make sure the air temperature is within the range listed as appropriate on your can of varnish or paint.
- Work with high-quality brushes designated for the type of finish you’re using.
- Before staining, soak a new China-bristle brush (a natural hog bristle) for a minute in paint thinner, then knock off the excess.
- Stir your paint, stain, varnish, or polyurethane before applying it to the door. Never shake the product because this adds unwanted bubbles.
- Always apply multiple thin coats of finish instead of one thick coat.
- If sanding creates tiny balls of finish instead of a fine white sanding powder, your finish needs more time to harden.
FAQ
You can refinish a door without removing it, but it is more challenging and may not turn out as well. Removing the old finish when the door is flat on sawhorses is easier. The edges are also easier to seal when laying flat and don’t have the hinges attached.
No, you aren’t required to put a clear coat of polyurethane over the paint, but it is beneficial. The polyurethane helps to protect the paint from chipping or scratching, so the finish stays nicer for a longer time. It also protects the door from damaging UV rays and moisture.
Stripping the old finish can be done using a chemical product instead of sandpaper. Which one you choose is a personal preference. Sanding is cheaper but is messy and labor-intensive. Chemical strippers are less work, but you must take proper safety precautions and follow the product directions carefully.
You can bring the door inside when you take it off the frame and work on it in your home. Keep in mind, though, that sanding makes a mess, and stain/varnish gives off strong smells. Because of these two reasons, it is best to work outside or in the garage if possible. If you need to work indoors, use plastic sheeting to tape off doorways to your work area and cover surfaces to make dust cleanup easier.
Refinishing your wooden exterior door can add new life to the front of your home, and protect the door from the elements. If you need assistance at any point, reach out to the pros for help!
Main Image Credit: Unsplash