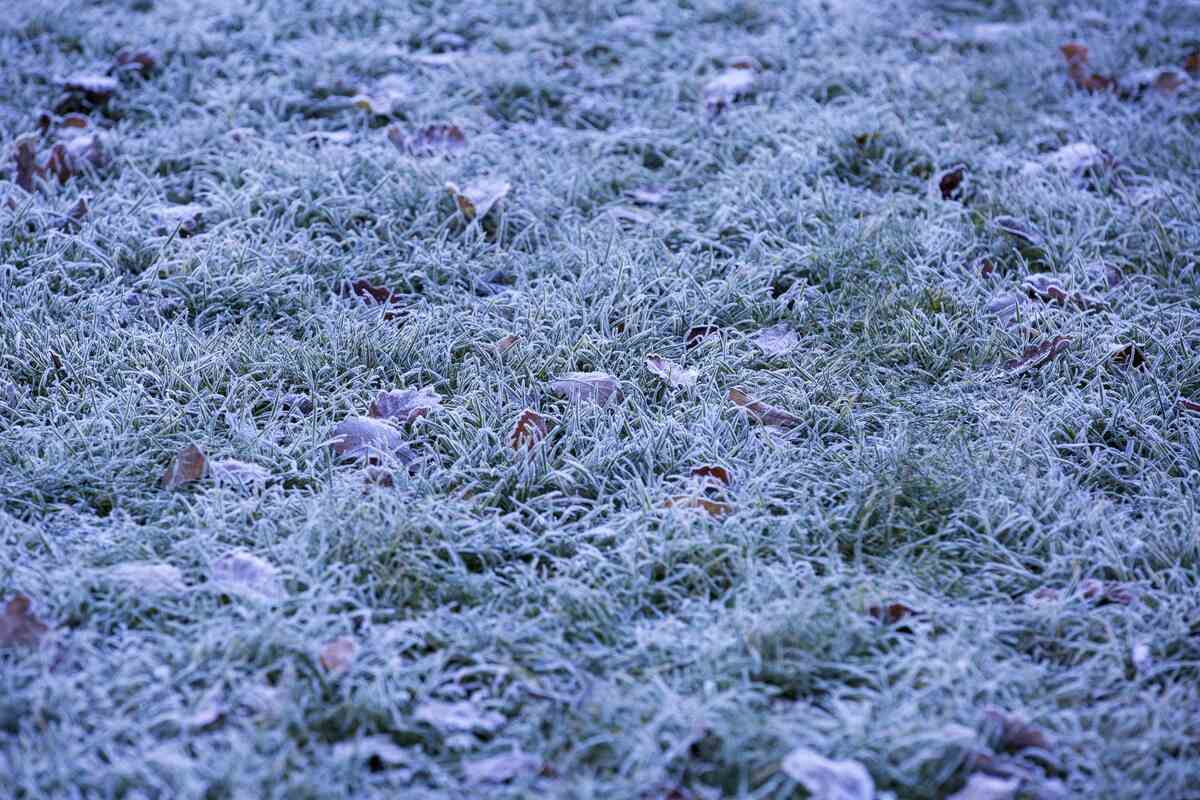
Winter can be just as hard on Austin-area lawns as those hot, dry summer months. Winter lawn care tips for Austin include removing leaves, watering less, and staying off your grass as much as possible.
So grab your rake of leaf blower, and let’s get started…
1. Winterize Your Lawn
Winterizing your lawn means preparing it for the cooler weather ahead. The best time to winterize your lawn in Austin is in late October or early November when temperatures are still comfortably warm.
To winterize your Austin lawn:
- Adjust your mower height a bit higher in fall.
- Apply fertilizer so your lawn stays healthy and strong.
- Get rid of leaves when they start to pile up on your lawn.
Here are the details:
Set Your Mower Height a Bit Higher: Use a higher setting on your mower than you use in summer. Generally, the ideal winter height for grass is about 2.5 inches (3 inches for cool-season grasses).
Here’s why: Leave a bit of length on the grass so your lawn isn’t stressed.
Apply Fertilizer: In Austin, you should apply fertilizer twice yearly to keep your lawn healthy and strong.
In the spring, it’s best to opt for a low-nitrogen fertilizer.
In the fall, before the first frost, you can apply fertilizer with higher nitrogen content, Texas A&M’s Agri-Life Extension says.
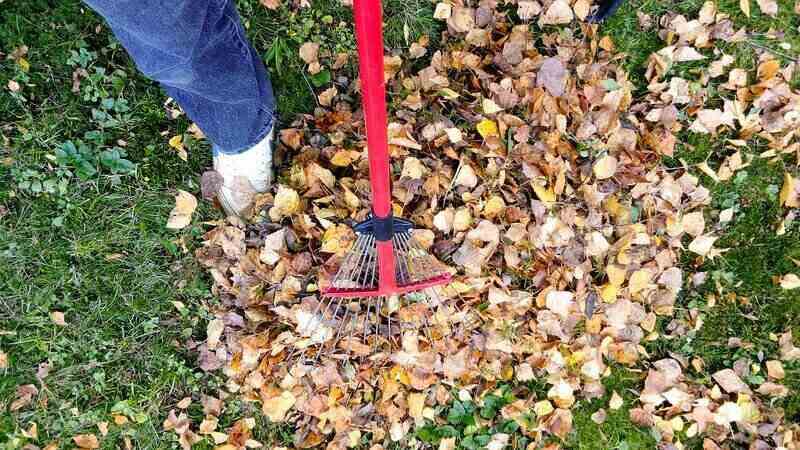
Get Rid of Leaves: By raking leaves — or hiring a LawnStarter Austin leaf removal crew — you can avoid dead spots in your lawn and lawn diseases.
Note: You can leave leaves at the curb, in leaf bags, for pickup for Austin’s Composting Program. Leaves also can be dropped off at the Hornsby Bend Biosolids Management Plant.
Here’s how leaves can harm your lawn: Too many leaves on your lawn can block sunlight, damaging the grass during its dormant stages. Additionally, damp leaves can encourage the growth of mold, bacteria, pests, and weeds.
See Related:
— What Happens If You Don’t Remove Leaves
— What to Do With Fallen Leaves
2. Water Your Lawn Less
Your grass still needs water in fall and winter, but water your lawn only when it needs it — and only when Austin water restrictions permit it.
For example, if it’s been a few weeks without rain, give your lawn a light drink.
It is best to water your lawn in the morning when temperatures are cooler, and less water is lost to evaporation. Deep and slow watering encourages the growth of a deep and strong root system, which is essential for a lawn to survive a harsh winter.
See Related:
— 8 Lawn Watering Tips for Austin Homeowners
3. Watch for Weeds
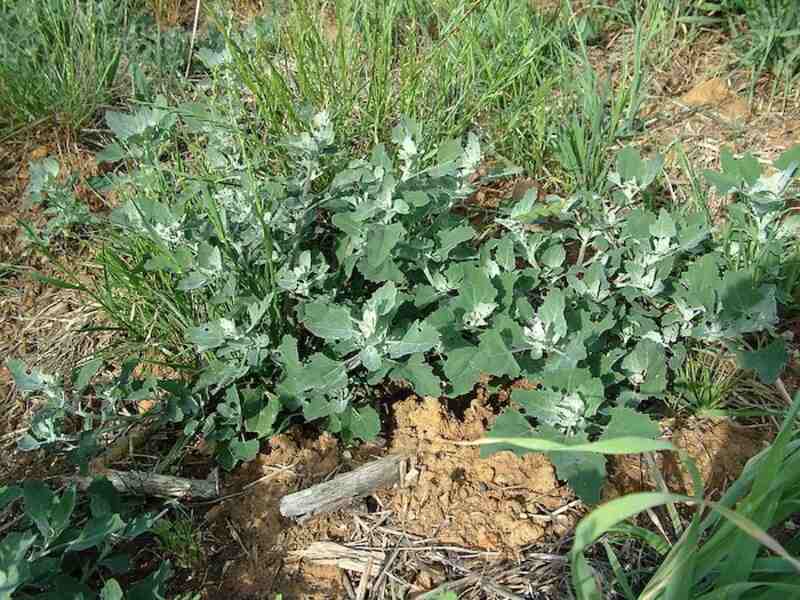
Winter is a peak time for weed growth in Austin lawns, so grab your gardening gloves and keep your lawn mower blades sharp.
Austintexas.gov recommends that you hand-pull annual weeds like chickweed and dandelion. If you have perennial weeds, like quackgrass or crabgrass, they may require a more dedicated approach, such as applying a pre-emergent herbicide or digging them up, roots and all.
Mowing your lawn at a regular interval (though not as often as in summer) removes the upper shoots of weeds and stems before they can spread.
See Related:
— How to Get Rid of Dandelions
— How to Get Rid of Crabgrass
— When to Apply Pre-Emergent Herbicides
4. Keep off the Grass
Limit foot and vehicle traffic on your lawn as much as possible during winter.
Here’s why: There’s nothing worse than a large footprint on your lawn after a hard freeze. Even on warm winter days, traffic can lead to soil compaction, which can do irreparable damage.
Soil compaction occurs when the soil particles in your lawn are pressed and squeezed together, which then leads to poor drainage and nutrient absorption, eventually causing plant death.
See Related:
— How to Fix Compacted Soil
— What is Aeration (Video)
Make Lawn Care Easy: Hire an Austin Lawn Care Pro
If you don’t have the time to care for your Austin lawn yourself, hire one of LawnStarter’s Austin lawn care pros. With the proper care and maintenance, your Austin lawn can look its best year-round despite our sometimes harsh winters.
Main Image Credit: PublicDomainPictures