Professional landscaping companies can cost a small fortune; so, why use them when you could get the same results with some determination and a little bit of sweat? DIY projects for improving your backyard are not as hard as you might think. This guide will provide handy landscaping ideas that will transform your home’s exterior into a personal paradise. These plans are timeless, budget-friendly, and should only take a few days or less of your time. Besides, there’s nothing quite as satisfying as doing it yourself.
Stain Your Deck
Staining your deck not only adds protection and improves aesthetic, but it also increases your property value. Hiring a professional contractor to stain your deck may cost between $500 and $1500, depending on its size. For your project, the materials should cost under $100 or a little more if your deck is greater than 144 square feet (12×12). Read the back of the container to see how many square feet it covers and work out how many gallons you need.

There are three basic types of stain for decks:
1. Solid Color Stain: Solid color stain is a water-based stain that goes on and works like paint. This is an ideal option for older decks or those with preexisting coats of stain. Use water for clean-up.
2. Water-Based Stain: Water-based stain is a fast drying stain, and it’s easy to work with. If you’re using a water-based stain, apply a top-coat of water-seal for best results and use water for clean-up.
3. Oil-Based Stain: Oil-based stain is the most popular type due to its deep penetrating properties that repels and beads water. Use mineral spirits or paint thinner to clean brushes, rollers, or accidents
Supplies:
- Choice of stain
- Paintbrush
- Roller/tray
- Stirring stick
- Rags
- Mineral spirits/water (clean-up)
Directions:
- Cleaning your deck is crucial for the stain to properly adhere to the wood. If you have an older deck with lots of chipping stain or debris embedded in the wood, use a pressure washer with a fan tip and let it dry. For newer decks in good condition, an air compressor with a spray nozzle will do the job. You can also sweep or vacuum, but the other two methods work better.
- Use your paintbrush to cut-in the wood for sections of the deck that are attached to your house, hard to reach areas, under railings, and the wood closest to the ground.
- Starting by the house where you cut the stain in, use your roller to start. Only paint two to three boards at a time to avoid imperfections in the drying stain. Roll the entire length of the boards, then back-brush the boards with your paintbrush while the stain is still wet. You can add more stain to your brush if needed.
- Most stain does a great job of covering the first time around, but if it looks like it could use another coat, don’t be afraid to apply more. The good news is that the second coat goes on quicker, and you don’t use as much stain because the first coat has already soaked into the wood.
- Let it dry for 24 hours before use.
- Clean your brushes and roller with either water or mineral spirits depending on the stain you are using.
- Break out the BBQ grill, cold beers, and call some friends over for a great time.
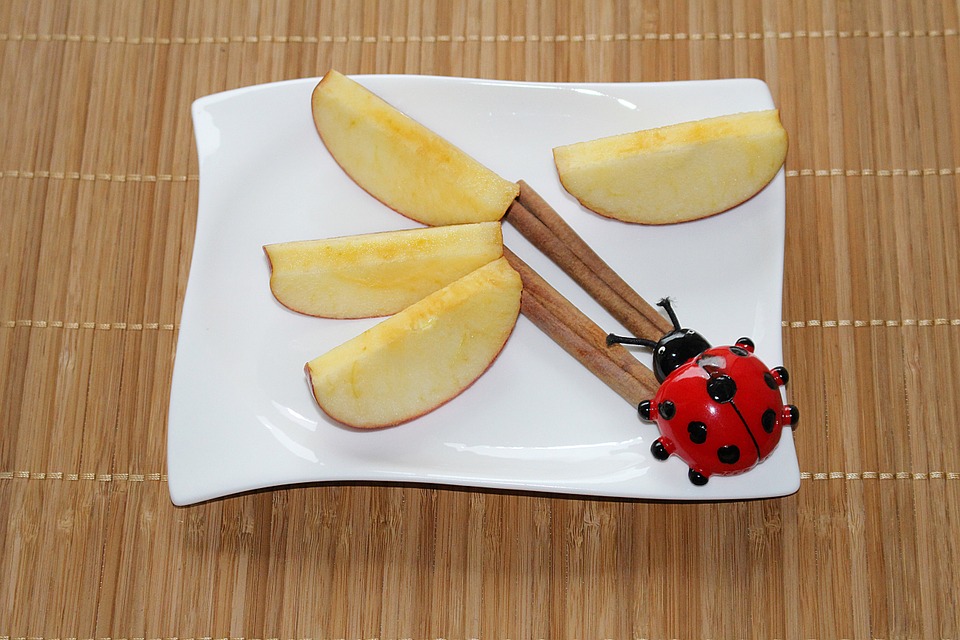
Concrete Lady Bugs
Concrete ladybugs make a great accent piece for your landscaping. Place them by trees, pathways, decks, gardens, or in various locations in the yard. These cute little bugs are surprisingly easy to make.
Supplies:
- Round Container
- Water
- Cement
- Chalk
- Plastic bag
- 2 white glass beads
- Red and black tiles
- Glue
Directions:
- Make your ladybug the size according to the mold you use.
- Find a round container with a bottom that resembles a ladybug.
- Use the plastic bag and line the inside.
- Mix cement according to directions and fill the mold.
- Once the mold is dry, use the chalk to draw some unique patterns.
- Glue the tiles pieces according to your patterns.
- Glue the eyes with the two white glass marbles.
- Enjoy!
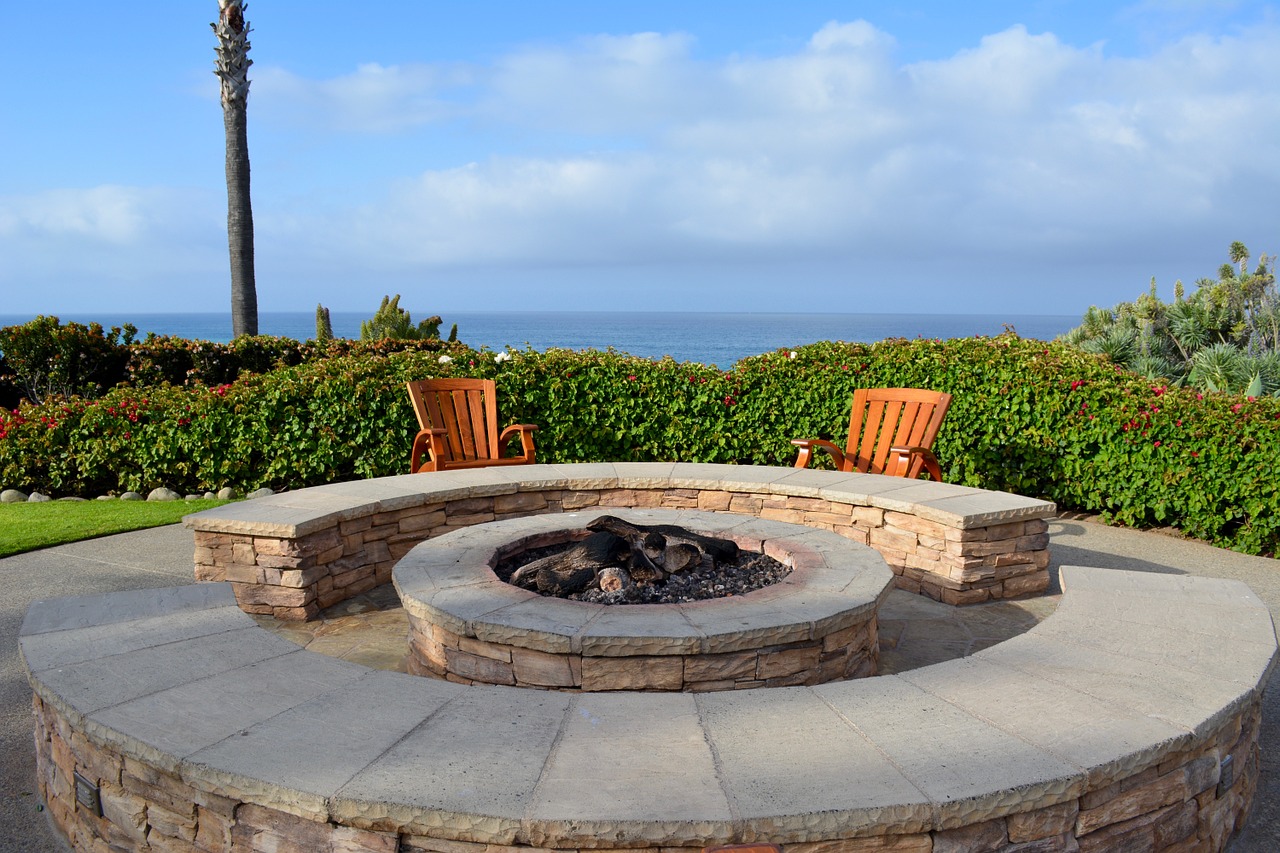
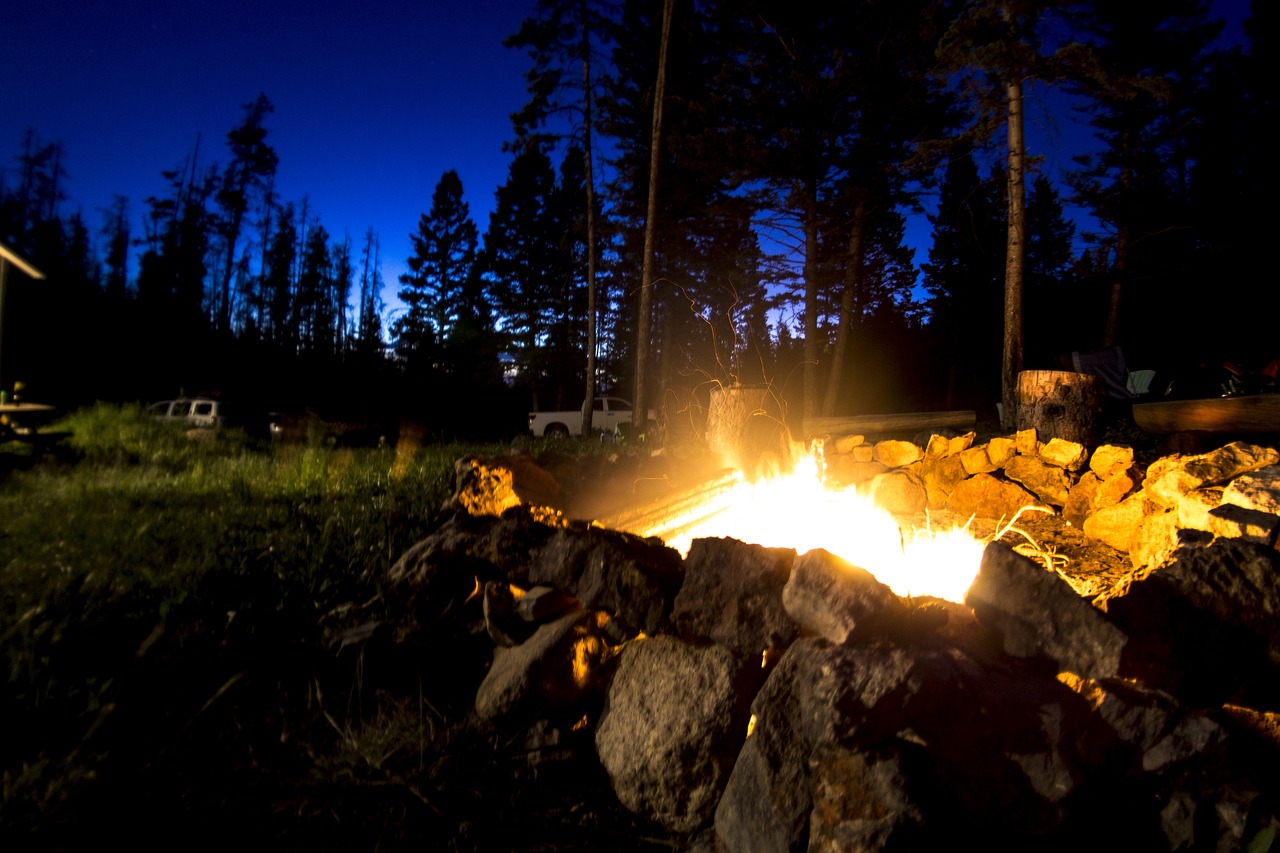
Decorative Stone Paver Fire Pit
A decorative stone paver fire pit in your backyard is a simple DIY project that has numerous benefits. These decorative fire pits are great for social gatherings, cooking, and even some roasted s’mores for the kids. A professional stone mason will cost you between $500 and $1000 to build something you can do yourself for under $100 by making a quick trip to your local home improvement store. Besides, let’s be honest, it’s just like camping, and it brings people together.
Supplies:
- Stone pavers or substitute bricks/blocks
- Gravel or sand
- Stake
- String
- Tape Measure
- Spray paint
- Rake
- Shovel
Directions:
- The number of stone pavers or bricks or blocks will depend on the size of the stones and the fire pit. A standard fire pit size is three to four feet wide and one foot tall. Do some mathematics for what you need but always buy a few extra.
- Place your fire pit at least 25 feet away from overhanging tree limbs and structures.
- Place a stake where you want the center of the fire pit.
- Tie a piece of string half of the diameter of the desired size.
- Hold the end of the string with one hand, and hold the can of spray paint with the other hand. Then spray a circle by walking around the stake.
- Dig out the hole with the shovel a few inches deep.
- Fill the hole with the gravel or sand and level.
- Place the stones around the perimeter, then add a second or third layer until you reach a height of at least 12 inches.
- Add some more gravel or sand to fill in the bottom of the fire pit.
- Call some friends and have a bonfire.
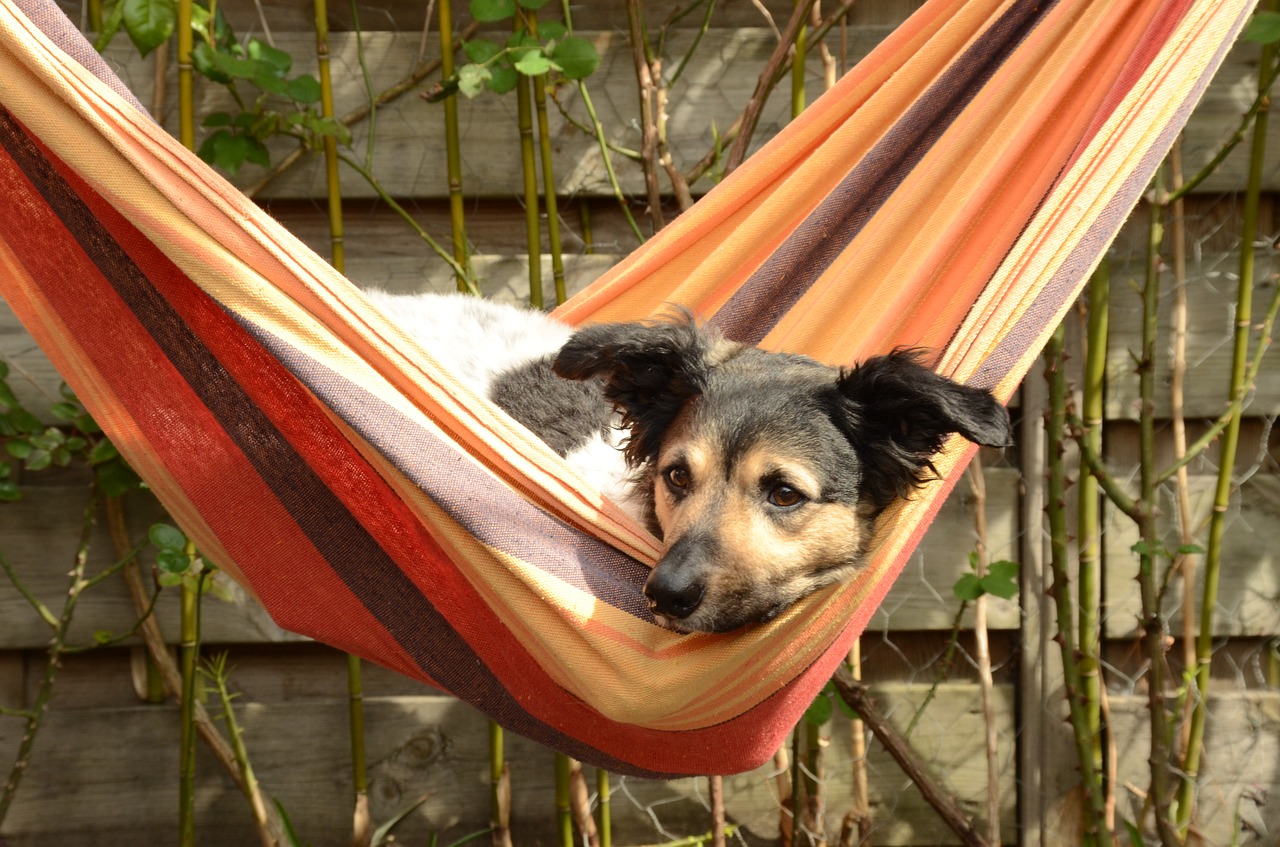
Build a Hammock
Have you ever felt like laying around for the day to take a nap or to read a good book? A hammock is a great addition to your yard, and they’re very appealing and comfortable. They’re very easy to make and will last a few years before you need to change the muslin.
Supplies:
- 2 1/2 yards of muslin-44-inches wide
- 1/4 inch of 100-foot clothesline
- (2) 8-inch anchor shackles
- (2) ¼- inch spring links
- Thread (white or off-white)
- (2) 5 -foot sections of chain link
- Sewing machine
- Pins
- Scissors
- Tape measure
Directions:
- Cut a 4 X 44-inch strip of muslin and fold it in half.
- Lay it on a flat surface. Pin the muslin strip along the side edge. (2 inches)
- Sew the edges with a sewing machine. This will add support.
- Using a tape measure, mark it three times, 11 inches apart. Cut out a 1-inch rectangle on each mark. Sew the edges of the rectangle.
- Fold the muslin in half, and sew the edges to create an opening for the rope.
- Cut the rope into 4 pieces, each 8-foot in length, using a pair of scissors. Burn the edges to prevent fraying. Feed the rope through the holes, looping it around to each opening until you get to the other end. Tie knots at each rope end when done.
- Gather the ends and make a bowline knot around the ankle shackle.
- Repeat the process for the other end.
- Dress it up with some more fabric like lace or fringe to make it personal.
- Use the springs to connect to a rope or chain, and hang it where you want.
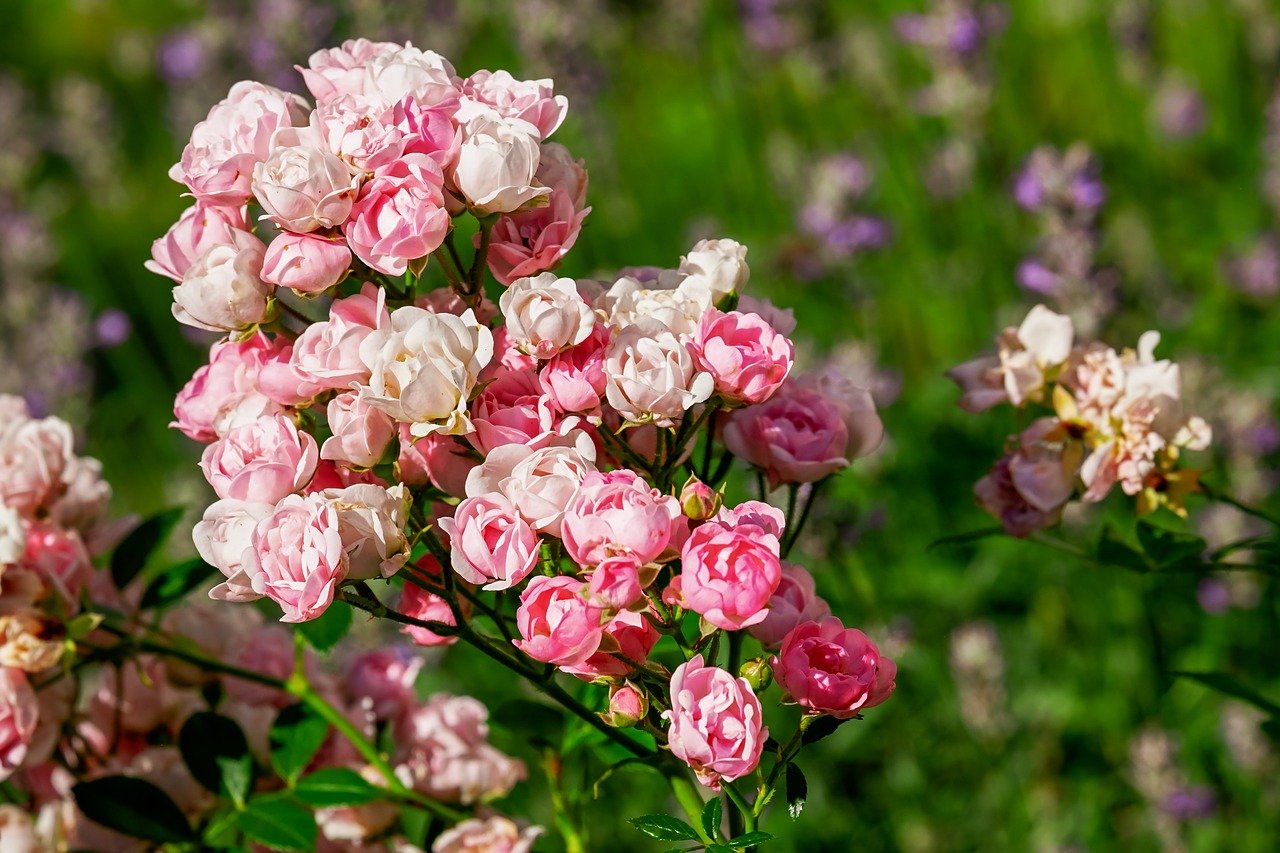
Heart-Shaped Rose Garden
Add some love to your yard with a heart-shaped rose garden. It’s not difficult to design and will brighten up the look and feel of your home.
Supplies:
– Stones, rocks or bricks
– Soil liner
– Topsoil
– Mulch
– Rose bushes
– Spray paint
– Garden tools/tiller
Directions:
1. Materials will depend on the size you want to make it.
2. Locate where you want the heart-shaped rose garden to go.
3. Using the spray paint, spray the heart to the size you want it.
4. Dig up the topsoil with a tiller or hand tools like a rake, shovel, etc.
5. Remove all rocks, twigs, and debris.
6. Add your soil liner and cut along the edges of the spray paint to the same size as the heart.
7. Place your building materials on the perimeter of the heart-shape. Add another layer if desired. Tip: broken rock walls in tree lines will have an abundance of building materials for your project.
8. Fill the inside of the garden with new topsoil, minimum of 6 inches.
9. Plant rose bushes of different colors in different locations.
10. Top it off with some mulch.
11. Enjoy the rosy beauty with someone you love.
There’s nothing like doing DIY projects to spruce up your backyard. Not only can you save a lot of money, but you also get the satisfaction of making something beautiful out of nothing. Share these DIY ideas with your friends and have some fun together while you’re doing them.
If DIY is not your thing, worry not. A local landscape pro can easily come and help you design and install your next outdoor project.